Burnishing your PCB and soldering components on it
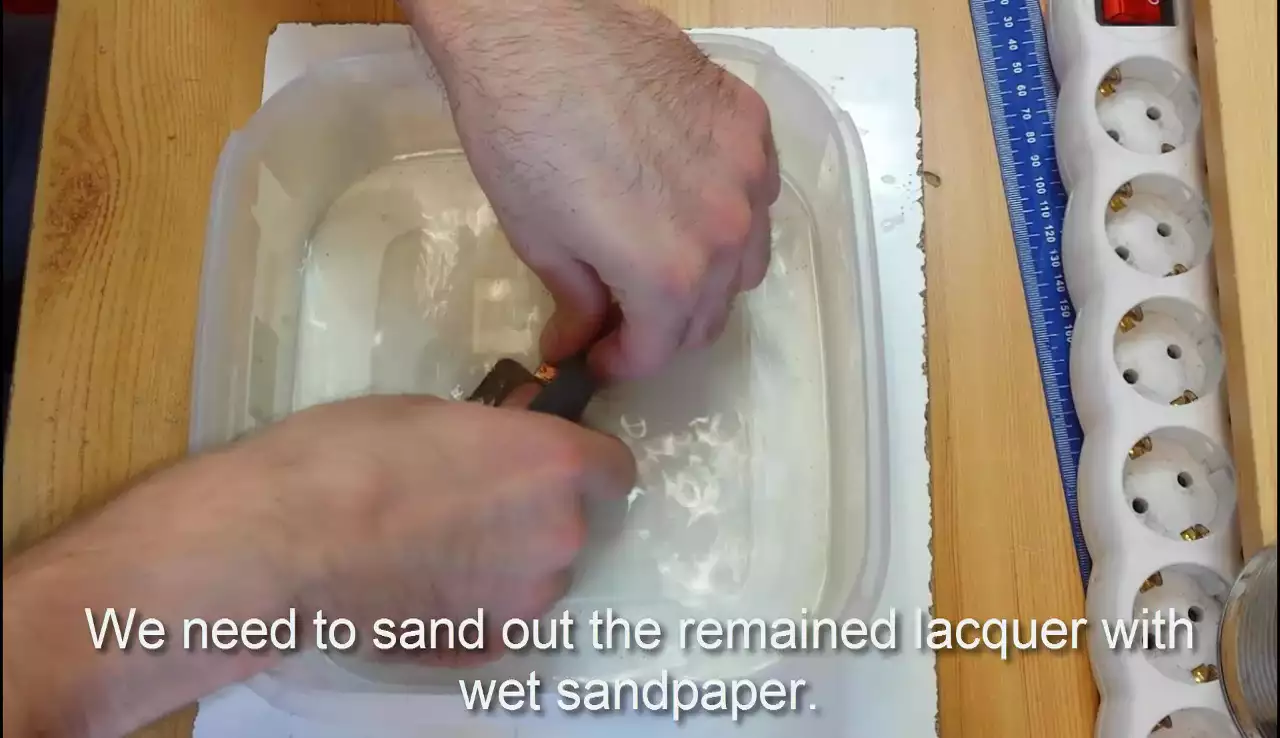
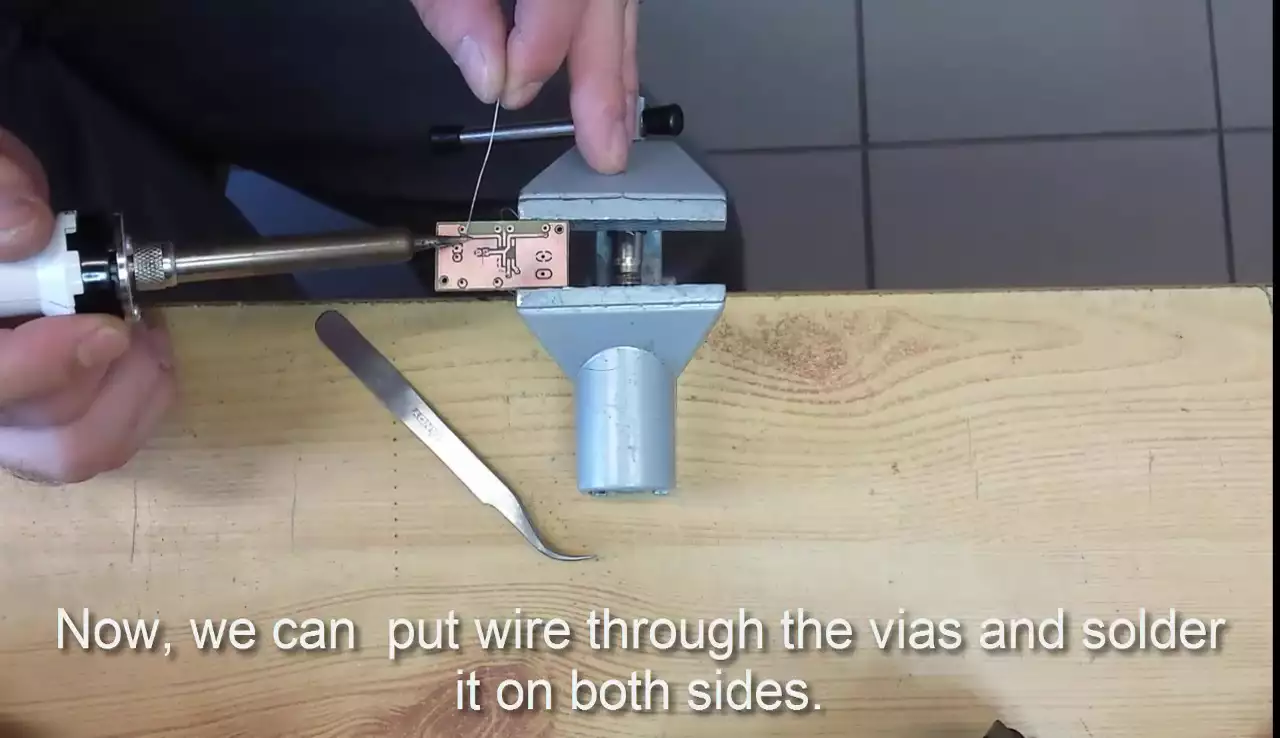
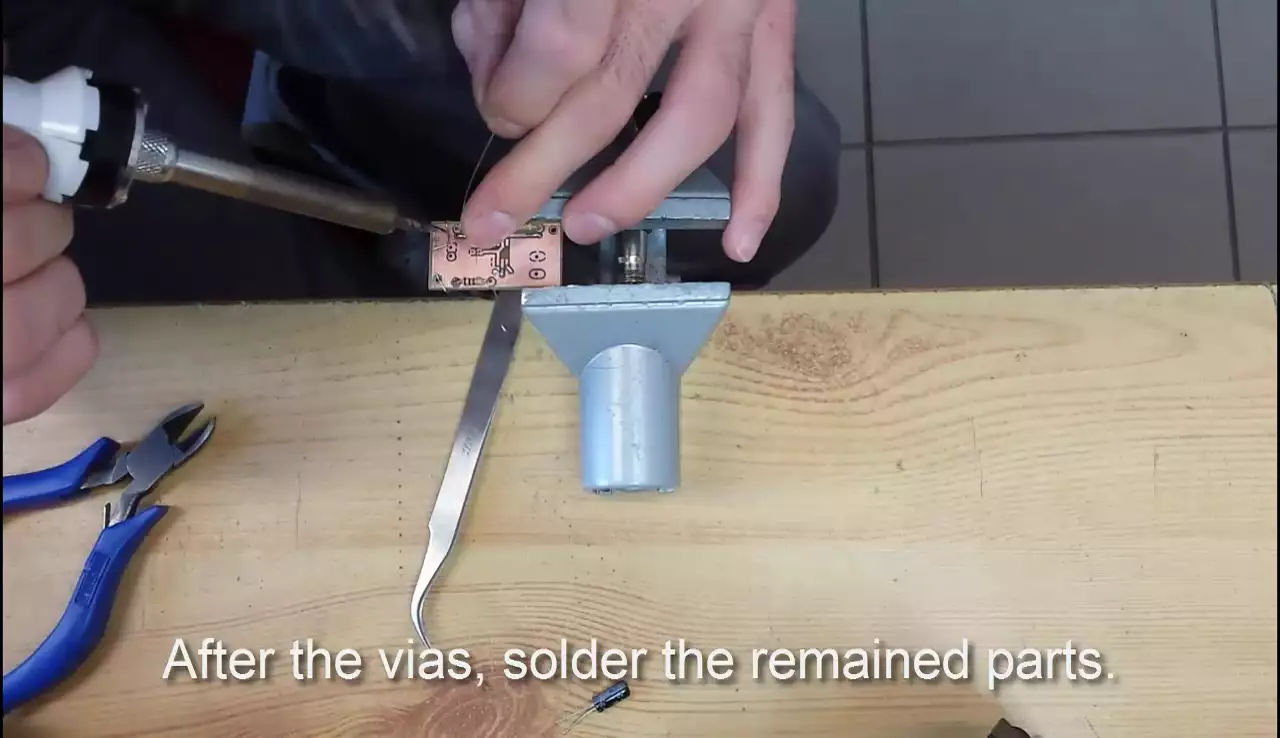
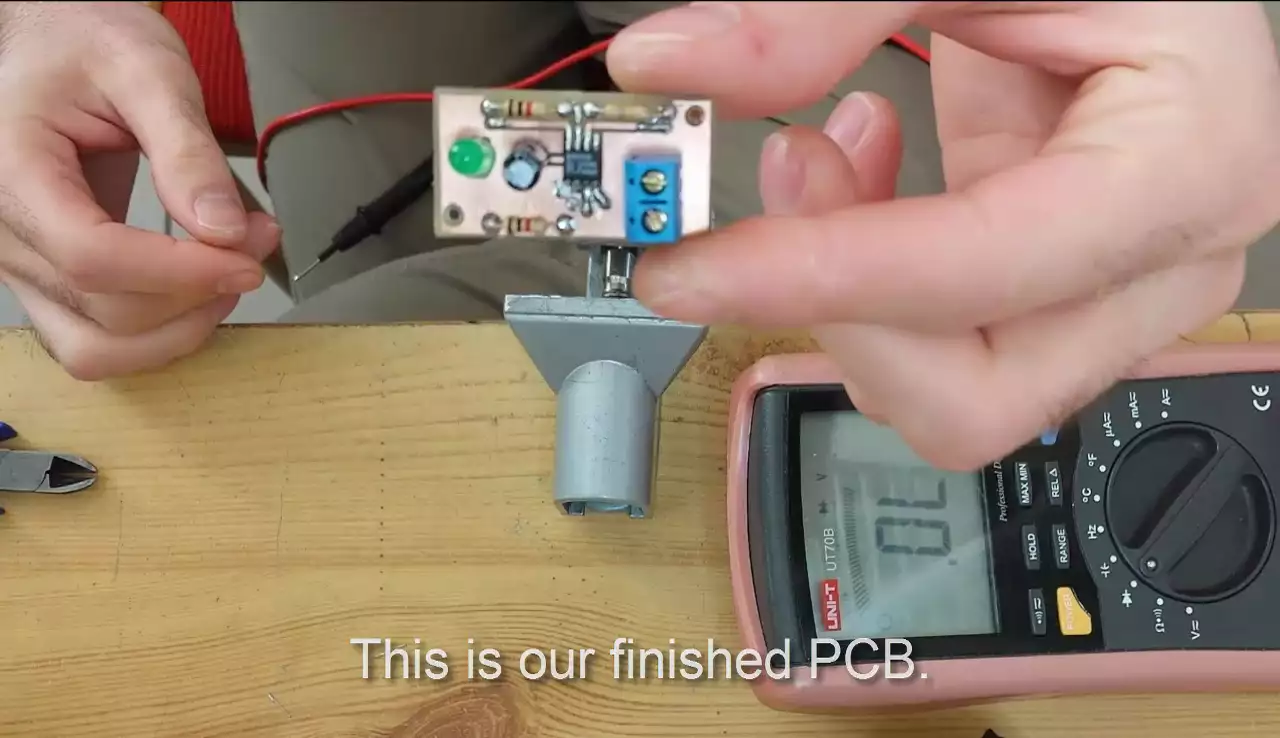
Now comes our electronic engineer's favorite part. The part when they can finally solder the components onto the board and say out loud that the board is ready. You can learn more about burnishing and soldering from the screenshots we have provided for you. After you completed this tutorial only testing remains which you can learn about in the next tutorial.

Screenshots below:


More information
- Burnishing your PCB and soldering components on it
- Testing your PCB panel

 Sign in