How to route SMS messages using phone
On this page you will find a detailed step by step guide that shows you how to configure the Ozeki SMS Gateway to forward an SMS from a SMPP connection over a GSM modem.
Step 1 - Add new connection
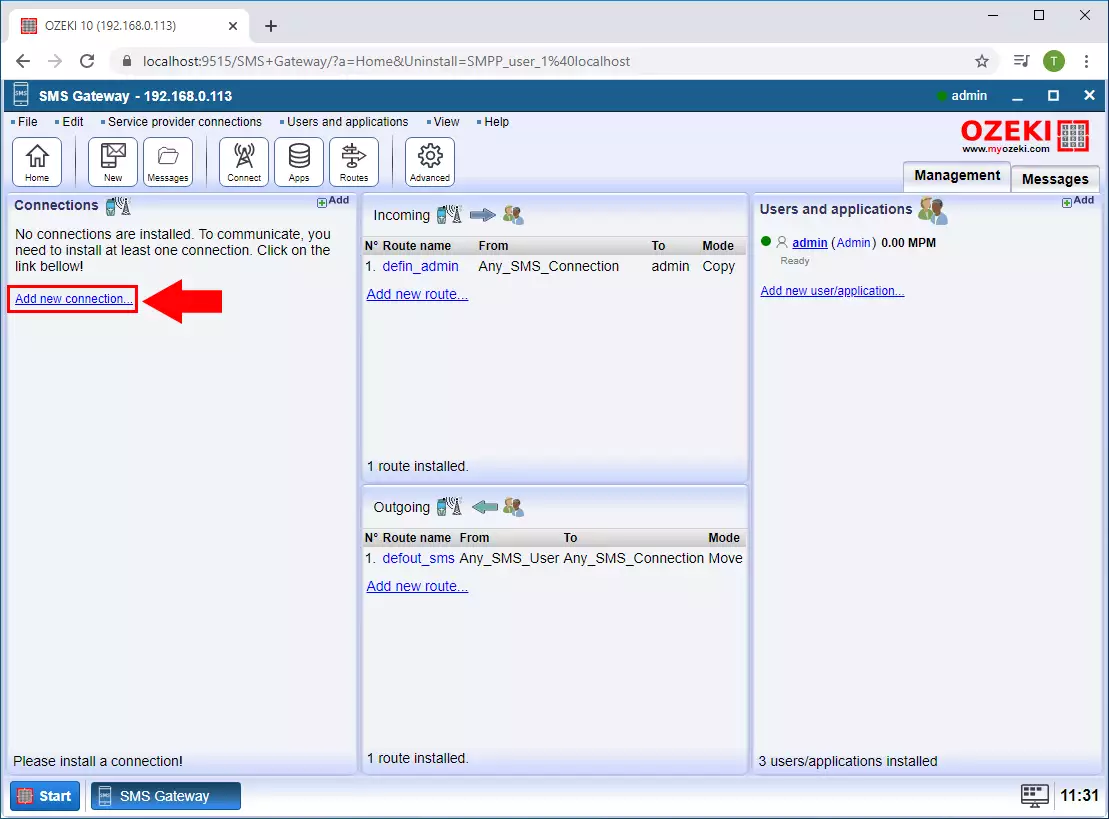
The first step is to connect to GSM modems. To do this, you need to create an SMS modem connection. Click on the "Add new connection ..." as you can see on the Figure 1.
Step 2 - SMS Modem connection
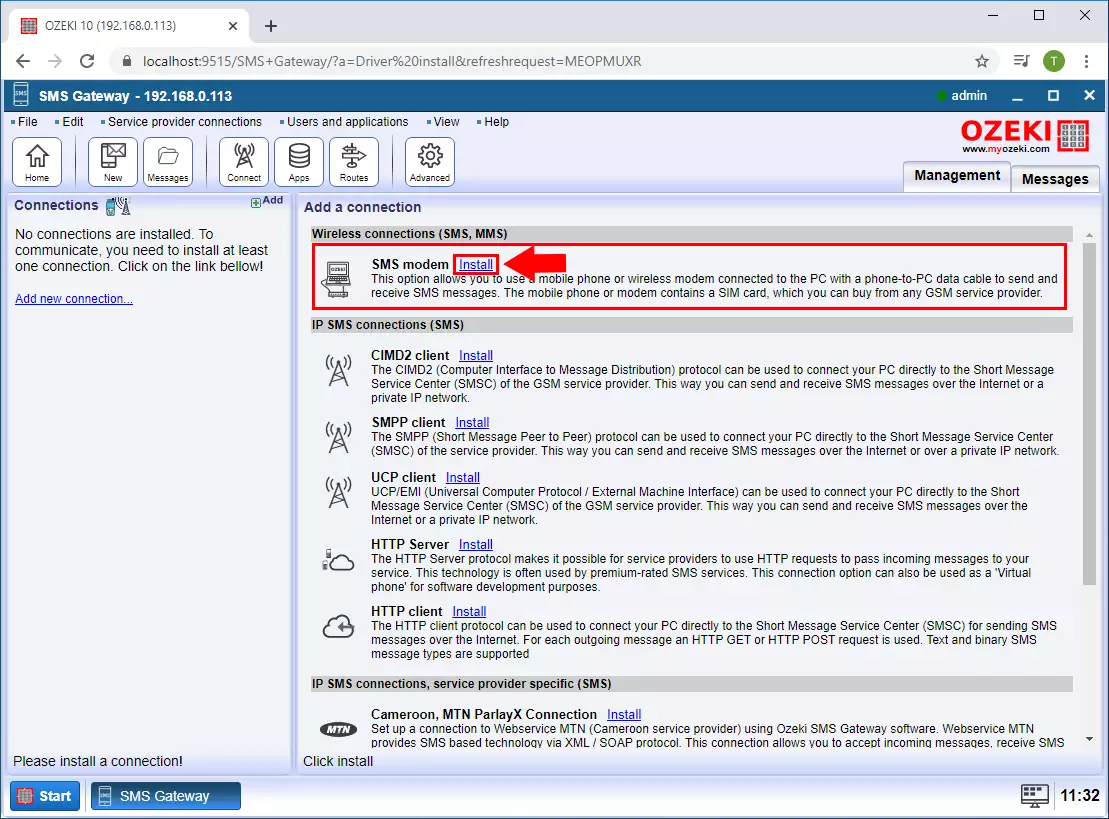
The next window lists you all the connections that you can create in the SMS Gateway application. Now, as Figure 2 demonstrates, you have to select the SMS modem connection by clicking on Install.
Step 3 - Select serial port
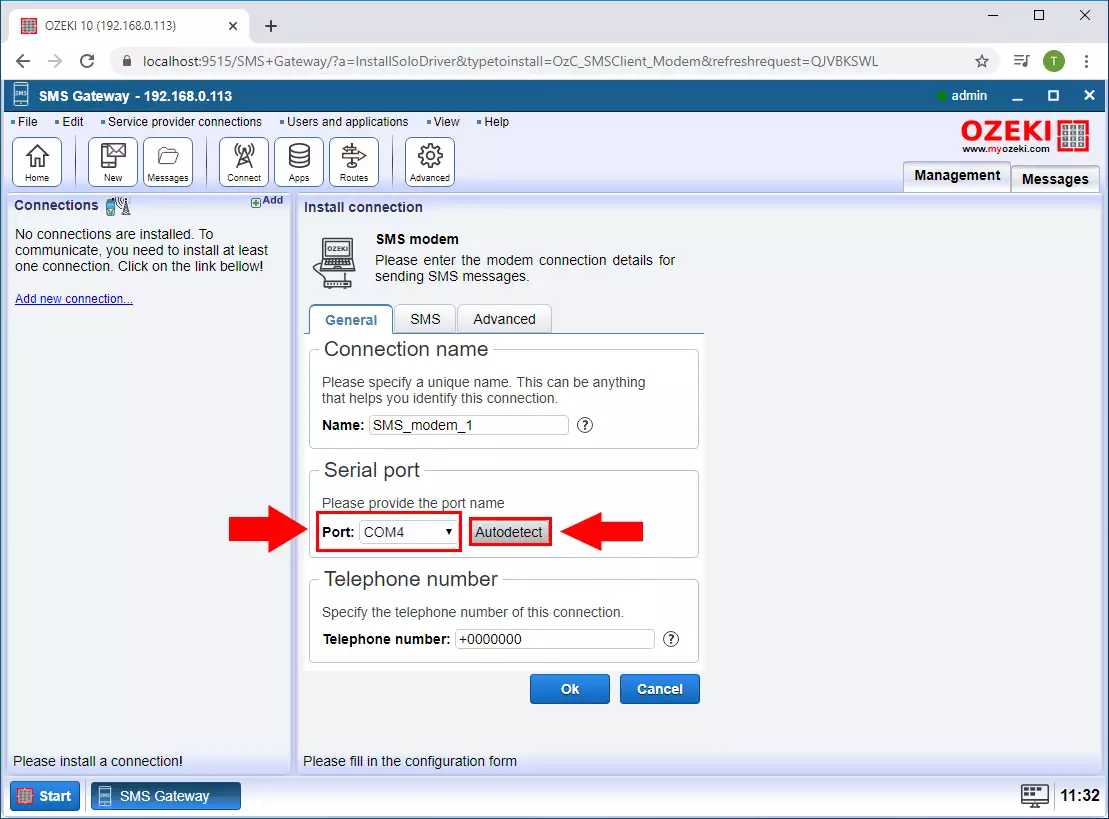
In the installation menu, you need to select the port, where you connected the modem. For that, just click on the Autodetect button as you can see on Figure 3.
Step 4 - Autodetect
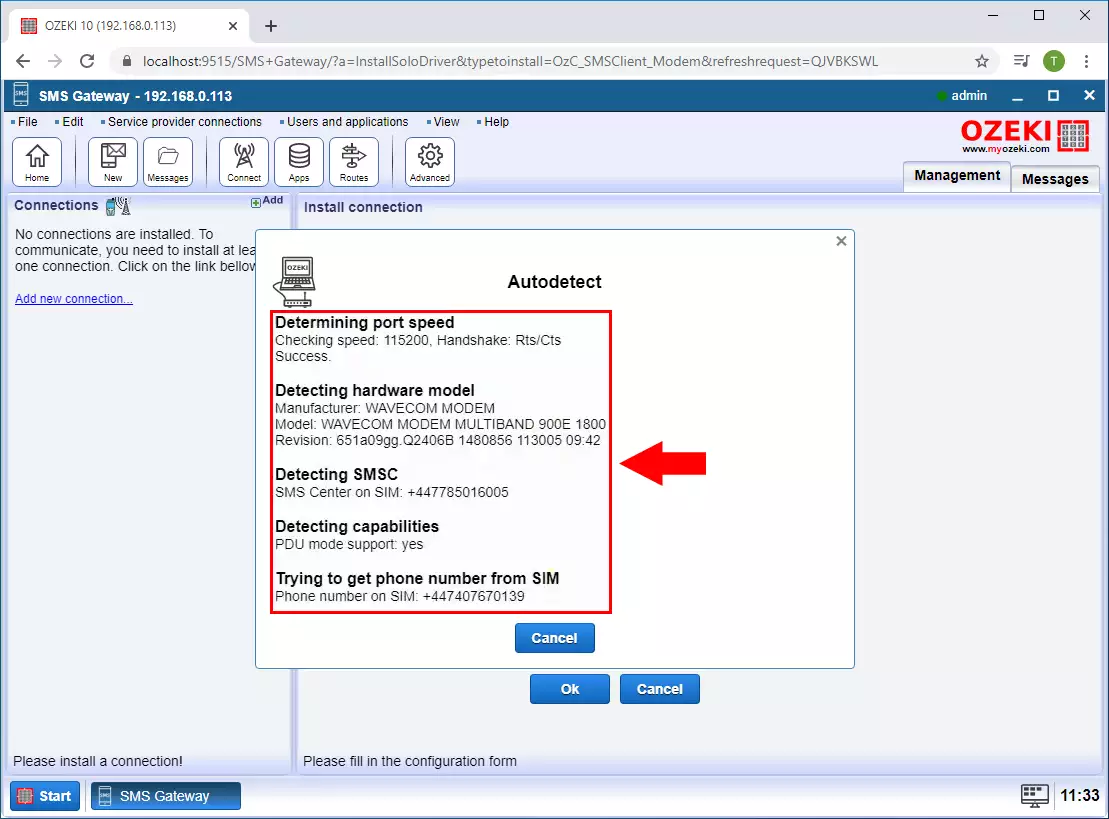
This Autodetect option will detect your modem, and if it is connected right the following window should show up like in Figure 4.
Step 5 - Enable modem
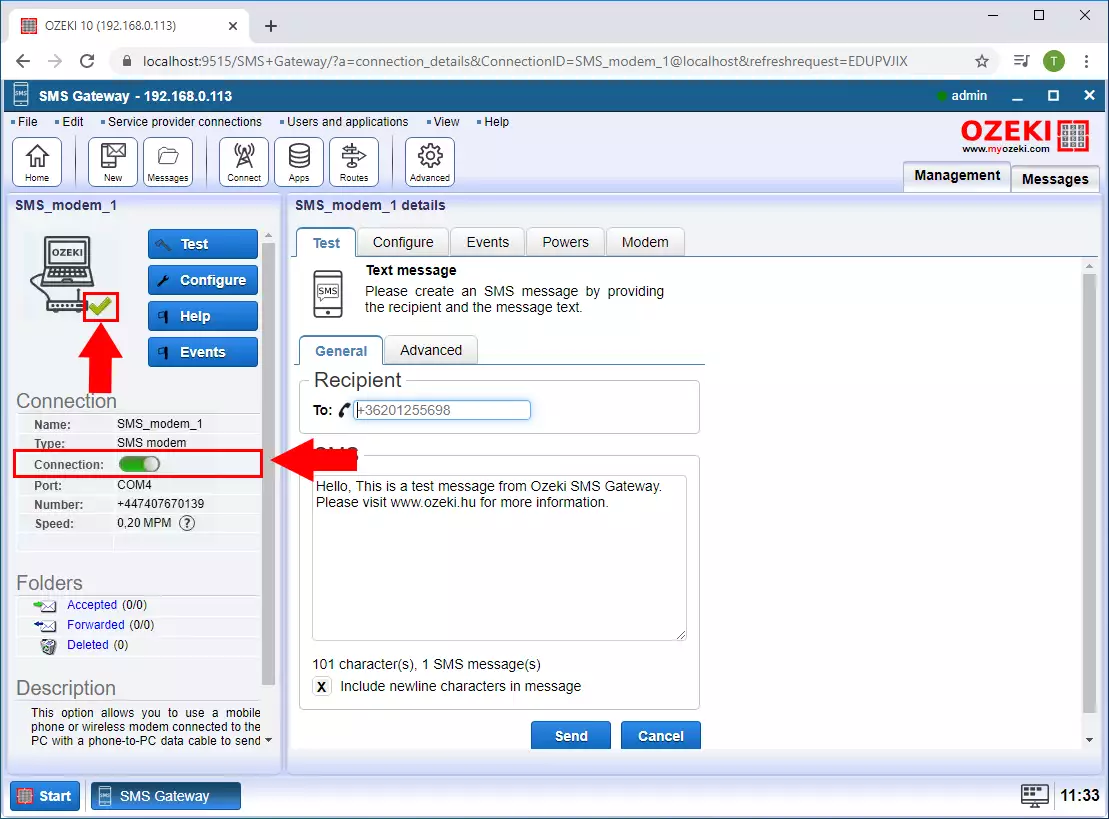
To handle SMS messages with this connection, first, you need to enable the connection (Figure 5) by turning on the switch button in the connection details window.
Step 6 - Add new user
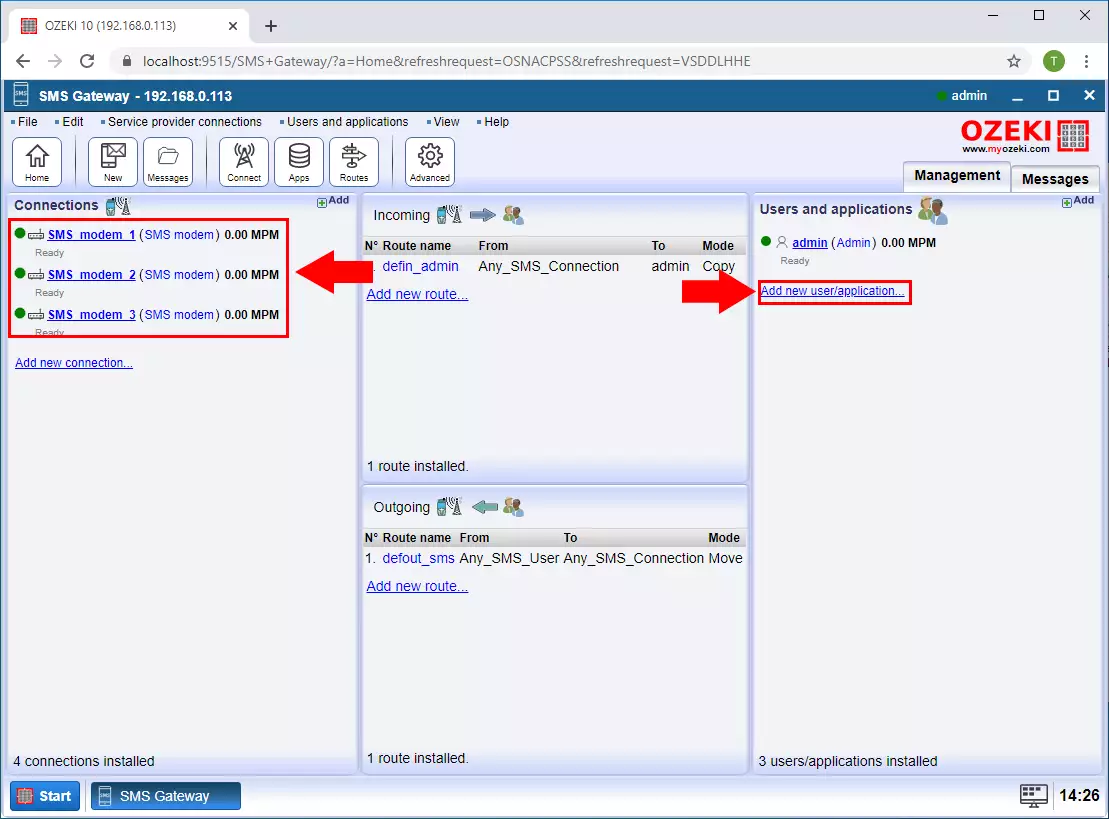
Once you have added the modems you want to use, you need to create the users that the SMPP clients can connect to. Click "Add new user / application..." as you can see on the Figure 6.
Step 7 - Add SMPP user
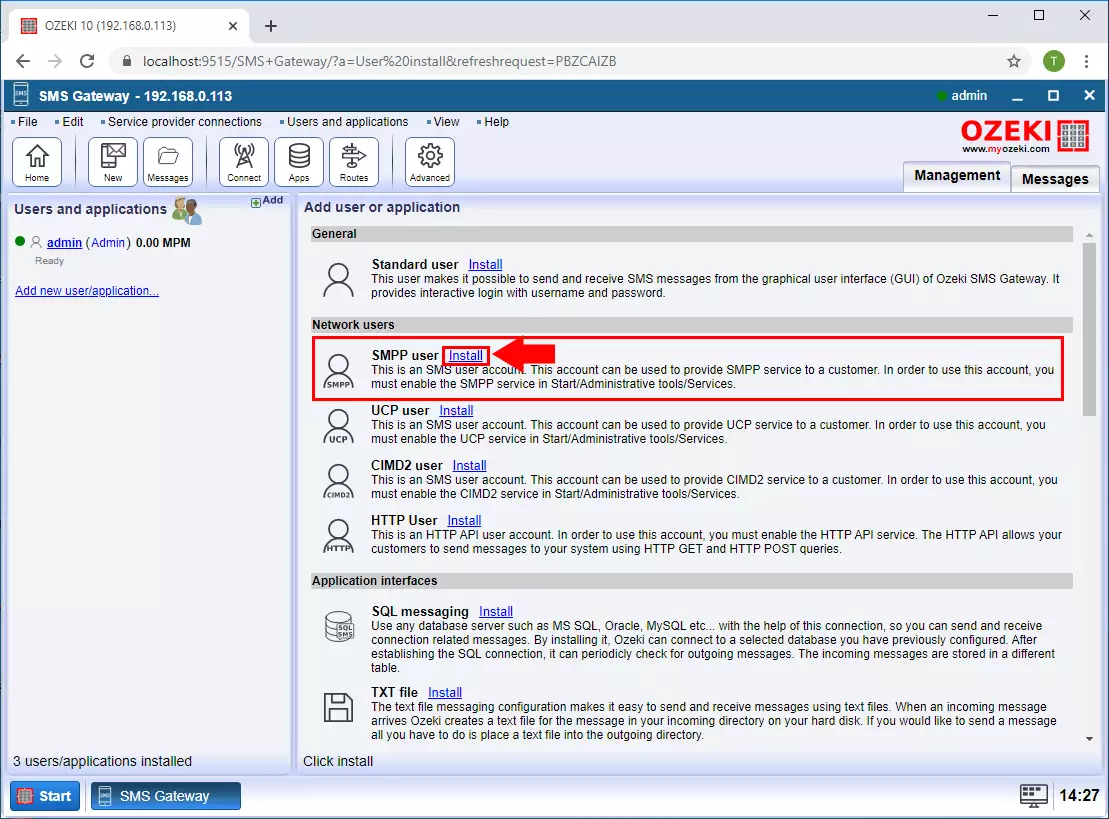
Select the SMPP user service from the list and click Install (Figure 7).
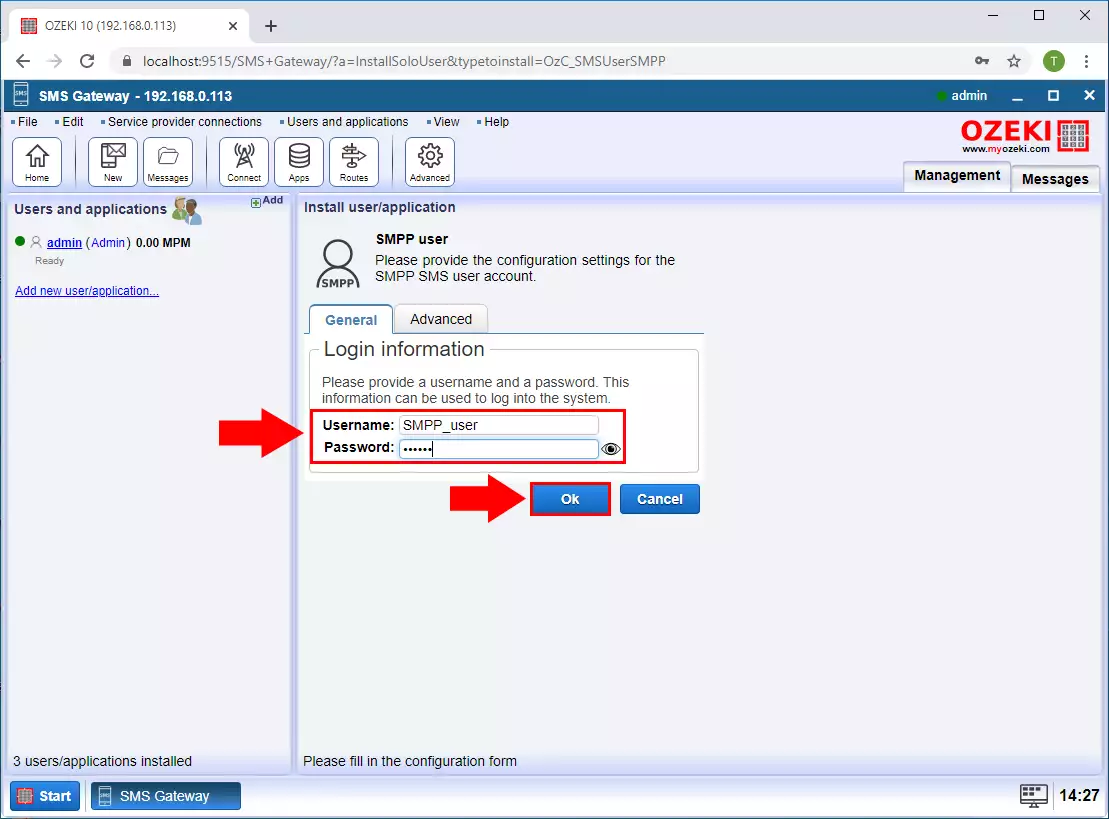
Step 8 - Specify username and password
Provide the username and the password and then click on the OK button (Figure 8).
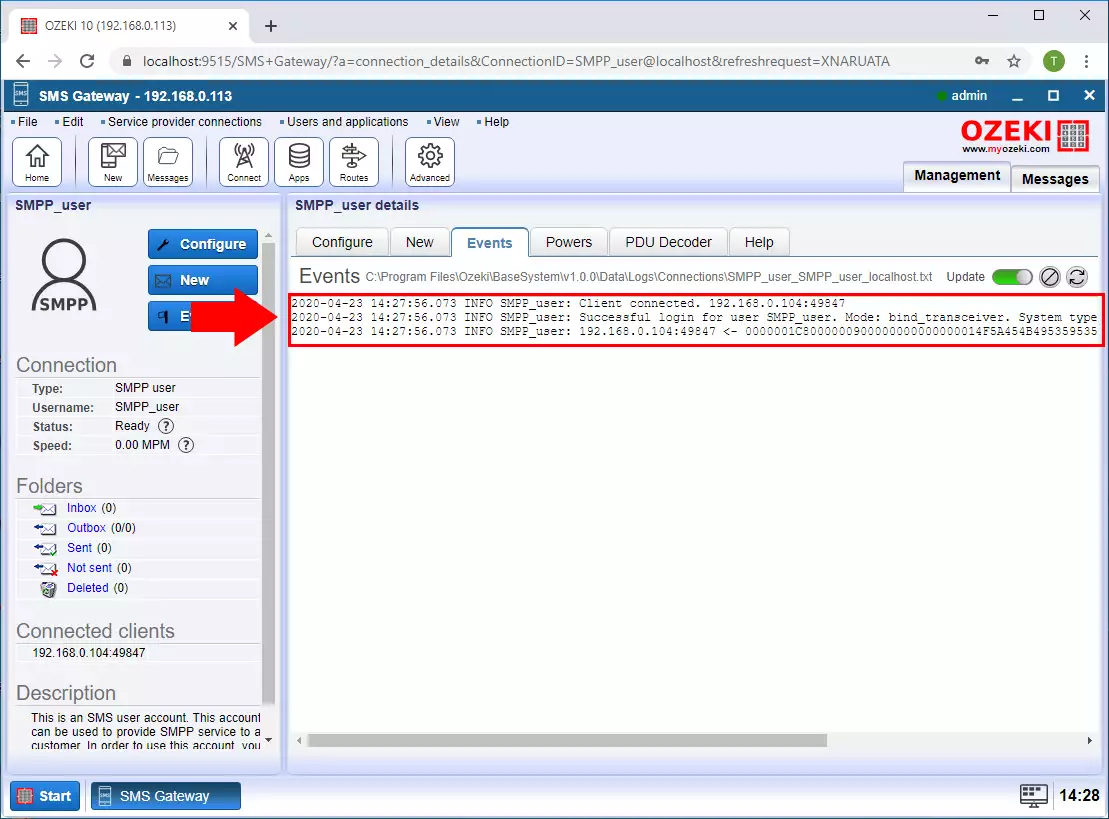
Step 9 - Client connected
On the user events tab, you can see if a client is connected to the service (Figure 9).
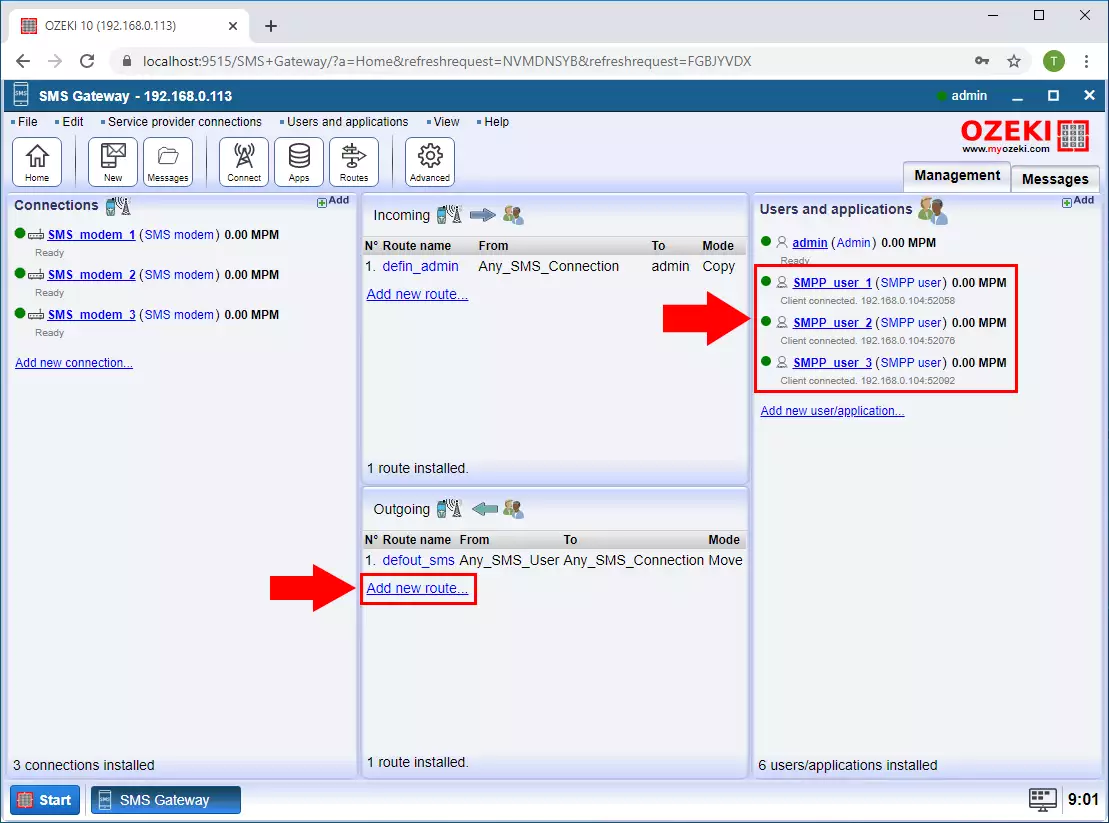
Step 10 - Add new outbound route
Once you have established all the required SMPP user connections you will need to create the outbound routing rules. To do this, click Add new route... in the outgoing section (Figure 10).
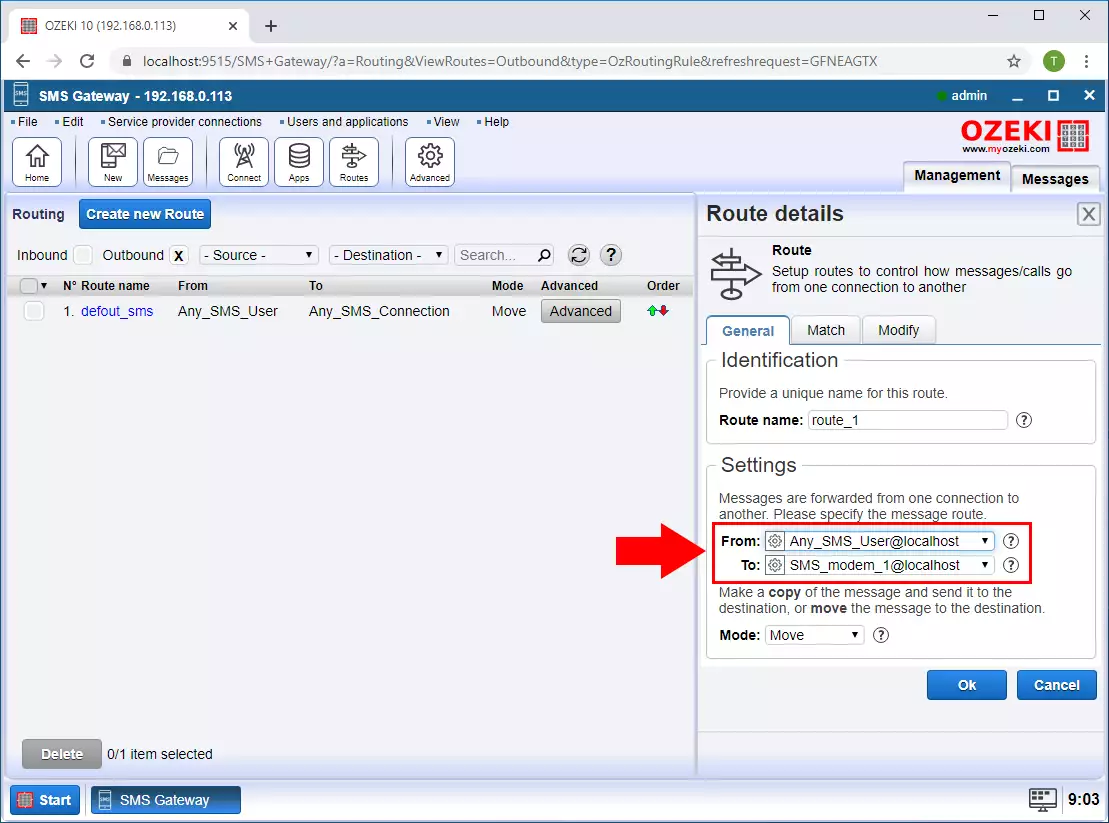
Step 11 - Configure the outbound route
In the route details section select the From and the To connections. In this case, we choose the Any SMS user as the From connection, since the SMS comes in on any SMPP connection, the From phone number must be examined and the message must be forwarded to the corresponding GSM modem. (Figure 11).
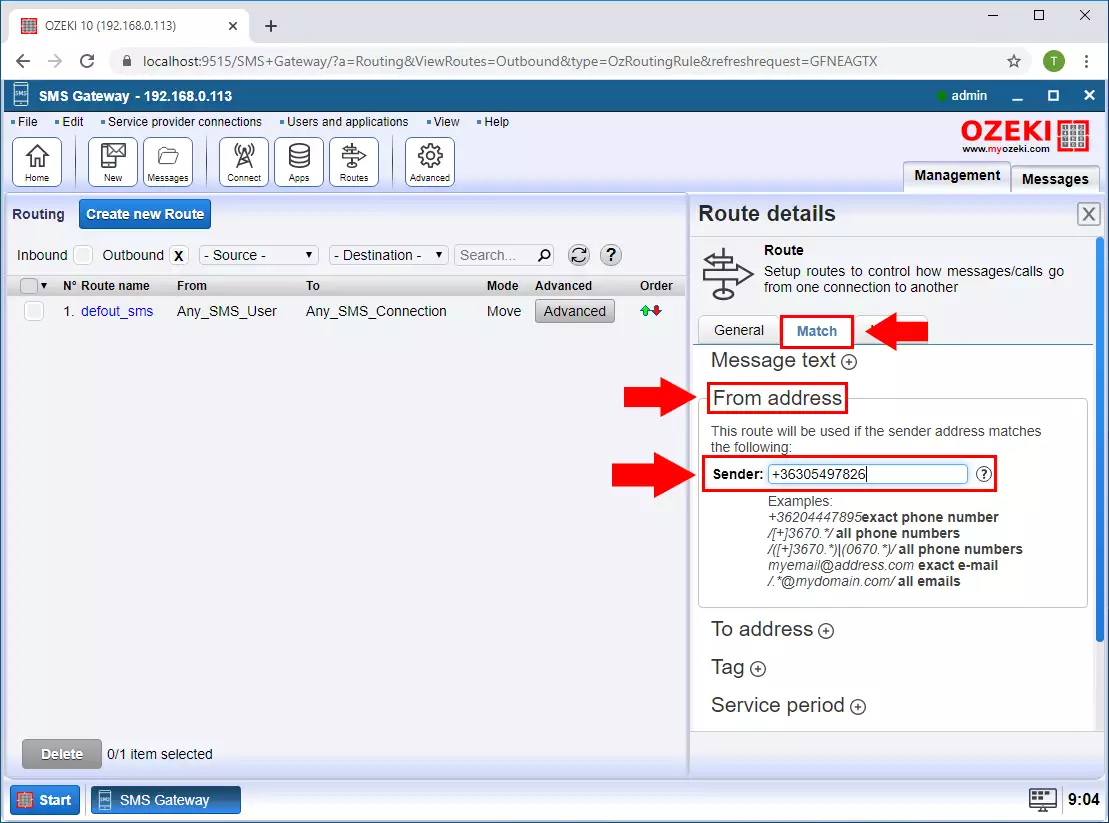
Step 12 - Specify the From address
Then, on the Ruting details Match tab, in the From address section, enter the appropriate phone number in the Sender field (Figure 12). If the message arrives from this phone number, it will be forwarded to the previously selected GSM modem.
Step 13 - Routing rules created
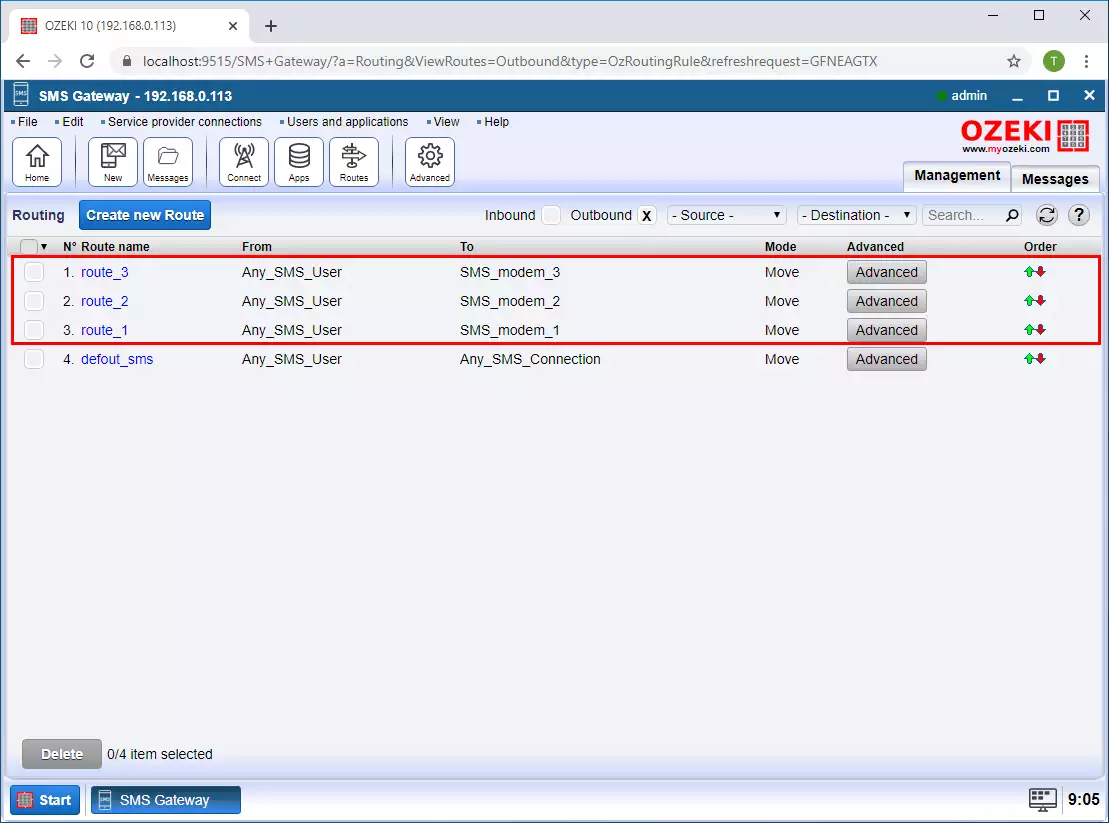
Once you have created the routing rule for all gsm modems you will see the rules in the Routing table (Figure 13).
Step 14 - Message received
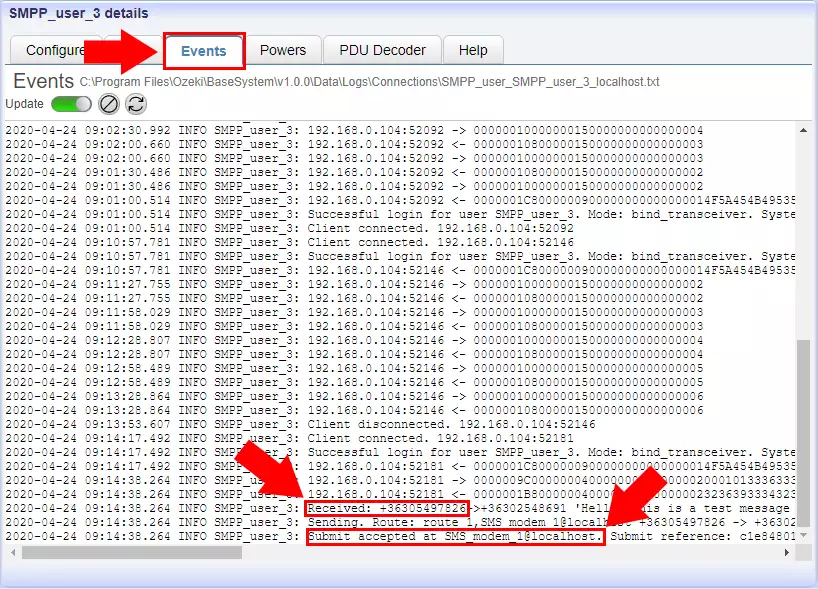
Finally, if a message arrives on an SMPP connection whose sender phone number is the same as the phone number specified in the routing rule, you can see that the message will be sent over the GSM modem connection specified in the rule (Figure 14).
