
Installing and Configuring MySQL for OZEKI SMS
On this page I explain how I have installed and set up MySQL to accept incoming SMS messages and to transmit outgoing SMS messages.
Step 1 - Download and Installation of MySQL Server
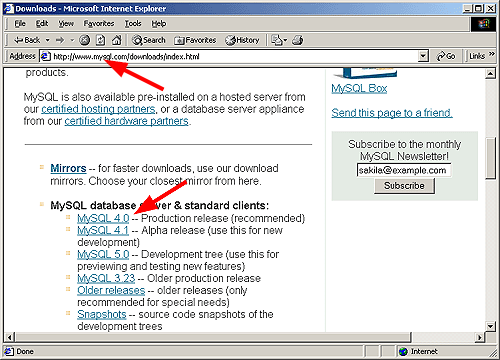
I have downloaded the MySql Server installation packages from http://www.mysql.com/downloads/index.html . In my installation I am working on a Windows 2000 Server, so I have selected the appropriate packages:
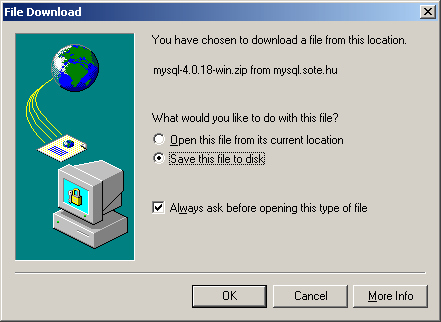
The downloaded file was: mysql-4.018-win.zip:
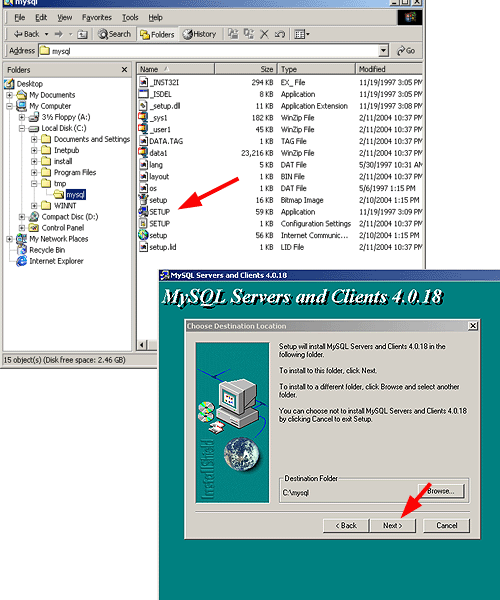
After unpacking the ZIP file, I have installed the MySql server to the C:\MySql directory with Typical settings.
Step 2 - Starting MySql and creating the database structure
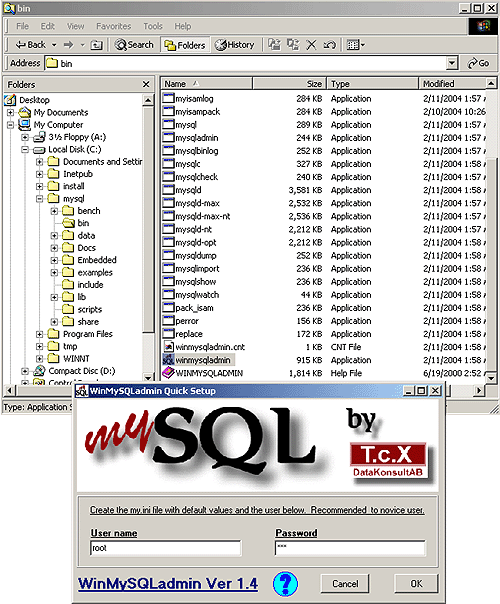
After downloading the server I have started it by executing the winmysqladmin.exe file from the C:\mysql\bin directory. It prompted me for a user name and a password. I have entered root and 123.
After this had been done I have rebooted my computer to make sure the installation has been completed
This is not necessary) To create the database layout I had to open the MySql console.
This was done by clicking on Start, selecting run and entering cmd in the Run window.
The cmd application is a command shell. In this command shell, I have changed to the mysql bin directory
and connected to the service by issuing the following command:
mysql -h 127.0.0.1 -P 3306 -u
root test
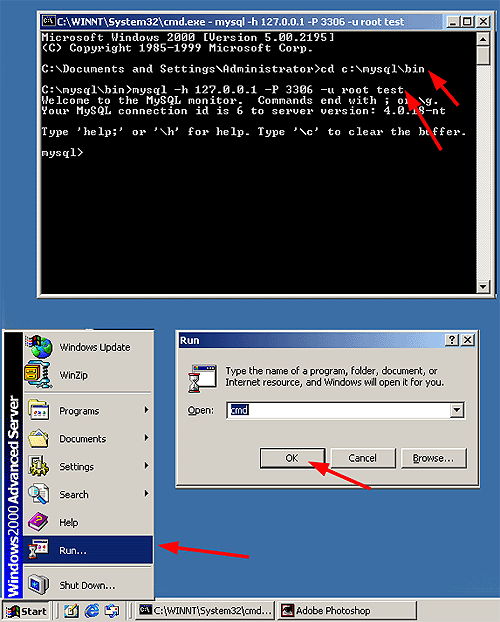
The above command opened a connection to the test database. At this MySql prompt I was able to create two database tables: ozekismsout and ozekismin. These two tables can be used for storing incoming and outgoing SMS messages. The table structure for these tables can be found at the following URL:
Here is how I did it: I went to the website, copied the text to my clipboard then pasted it into the MySql prmopt:
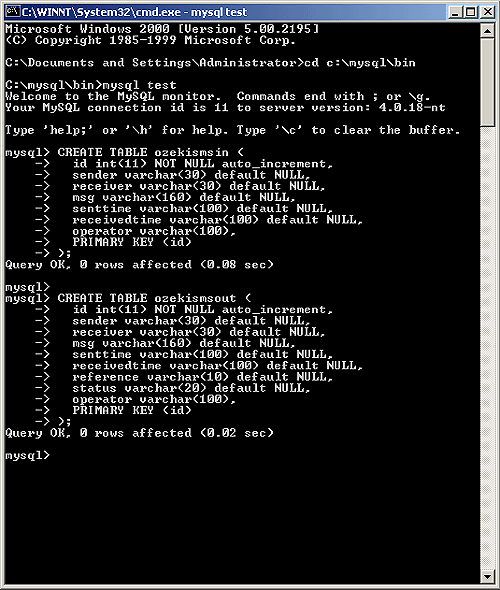
After having done this, I have exited from the MySql prompt by typing exit.
Step 3 - Installing the MySql ODBC driver
After the MySql server had been installed and the database was created, I had to install the MyODBC driver to make sure Ozeki SMS can access the database. The installation of this driver can be read on the following webpage: Installing MyODBC
More information
- Send and Receive SMS messages with the help of a Database
- Send and Receive SMS messages with the help of a Database
- Installation
- SQL Problem with quotes
- Installing and Configuring MySQL for Ozeki SMS
- PostgreSQL
- Access
