How to install Ozeki on Linux
The next guide is about to demonstrate how you can set up Ozeki Installer on your Linux operating system. This product is a great app store that allows you to get any Ozeki product that you want by just one click. The installation process will take about 10 minutes. The guide contains four steps with clean instructions. The setup procedure does not require any further Linux knowledge. This document contains each command that you have to use during the installation. You just need to copy-paste them. Let's get started!
How to install Ozeki on Linux (Quick commands)
To install Ozeki on Linux:
- Open a terminal on your Linux host
- Add Mono repository to your system
- Install Mono
- Download the Ozeki Installer .deb file
- Move to the folder where .deb file is
- Install Ozeki Installer
- Browse to https://localhost:9545
- Choose SMS Gateway application to Install
- Run the install-password.sh script
- Enable the ports on your Linux firewall
Step 1 - Open a terminal
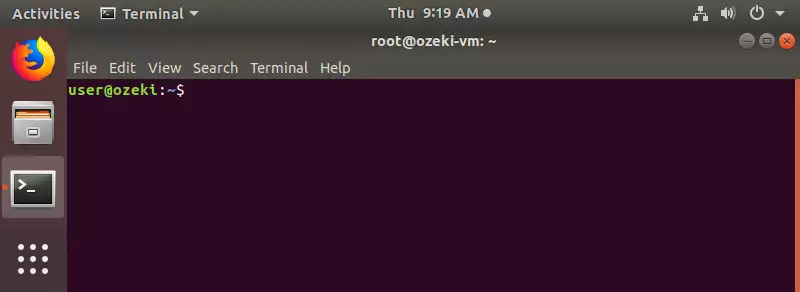
To perform the following installation steps, you need to open a terminal on your Linux host. To open a terminal window, you can use the Ctrl + Alt + T shortcut key (demonstrated in Figure 1).
Step 2 - Install all prerequisites
Add the Mono repository to your system
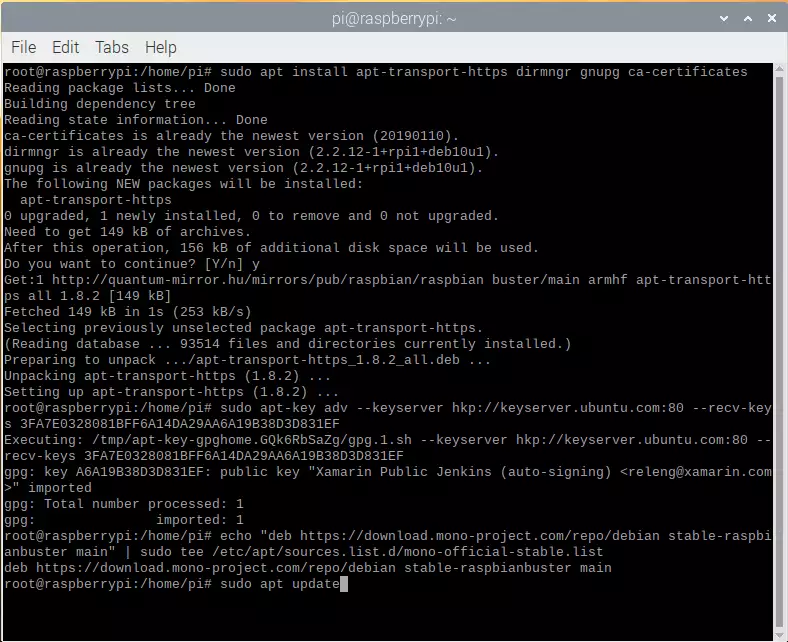
To install Ozeki Installer first, you need to get some dependencies to perform the installation. The first one is the Mono, which is an open-source implementation of Microsoft's .NET Framework. This product is crucial for running Ozeki Installer. To get the latest version of Mono, you have to add the repository to your system as you can see it on Figure 2 below. These commands can be found on the official Mono website: https://www.mono-project.com/download/stable/#download-lin-ubuntu
sudo apt install gnupg ca-certificates
sudo apt-key adv --keyserver hkp://keyserver.ubuntu.com:80
--recv-keys 3FA7E0328081BFF6A14DA29AA6A19B38D3D831EF
echo "deb https://download.mono-project.com/repo/ubuntu stable-bionic main" |
sudo tee /etc/apt/sources.list.d/mono-official-stable.list
sudo apt update
Install mono
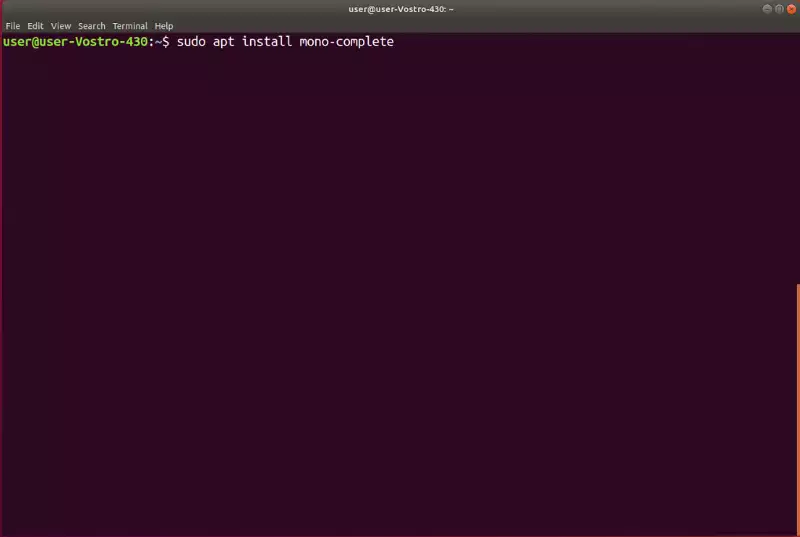
The next step is to install Mono on your computer. This operation can be done by a single command as Figure 3 demonstrates it.
sudo apt install mono-complete
Install other required dependencies
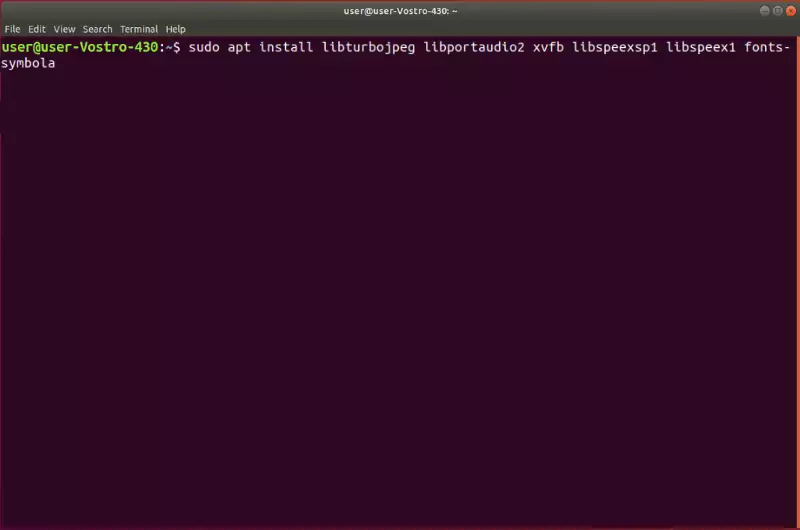
The last step of the preparation is to install the other dependencies that needed for running Ozeki Installer properly. Figure 4 shows the command that you have to type to install these prerequisites.
sudo apt install libturbojpeg libportaudio2 xvfb libspeexdsp1 libspeex1 fonts-symbola
Step 2 - Download Ozeki Installer
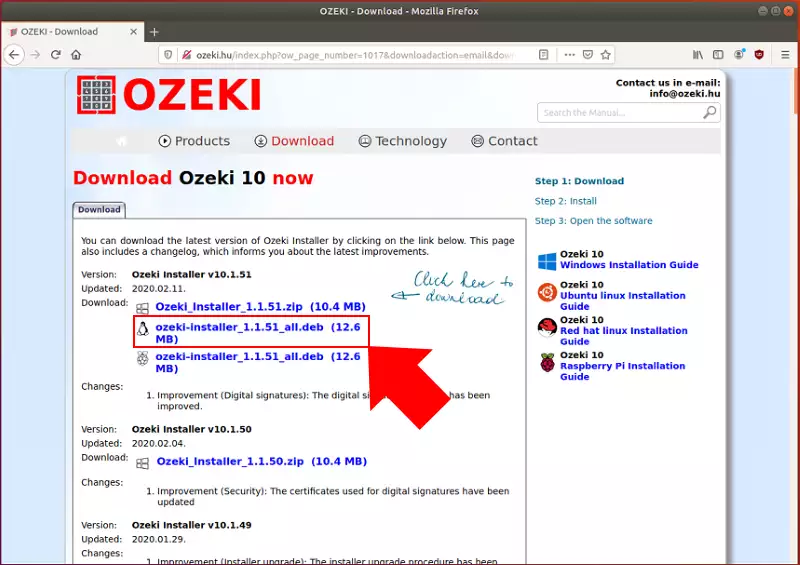
The very first step of getting Ozeki installer on your Linux operating system is to download is from www.ozeki.hu. The latest Ozeki products can be downloaded from the following Downloads page: https://ozeki.hu/p_1017-download-ozeki-software-products.html page. Now, on this page, as Figure 5 shows, click on the .deb file of the Ozeki Installer to start downloading it.
https://ozeki.hu/p_1017-download-ozeki-software-products.html
Download Ozeki Installer
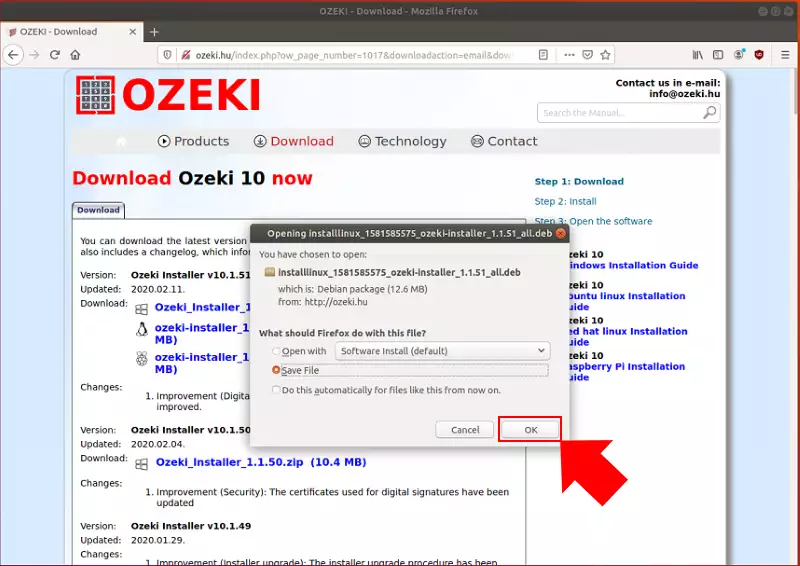
The browser usually asks for how to download the file. It can be opened by a selected software or just downloaded to the designated download folder. In the case of Ozeki Installer just check Save file and click on OK just as Figure 6 demonstrates it.
Step 3 - Install Ozeki Installer
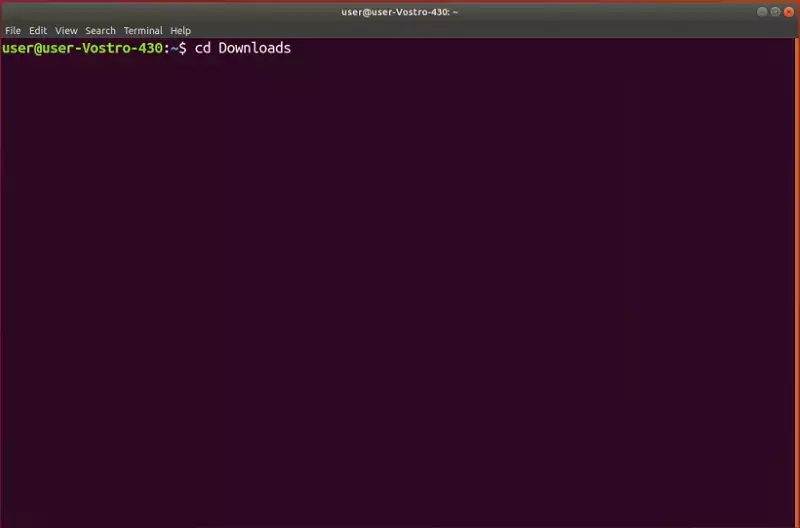
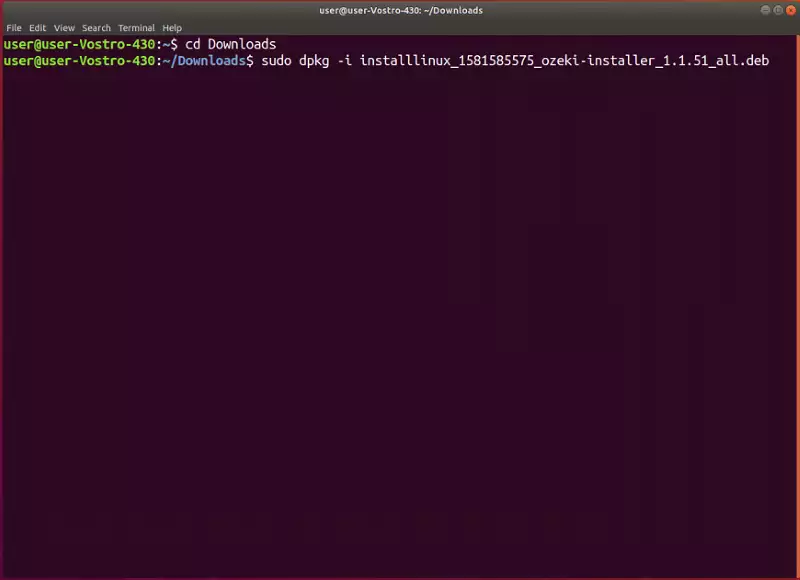
The next step is the main part of this guide by showing the procedure of installing Ozeki Installer to Linux operating system. To do that, first open Terminal. The first thing that you have to perform in Terminal, is to move to the folder where the .deb file was downloaded. In that case, it is the Downloads folder, so as you can see it on Figure 7, with the cd command followed by the name of the directory navigate the control to that folder.
cd Downloads
On Linux operating system, .deb files can be installed by using the dpkg command. To perform an installation, add -i option after the command and type the name of the downloaded .deb file. This process requires administrator permission, so you have to type sudo at the beginning of the command (Figure 8).
sudo dpkg -i installinux_1581585575_ozeki-installer_1.1.51_all.deb
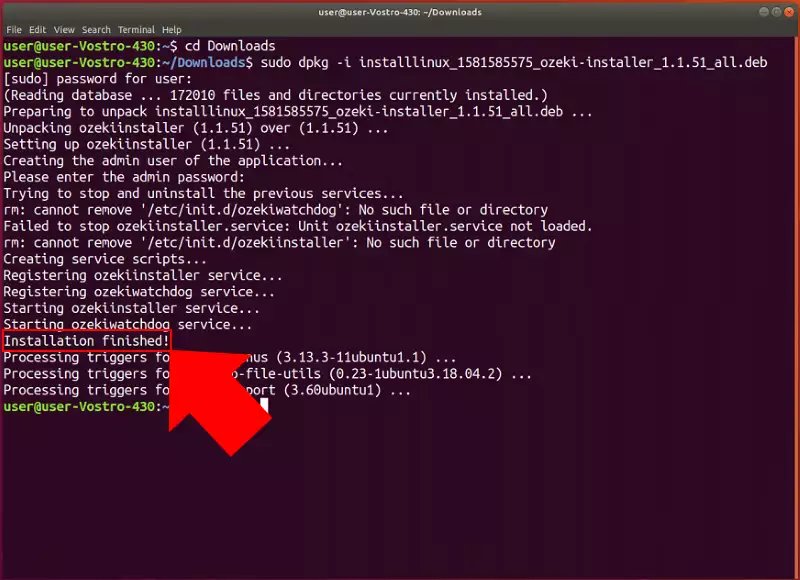
When you hit Enter, the installation process begins. If you have done everything right, Ozeki Installer is going to be installed on your computer just after a few seconds. To make sure about the success of the installation, just search for the Installation finished! line in the logs of Terminal as on Figure 9.
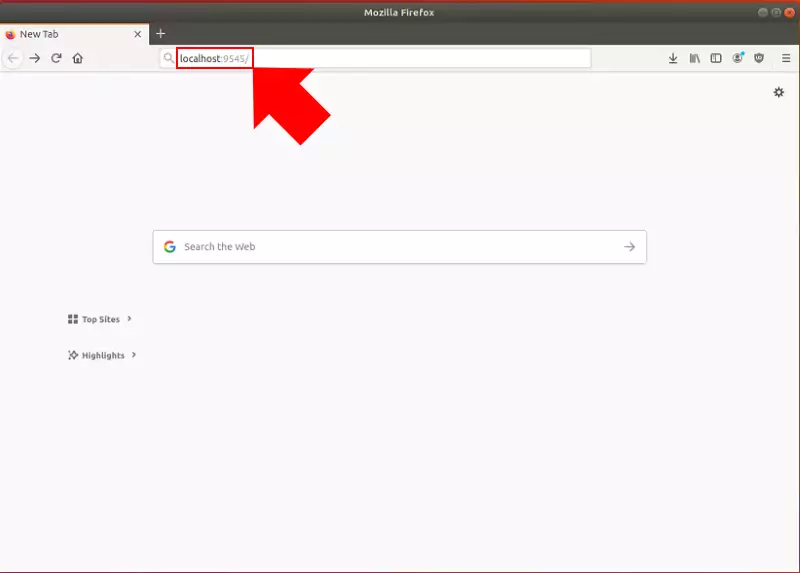
After the successful installation, now you should be able to use Ozeki Installer. For that, just open up your web browser and type localhost:9545 since Ozeki Installer runs on the port 9545 on your computer. To open Ozeki Installer just hit Enter. (Figure 10)
Step 4 - Install SMS Gateway using Ozeki Installer
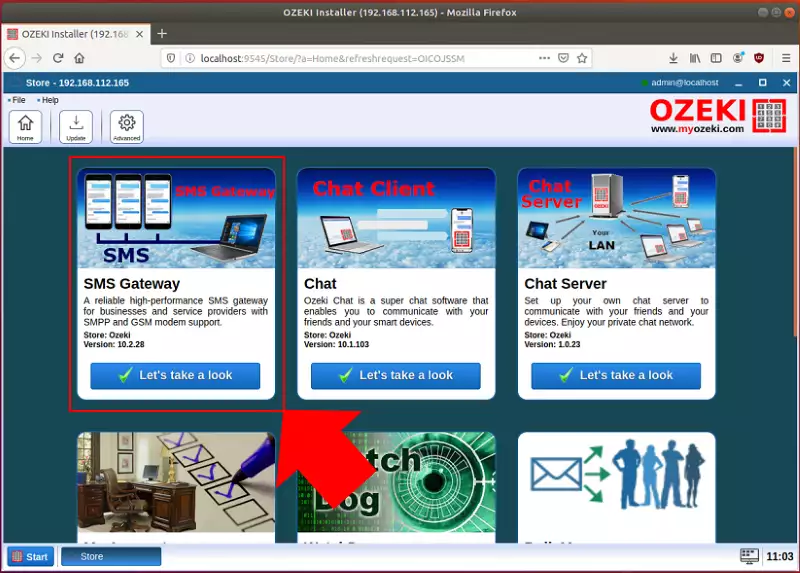
The main menu of Ozeki Installer is an app store, where you can choose from many Ozeki products. By following this guide, you are going to install the SMS Gateway application. To open its details page, just click on the tile of the app. (Figure 11)
The details page of each product contains all important information about the selected application such as version number, descriptions and screenshots. To start the installation of the product just click on the Install as you can see it on Figure 12.
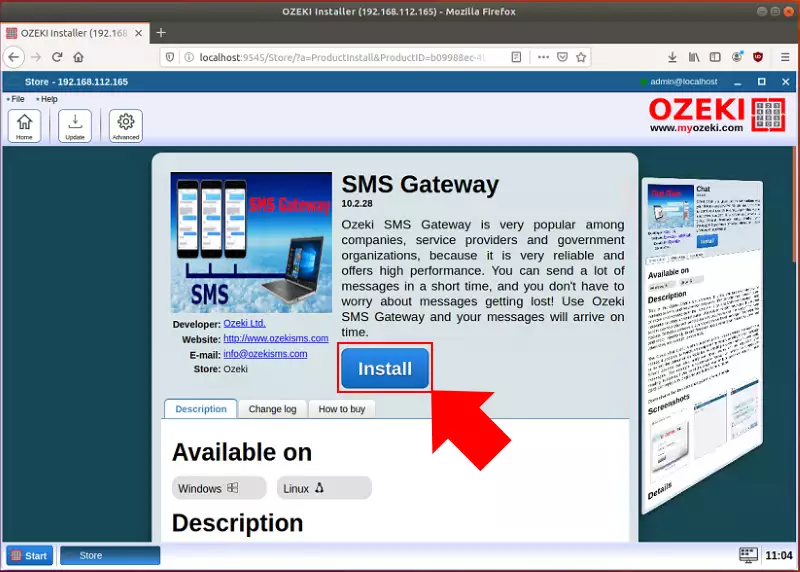
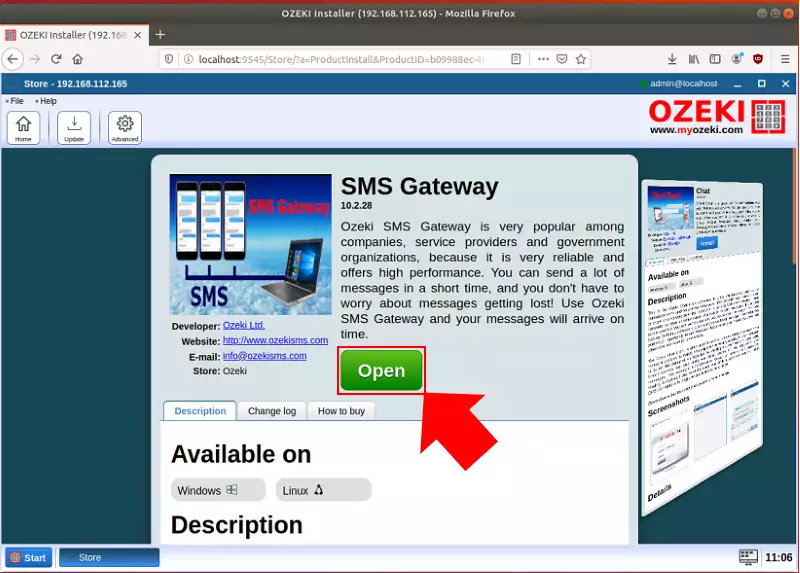
After clicking on the Install button, a progress bar shows the status of the installation process. When it finished successfully, the blue button switches to a green Open button. By clicking that, you can open the installed SMS Gateway. (Figure 13)
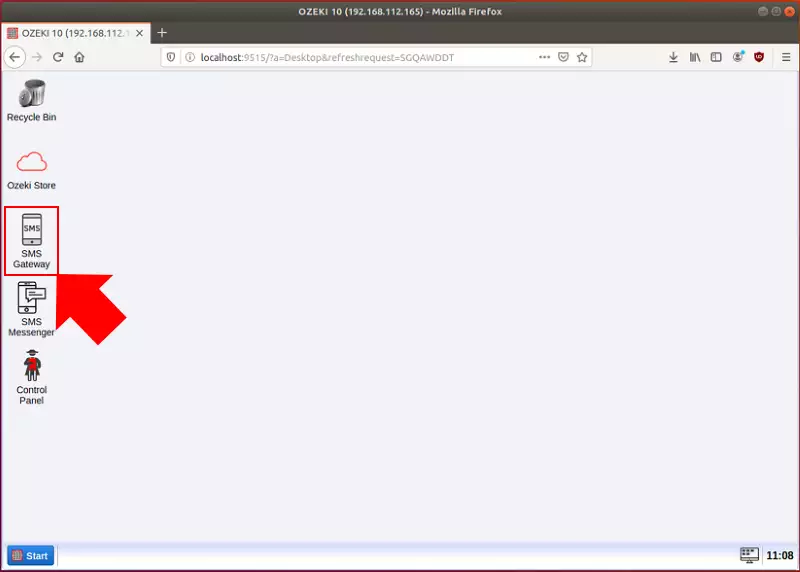
The installed applications can be reached at port 9515. So, the installed SMS Gateway opens up on that port as well. This desktop shows the products that were installed previously on your computer. To open SMS Gateway, click on its icon (Figure 14)
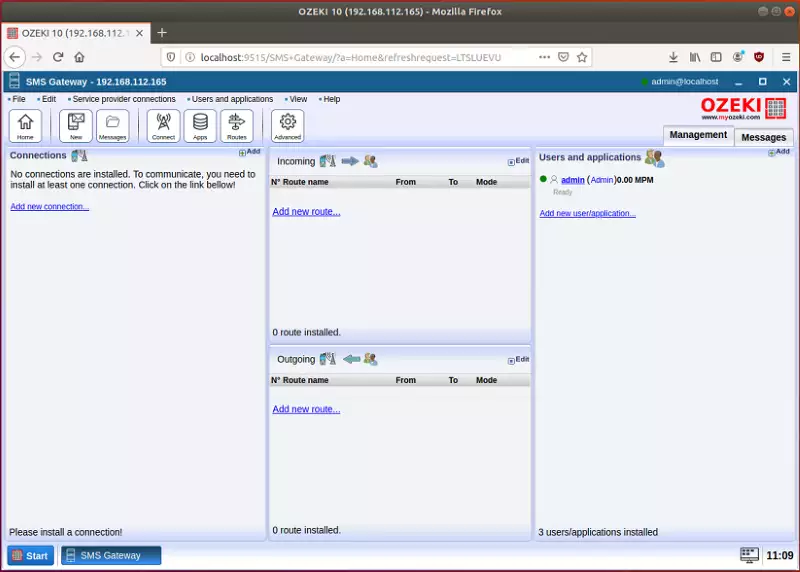
And finally, now you will be able to see the main menu of the installed SMS Gateway, which is ready to use. (Figure 15)
Step 5 - Set a root password for remote access
For security reasons, it is not possible to log in remotely in Ozeki 10 by default. For remote access to work, a secure password must be set for admin users. You can do this by running a script called install-password.sh and it is located in the Ozeki folder. To do this, go to the Ozeki folder with the following command that you can see on Figure 16:
cd /usr/lib/Ozeki
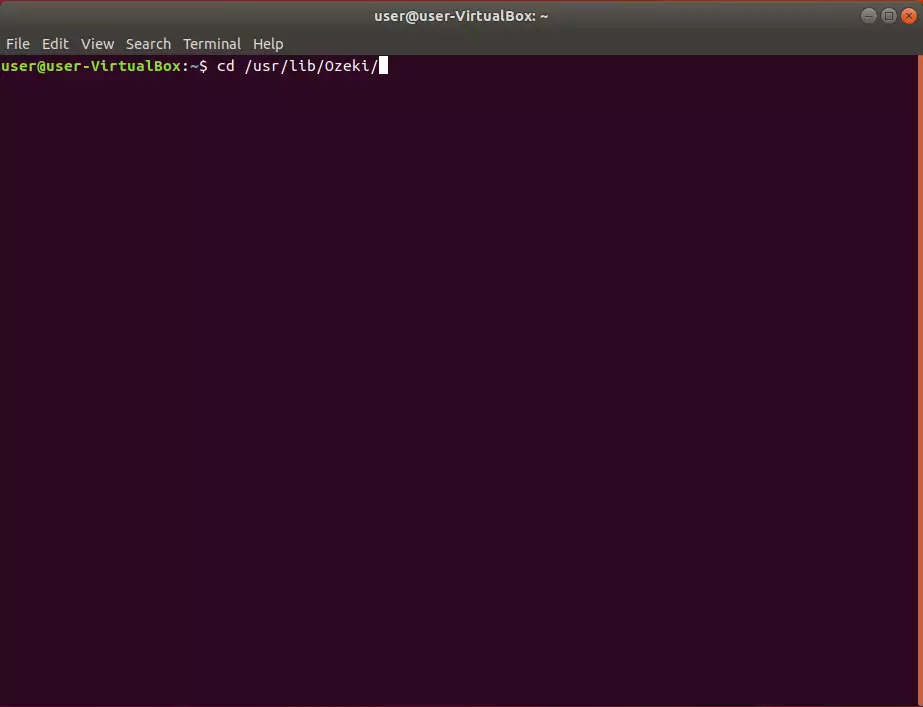
Then run the install-password.sh script with the following command. The script will ask for the new password and then set it for the admin user. (Figure 17)
sudo ./install-password.sh
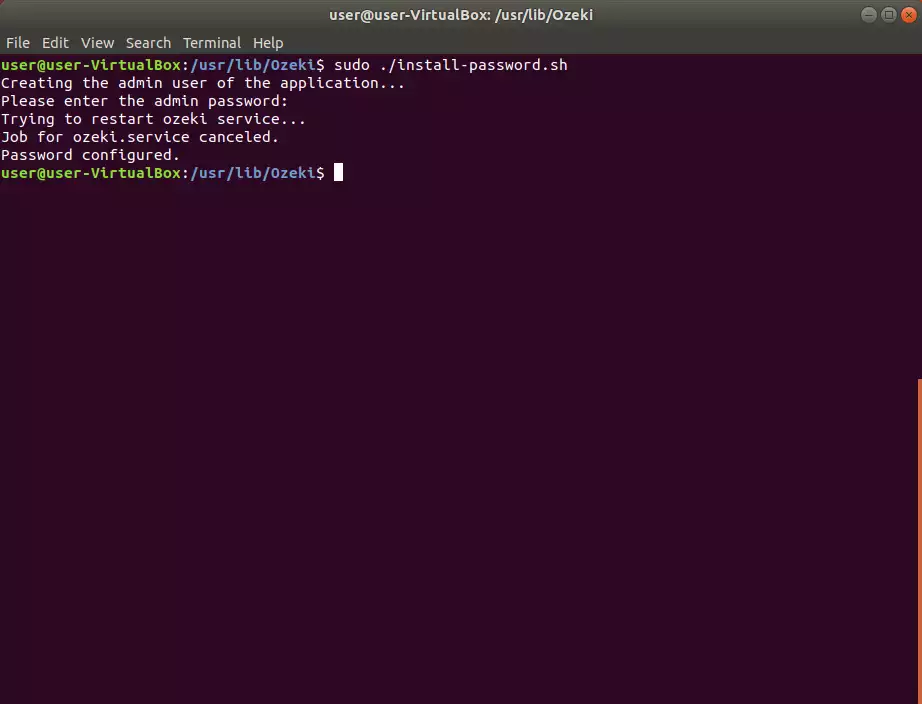
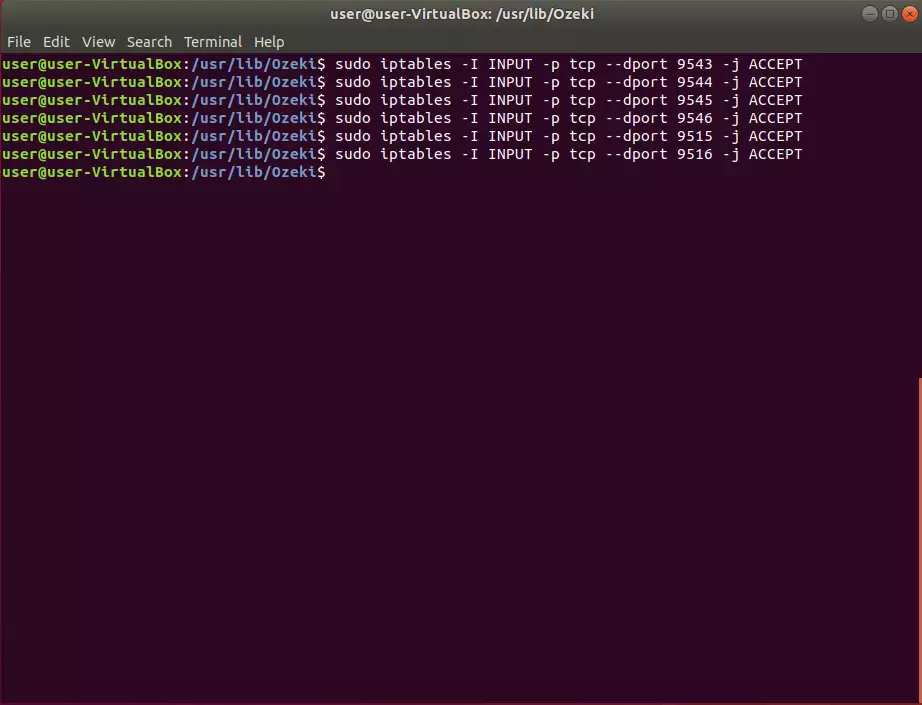
Finally, you need to enable the appropriate ports on your linux firewall in order to access Ozeki 10 from the outside. To do this, you need to run the following commands. 9543 is the http port and 9544 is the websocket port, 9545 is the https port and 9546 is the secure websocket port. (Figure 18)
sudo iptables -I INPUT -p tcp --dport 9543 -j ACCEPT
sudo iptables -I INPUT -p tcp --dport 9544 -j ACCEPT
sudo iptables -I INPUT -p tcp --dport 9545 -j ACCEPT
sudo iptables -I INPUT -p tcp --dport 9546 -j ACCEPT
sudo iptables -I INPUT -p tcp --dport 9515 -j ACCEPT
sudo iptables -I INPUT -p tcp --dport 9516 -j ACCEPT
