
 Sign in
 Installation Guide
After you have downloaded the software of Ozeki Cluster, you need to unzip and install the file.
In the installer's directory, double click on the exe to install it. A dialogue box will appear with information about the software. Click on 'Next' to continue (Figure 1).

The following box contains the 'License Agreement'. Please read it carefully. If you accept all the terms and conditions please click on the 'I Agree' button. (Figure 2).

After it you will see the installatin process (Figure 3).

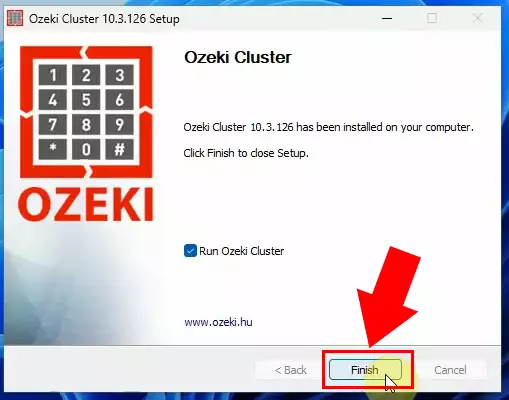
Finally, when the installation procedure is over, click on the 'Finish' button (Figure 4).
During the first run, it may take a bit of time for OZEKI Cluster service to start. You might see a blank website instead of the login page. If this is the case, please wait while the service starts and then refresh the webpage. You can also manually start the service from Windows services(Figure 5).
