
 Sign in
 SQL Anywhere Installation
In this video series you can see how to connect Ozeki SMS Gateway to an SAP SQL Anywhere database server for SMS messaging. The first video shows how to install SQL Anywhere. Please download it from the following page.
Video content
1. Install SQL Anywhere
Lead: SQL Anywhere Server is a high performing relational database-management system that is used in server environments as well as in desktop and mobile application. To have a working system with the Ozeki SMS Gateway and the SQL Anywhere Server, you need to install both to your system. This setup will provide the step to install SQL Anywhere to your PC.
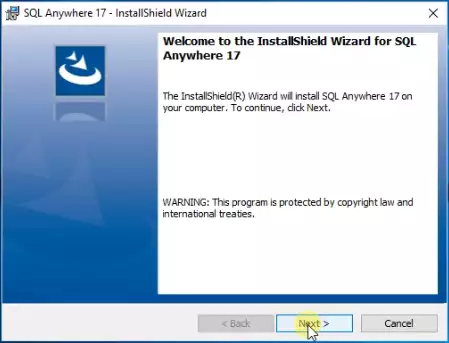
At the first step of the installation, open the Installer Wizard for SQL Anywhere 17. Here, you just need to click the Next button. It will automatically start the installation procedure. You can see the first window on Figure 1.

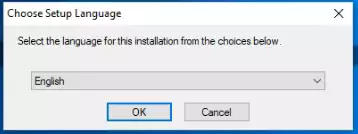
Now you need to choose the language of the installation process. On default it will be English, but at the drop-down menu, you can choose other languages. If you chose the language you are familiar with, click the Next button to proceed to the next step. You can see this window on Figure 2.
In this window, you get some notification about the software being protected by copyright law. Click the Next button to see the License Agreement of the software. You can see the button on Figure 3.
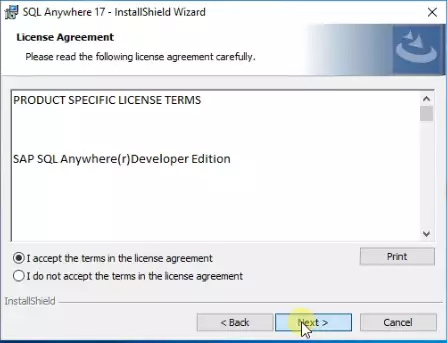
This is the License Agreement of the software. To know legal details of the software, you could read it. If you wish to continue installing the software, please click the I accept the terms in the license agreement. The check box before the title will be filled, and you could click the Next button to proceed. You could see the License Agreement on the Figure 4.

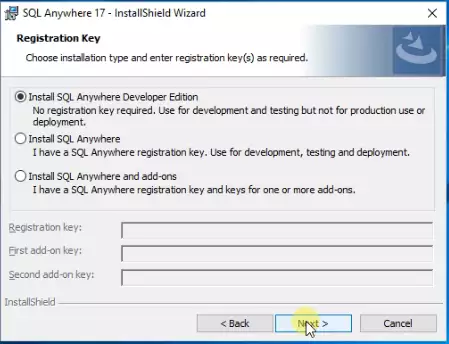
Here you can choose what type of registration key you have. If you wish to only use the software for development and testing, please select the SQL Anywhere Developer Edition option. It is free to use, but you could not use it for production or deployment. You could get more information on Figure 5.
Now you have to accept the License Agreement of the developer edition you chose at the last step. Click the I accept… option and click the Next button to proceed to the next step.
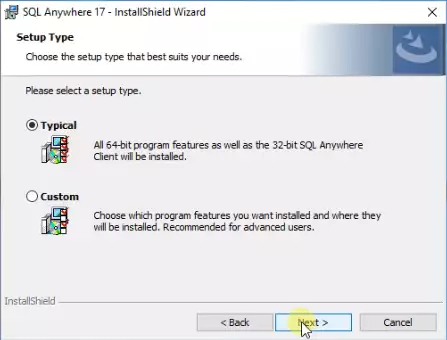
This step, you get to choose which programs the installer should setup on your computer. To have all the necessary programs, please choose the Typical option. The Custom option will open a panel where you need to manually select the components. Click the Next button to proceed to the next step, as you can see on Figure 7.
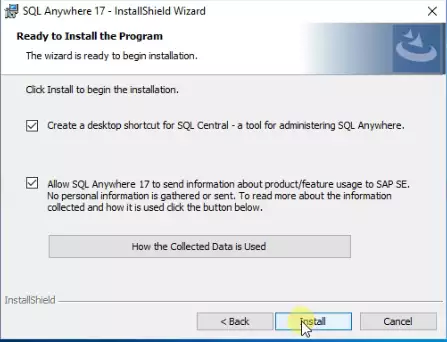
Now you are finished with setting up your software. As the last step, you need to decide if you would like to create a desktop shortcut and if you would allow the SQL Anywhere to send information for research purposes. The installation process should start as soon as you click the Install button. You can see all the options on Figure 8.
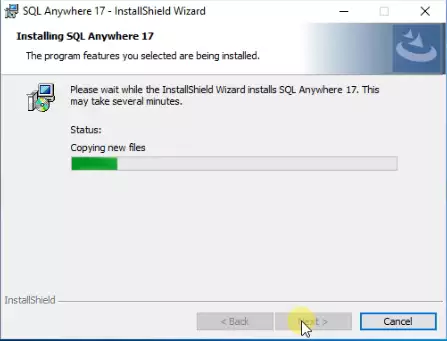
This is the step where you need to wait out the installation procedure. You can inspect it with the help of the green progress bar, that you could see on Figure 9. If it is finished, click the Next button and it will take you to the last window of the installer.
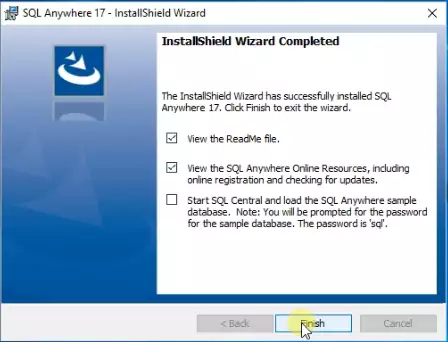
This is the final step of the installer . Here you could decide if you would like to read the ReadMe file, check the online registration or start the SQL Center. Click the Finish button to exit the installer.
We hope that this guide was helpfull. If you have any problem with any of the steps, feel free to contact us at info@ozeki.hu
More information
- Installation of MS SQL Express
- MSSQL Database layout for Ozeki 10 softwares
- MS SQL Troubleshooting guide
- Oracle Installation
- Oracle database layout
- MySQL Installation
- Create MySQL Database Tables
- PostgreSQL Installation
- PostgreSQL Database Tables
- SQL Anywhere Installation
- Create SQL Anywhere Database
- Access Installation
- Access 365 table structure