Connecting Arduino to Windows and Linux through an USB cable
Contents
Hardware requirements
1x Arduino board
1x USB cable
Install the Software
To connect the Arduino board to the computer you have to plug the usb cable into your computer and your Arduino board. First time you have to install the Arduino IDE to your computer to send commands to your board. You can find the download link for the arduino at:
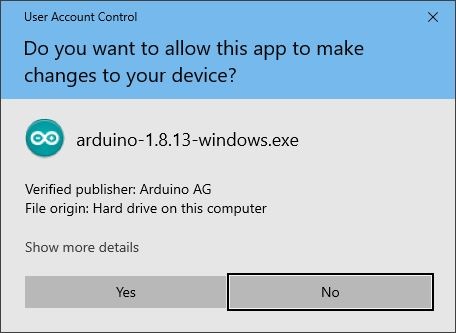
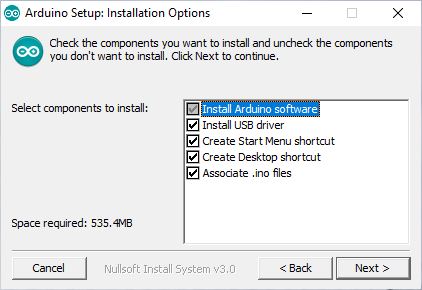
After downloading installation file to your computer install the software in the following ways:


Windows Installations
- Connect your Arduino board via USB and wait for Windows to begin its driver installation process. After a few moments, the process will fail. (Don't worry, it is not unexpected.)
- Click on the Start Menu, and open up the Control Panel.
- While in the Control Panel, navigate to System and Security. Next, click on System. Once the System window is up, open the Device Manager
- Look under Ports (COM & LPT). You should see an open port named "Arduino UNO (COMxx)".
- Right click on the "Arduino UNO (COMxx)" port and choose the "Update Driver Software" option.
- Next, choose the "Browse my computer for Driver software" option.
- Finally, navigate to and select the Uno’s driver file, named "ArduinoUNO.inf",located in the "Drivers" folder of the Arduino Software download (not the"FTDI USB Drivers" sub-directory).
- Windows will finish up the driver installation from there.
- Double-click the Arduino application.
- Open the LED blink example sketch: File > Examples > 1.Basics > Blink
- Select Arduino Uno under the Tools > Board menu.
- Select your serial port (if you don’t know which one, disconnect the UNO and the entry that disappears is the right one.)
- Click the Upload button.
- After the message “Done uploading” appears, you should see the “L” LED blinking once a second. (The “L” LED is on the Arduino directly behind the USB port.)
Linux Installation
- Install gcc-avr and avr-libc
sudo apt-get install gcc-avr avr-libc
- If you don’t have openjdk-6-jre already, install and configure that too:
sudo apt-get install openjdk-6-jre

sudo update-alternatives --config java
- Select the correct JRE if you have more than one installed.
- Go to http://arduino.cc/en/Main/Software/ and download the Arduino Software for Linux. You can untar and run it with the following command:
tar xzvf arduino-x.x.x-linux64.tgz

cd arduino-1.0.1

./arduino
