How to make an arduino mega case from cardboard
Download the PDF of the box: Arduino mega case from cardboard template.pdf
The Arduino Mega 2560 is a microcontroller board based on the ATmega2560. It has 54 digital input/output pins (of which 15 can be used as PWM outputs), 16 analog inputs, 4 UARTs (hardware serial ports), a 16 MHz crystal oscillator, a USB connection, a power jack, an ICSP header, and a reset button.. For storing or protecting purposes, or if you would like to make it more aesthetic by hiding its components, let’s prepare a practical paper box for it. The DIY Arduino Mega case project below demonstrates how to make a pretty box easily and quickly.
Contents
- What is needed to make an Arduino Mega case
- Step 1 – Download and print out the PDF template of the box
- Step 2 – Cut out the template of the box
- Step 3 – Fold the box along the folding lines
What is needed to make an Arduino Mega case
Here is a checklist for preparing an Arduino Mega case:
- PDF template of the box downloaded on your PC
- One piece of A4 cardboard (ideal paper weight: 200-250g)
- Printer
- Scissors, cutter
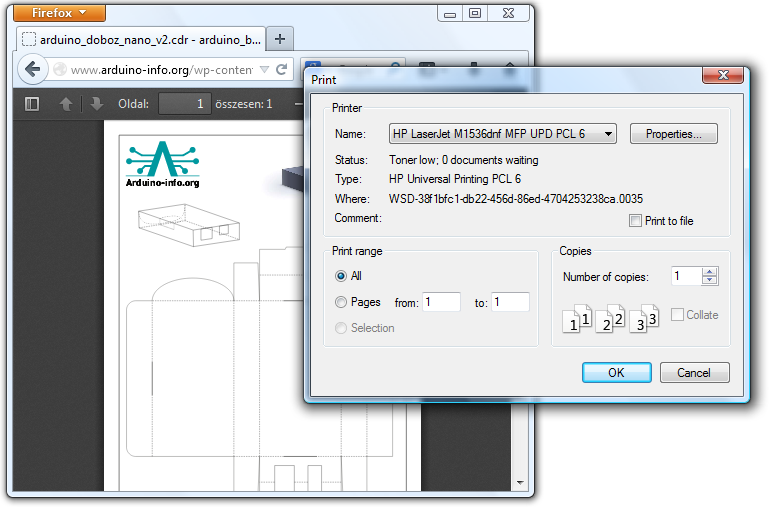
Step 1 – Download and print out the PDF template of the box
To make a perfectly fitting box, first you need to download and print out the PDF template of the Arduino Mega case (download link: Arduino mega case from cardboard template.pdf). The template is absolutely free and available for anyone.
Download the PDF template of the Arduino Mega case
For printing, you need a piece of A4 cardboard. A 200-250g weight cardboard works best for this project, though other similar papers like glossy or matte photo papers work just fine, too.
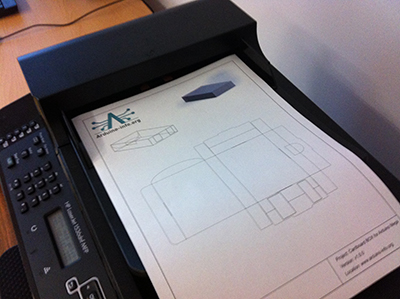
Print the template of the box on a piece of A4 cardboard
Step 2 – Cut out the template of the box
After printing out the template of the box, you can see the net (the unfolded surface) of the box. The template contains dashed and solid lines as well. Please, take care that you need to cut along the solid lines, while dashed lines indicates the place of folding. So please, do not cut the dashed lines.
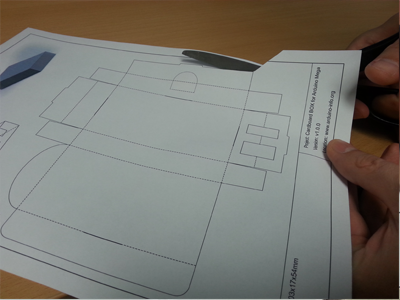
Cut out the template along the solid lines
When cutting out the cardboard, it is worth taking the time to perfectly cut out the tiny holes and gaps. It is recommended to use a small sharp scissors (such as nail scissors) or rather a cutter.
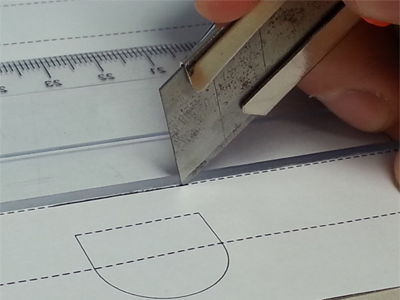
Cut out the tiny holes and gaps carefully
Step 3 – Fold the box along the folding lines
Once your template is cut out, fold the cardboard along the dashed lines. When the edges are completely matched, softly press the fold with your fingers, and then crease with a bone folder (or a simple ruler) to make the fold permanent. When opened up, you cardboard should look like this:

Fold the cutted template along the solid lines
You are done the folding! Now it is time to tuck in the edges and form the box. For this purpose, use the following markings that help you while reading the instructions below:
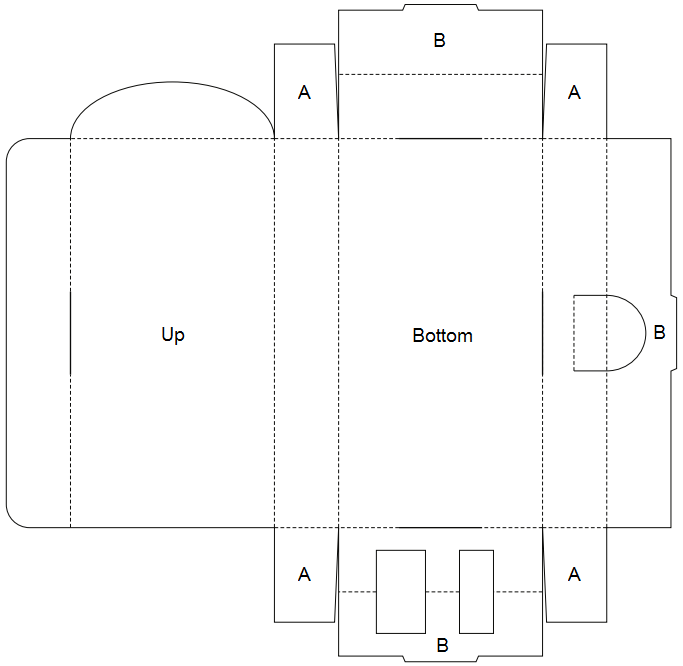
Supplementary markings to form the box
With the template opened up, fold the tabs marked with ’A’ (Figure 6) up. Now keep the side marked with ’Bottom’ on the table, and then fold each adjacent side up. Tuck in the tabs marked with ’B’. For making your folds well-fixed, be sure that the tiny tongues on the ’B’ marked tabs perfectly match into the cuts under them.
Form the box by tucking in the side panels
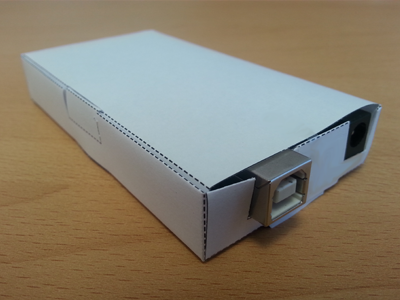
Now place the Arduino Mega microcontroller board into your box as you can see below:

Place the Arduino Mega board into your box
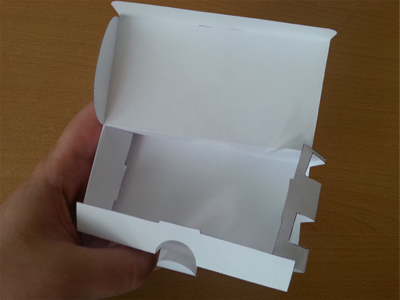
Finally, fold down the side marked with ’Up’ (Figure 6) while tucking its two tabs into the box. The only thing you left to do is pushing the last small tongue into the hole made previously on the ’Up’ marked side.
The completed Arduino Mega case
Congratulations, you made a perfectly fitting box for your Arduino Mega microcontroller board!