Testing your PCB panel
To find out if your PCB really works you will need to test it out with an adjustable lab bench power supply and an oscilloscope. You can test it out by rising the voltage smoothly. The oscilloscope is necessary if you would like to check the waveform of the measurable signals.
We tested a PCB which blinks a small LED:

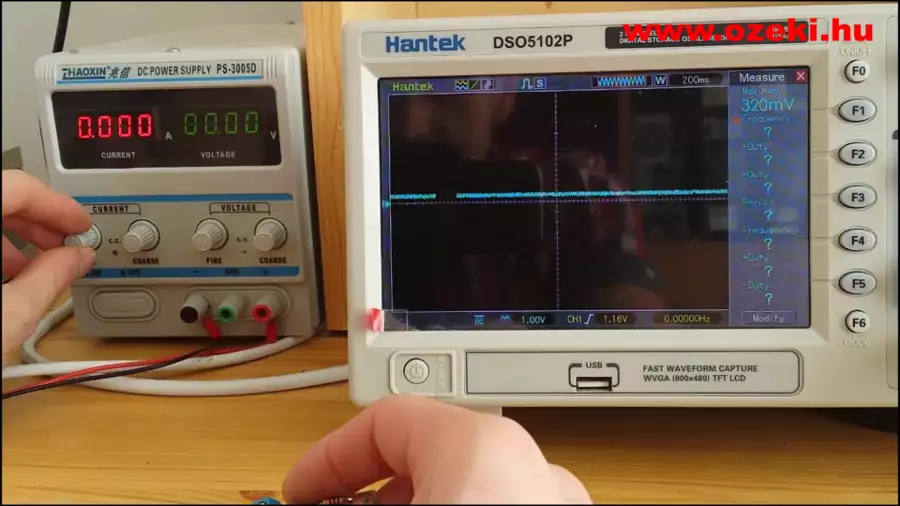
Step 1: Set the constant current and voltage to minimum
Before turning the power supply on, make sure that you twist every button value to zero. Now connect the GND pole of the power supply to the ground of your PCB and turn the power supply on (Figure 1).

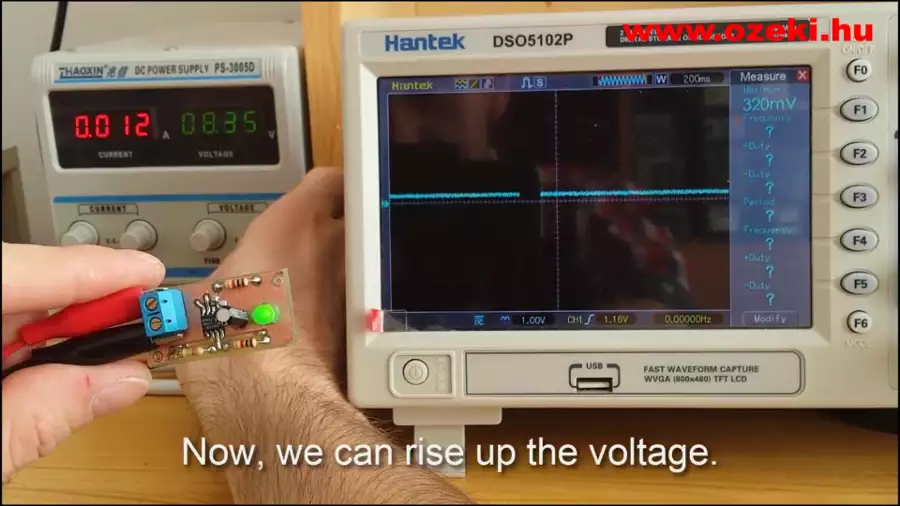
Step 2: Carefully rise the voltage
Now connect both poles of the power supply to your PCB. Smoothly rise the voltage (Figure 2) until it reaches the required voltage level. Some kind of indicator can be helpful on your printed circuit board, for example a built in LED showing if the board is working.

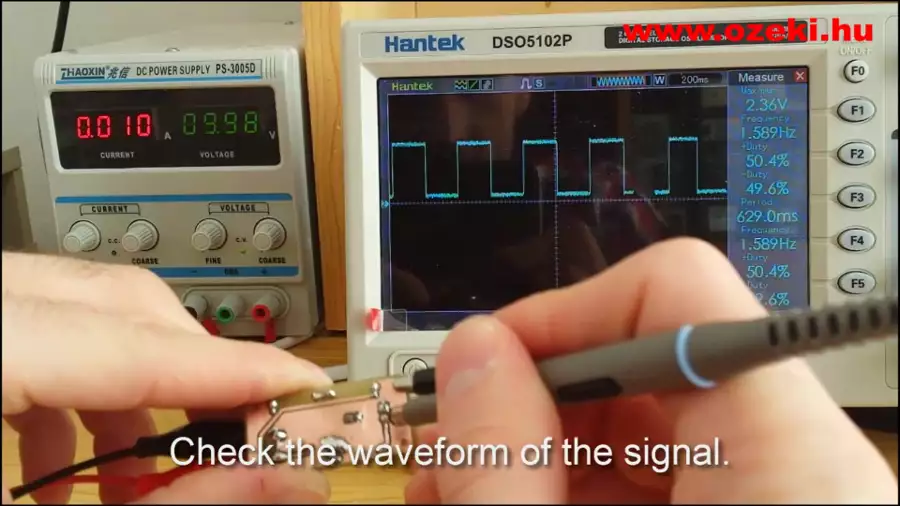
Step 3: Check the waveform of the signal with an oscilloscope
If everything went as expected you should do the final measurements with an oscilloscope. This can be useful for measuring signals. It can measure voltage in real time between two points. For example if you connect the oscilloscope on a blinking LED, you should see a PWM signal (Figure 3).

the LED is turned off
