Deploy Ozeki SMS Server
The Ozeki Message Server installation is similar to any Windows applications. Before you do the installation, you must exit all Windows applications. After having done it, locate the OzekiMessageServer.exe file on the installation CD-ROM. If you have downloaded the application from the Internet, OzekiMessageServer.exe is in your download directory. Start OzekiMessageServer.exe by double-clicking on the icon and follow the instructions:
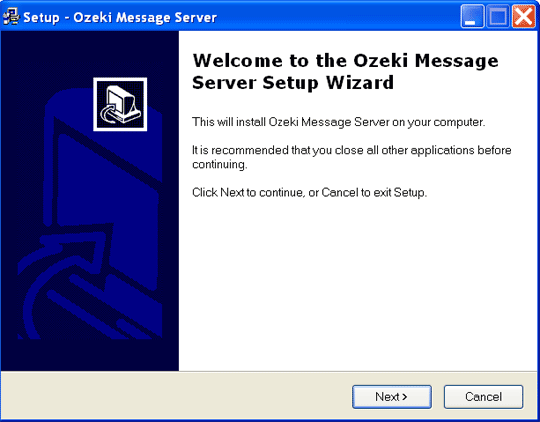
On the Welcome screen click Next to start the Installation (Figure 1).
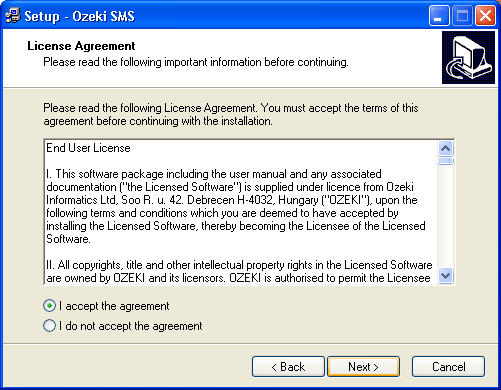
This will bring up the End User License agreement of the software (Figure 2). It is important to read this and to accept the agreement if you wish to use the software.
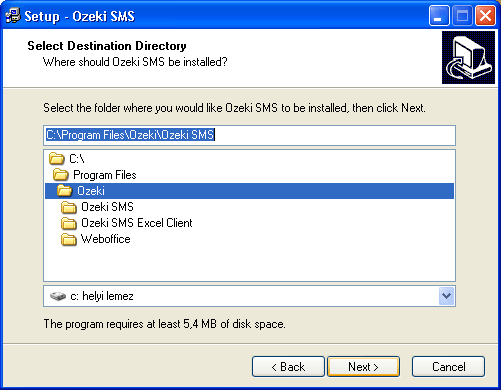
If you have accepted the End User License Agreement, you will move to the destination directory selection form. On this form, you have to specify the directory you wish to use(Figure 3). Make sure you have at least 20 Megabytes of hard disk space available on the drive you have chosen.
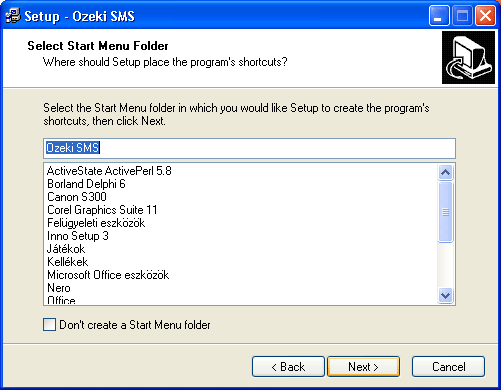
In the follwoing window you need to enter the name of the Start Menu Folder and click Next (Figure 4).
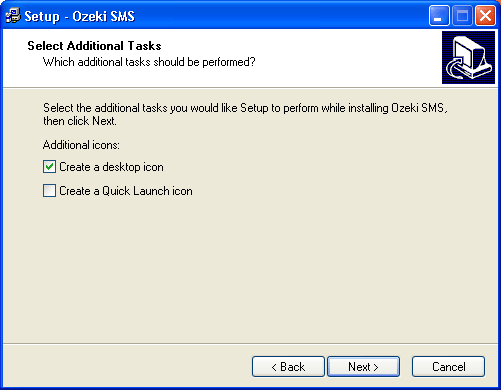
Following this you will be faced with some options about icon creations. If you would like to create a desktop icon place a checkmark in the appropriate checkbox (Figure 5).
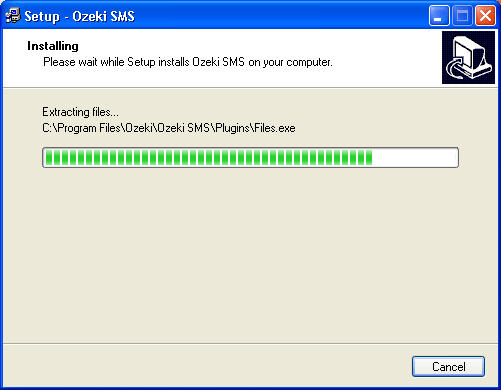
As a next step you need to wait until the installation procedure finishes (Figure 6).
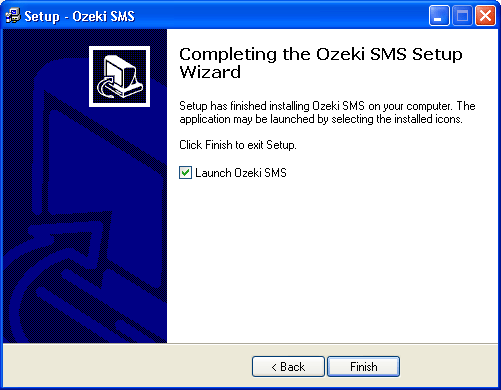
To finish the installation procedure you need to click on Finish (Figure 7).
After the installation is finished, a shortcut will be available in the Windows Start menu and a taskbar icon will appear. This shortcut is a reference to the Ozeki Server Monitor. The monitor application can be used to get information about the state of the server and it helps to open the Ozeki Server Manager configuration screen.
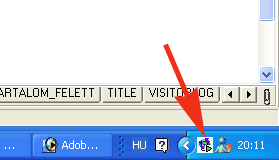
The configuration screen can be opened by clicking on the Manage Service menu item (Figure 8).
