MSSQL Installation
This page gives you the steps you need to take to download, install and configure Microsoft SQL Server (Express edition). Microsoft SQL Server is a database server by Microsoft. It is a software product that primarily aims to store and retrieve data requested by other applications. Microsoft SQL Server and Microsoft SQL Express are basically the same products, so the steps to get them up and running are pretty much the same.
Content1. Download MSSQL Express
2. Install MSSQL Express
Please jump to the video or if you scroll down you can find screenshots that describe the installation details of MSSQL from the downloading and installing the package, through instance creation until creating the administrator account's password.
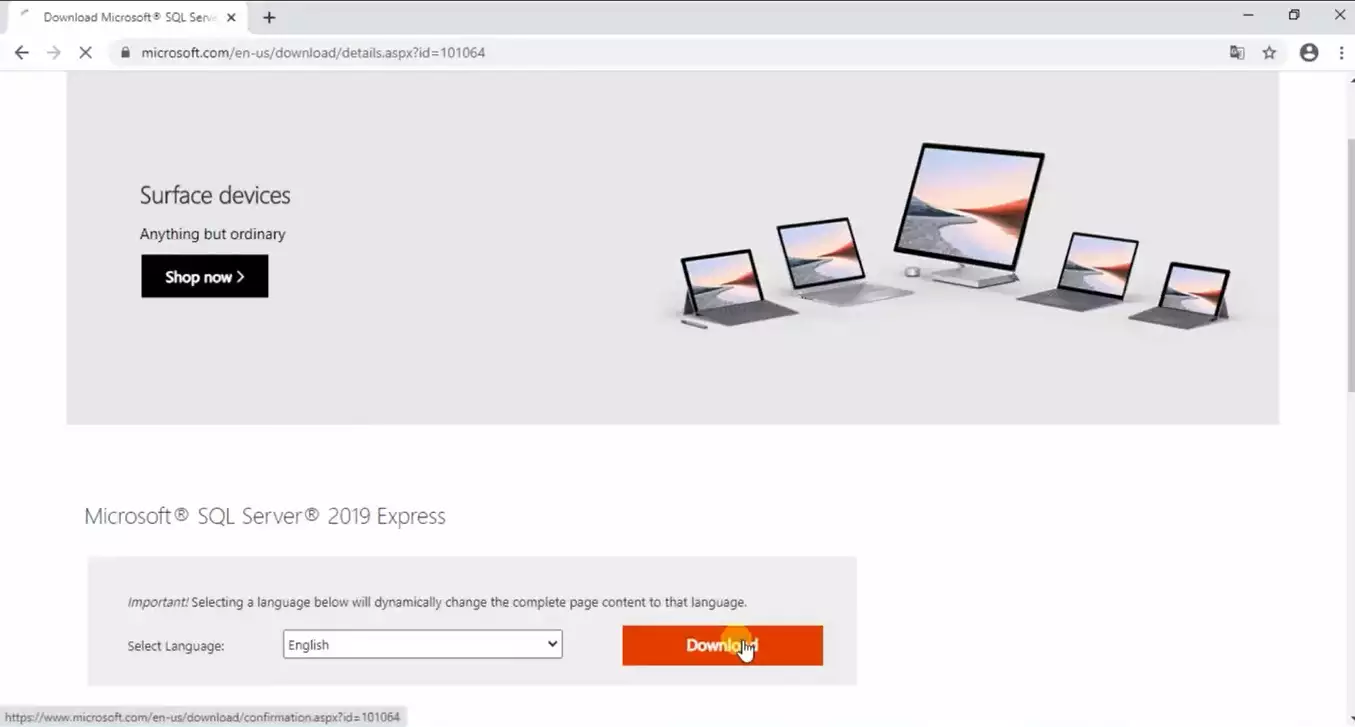
The first step is to visit the SQL Server 2019 official download page. You can do this by following this link. Here, please click the download link. Your computer will start to download the required data. After you have all the necessary files, you can proceed to the next step. You can see the download page on Figure 1.
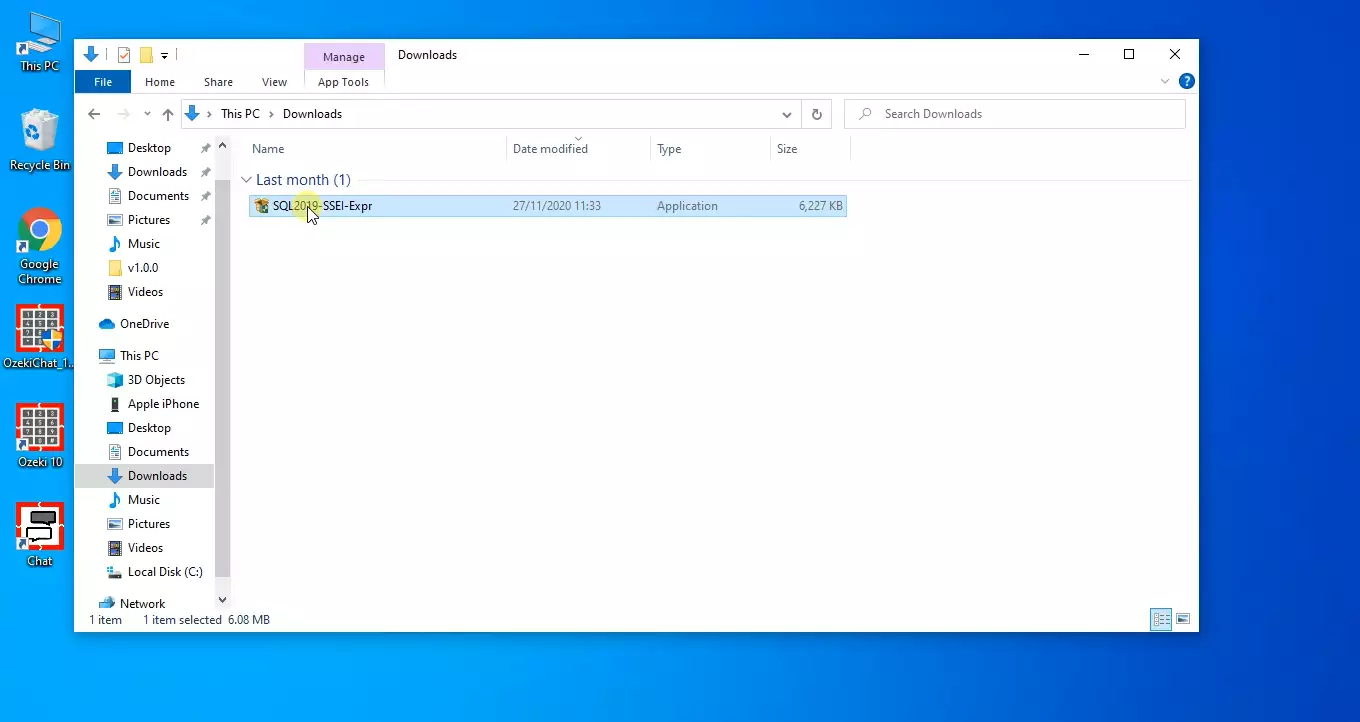
Now you have to find the downloaded SQLServer2019-SSEI-Expr.exe file. By default, this will be on your Downloads folder. (Figure 2) Find it and run the .exe file to start the installation procedure.
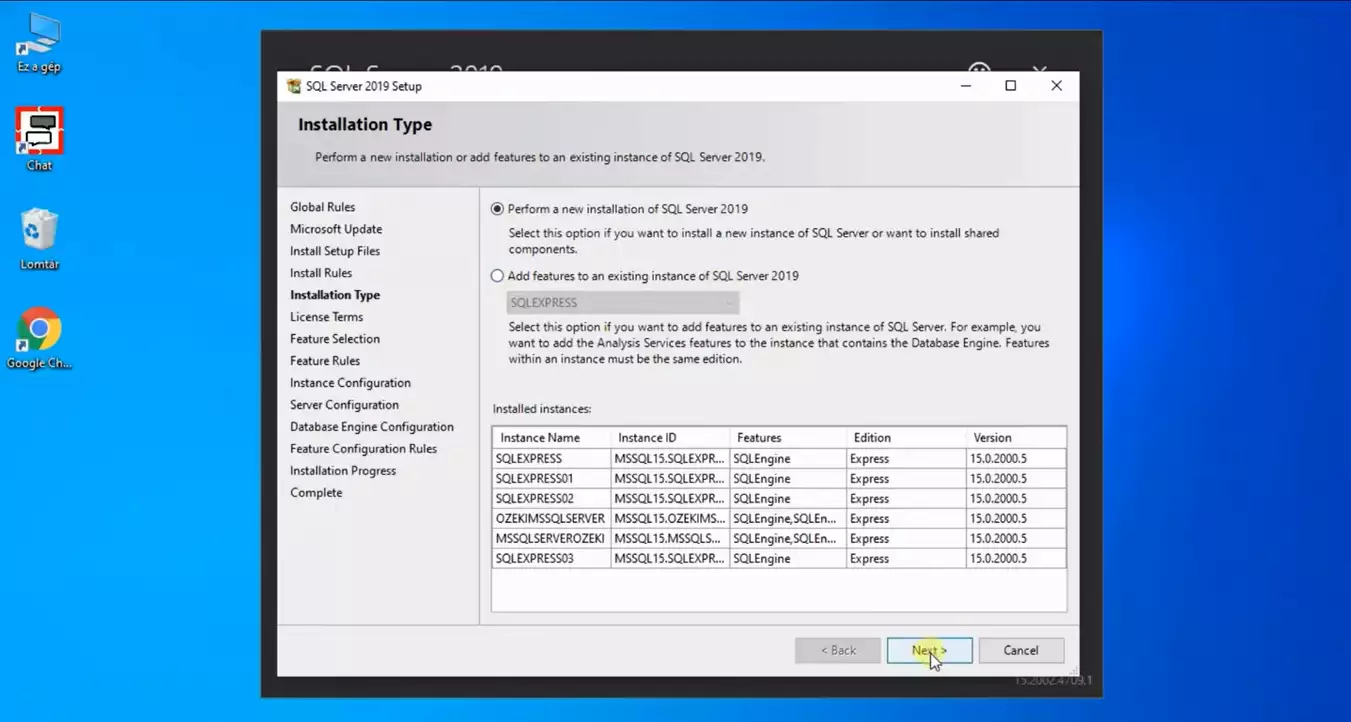
The first step of the installation process is defining the type of installation you want to execute. You have 2 options. If you are installing the SQL Server 2019 to your computer the first time, please choose the first option which is the installation. The second option lets you add featured to an existing copy of the software. You can see a more detailed explanation of both options on Figure 3.
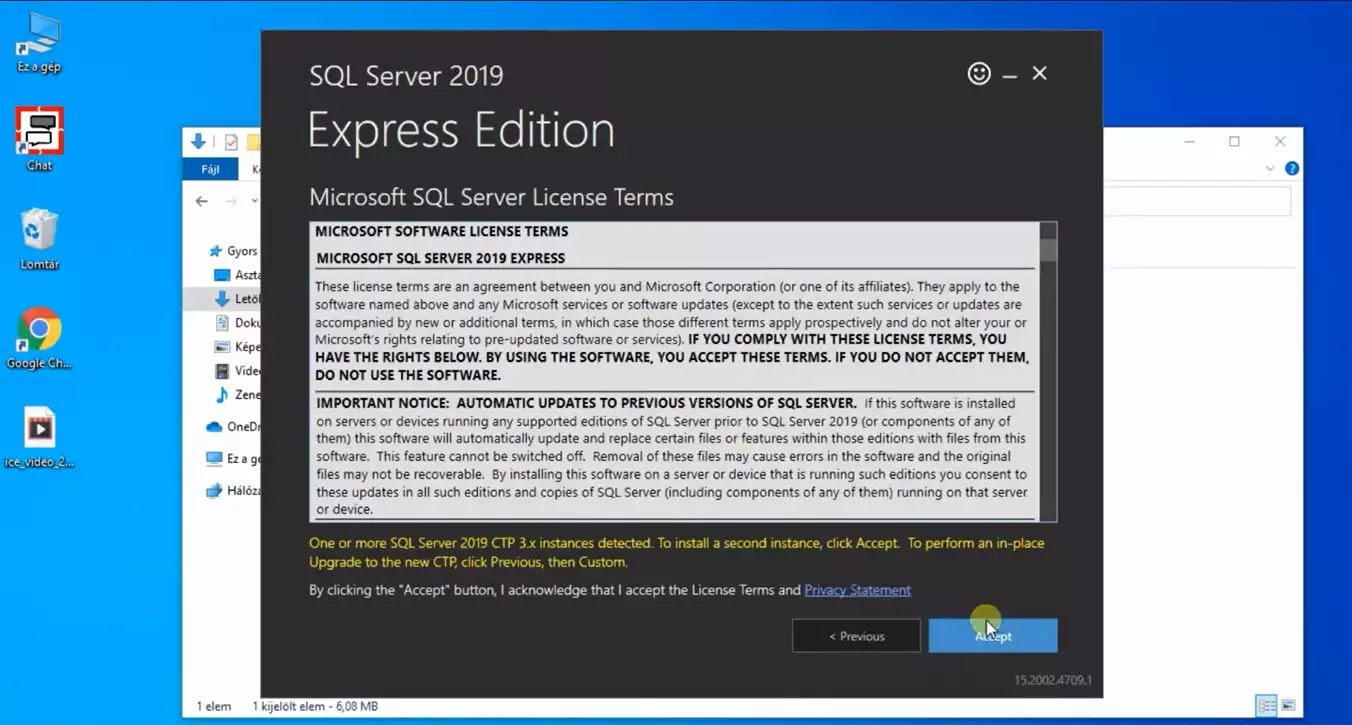
To legally own a copy of the SQL Server 2019, you need to accept Microsoft’s Software License Terms. To proceed, please click the Accept button. You can find it on Figure 4.
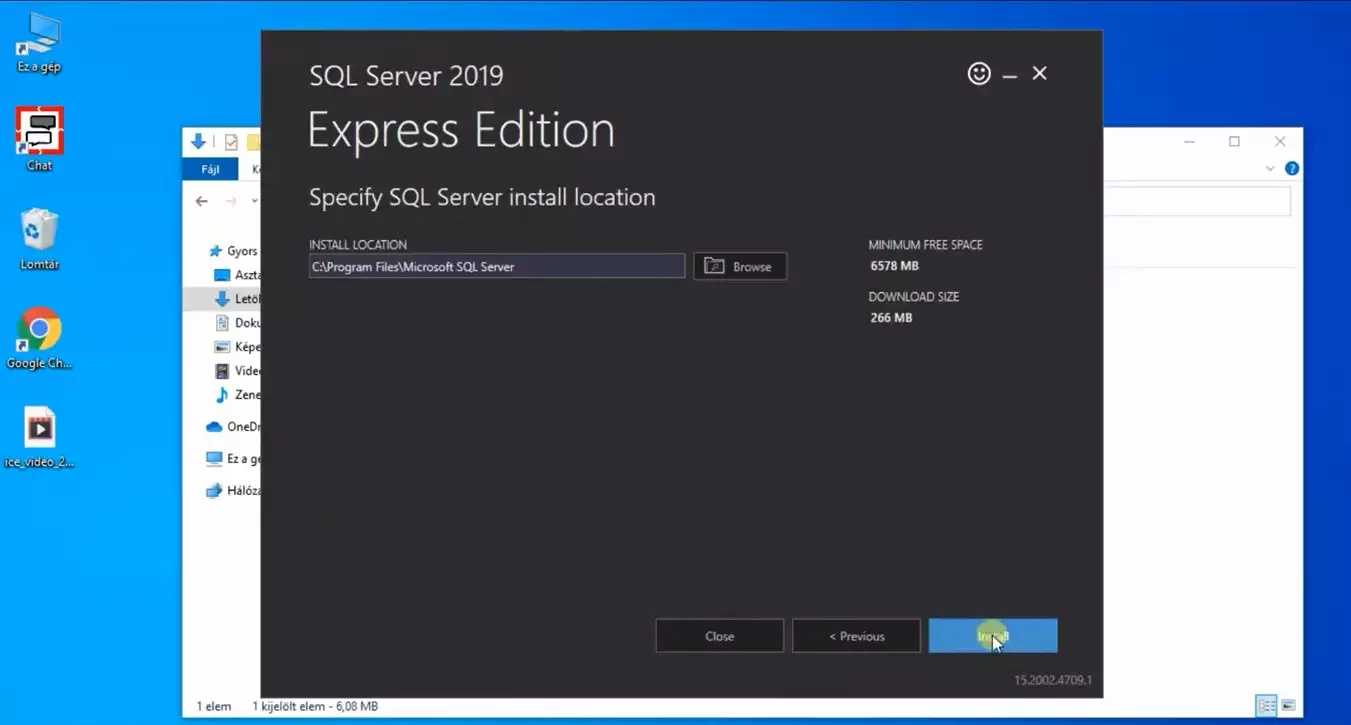
Now you have the chance to define the installation location of the program. By clicking the browse button, You can navigate to the folder you want the program’s necessary files to be located in and click Ok. Make sure that there are enough free space on the drive you are choosing. You can see the minimum space the software required on the right side of the window, as you can see on Figure 5. Click “Install” if you have found a suitable install destination.
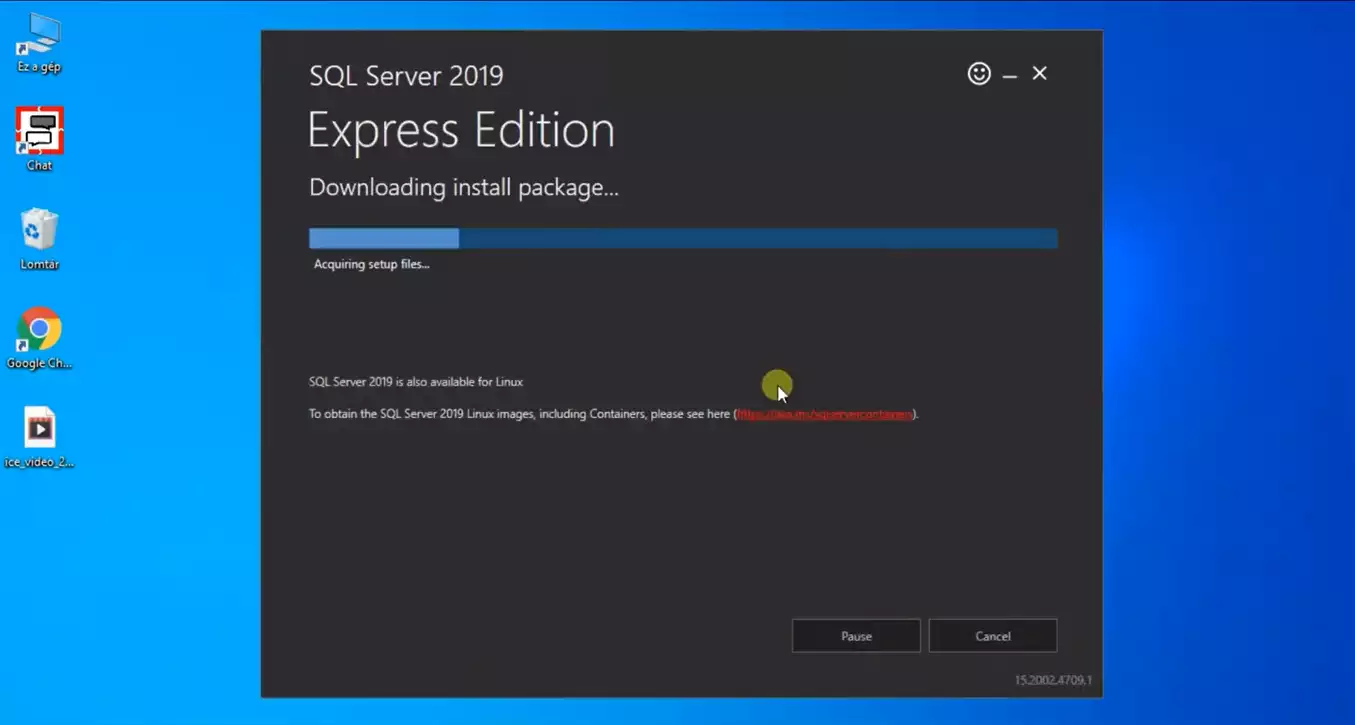
Now the installer will guide you through the process. First, it will download the install package to your computer. This should not take long but could depend on your internet speed. You don’t have anything to do on this window, just wait until it jumps to the next window. You can see the downloading process on “Figure 6”.
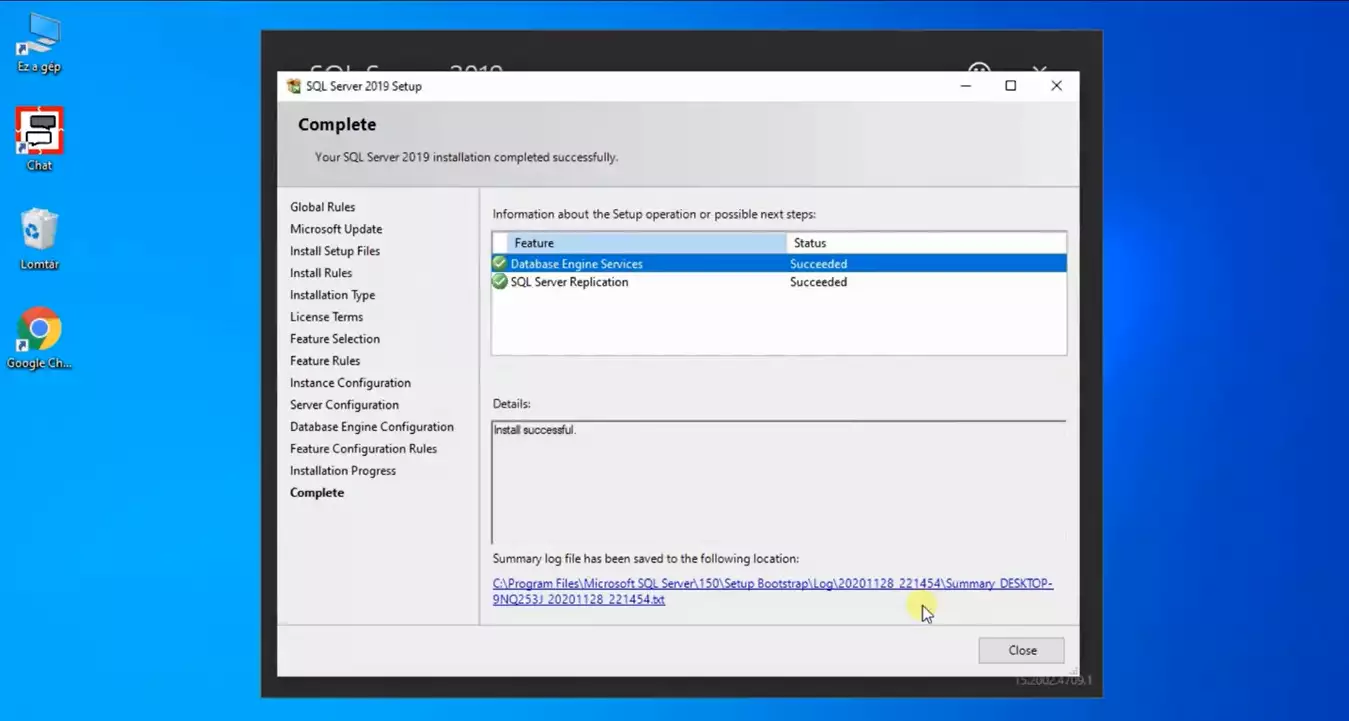
Now if the installation is finished, you will be presented with the summary panel. You can see that the setup was successfully done. You can see that under the details, it notifies you that the installation was successful. If you want to see the summary log file, you can see the location of it down in a form of an access path. To proceed, press the Close button. You can see the summary window on Figure 7.
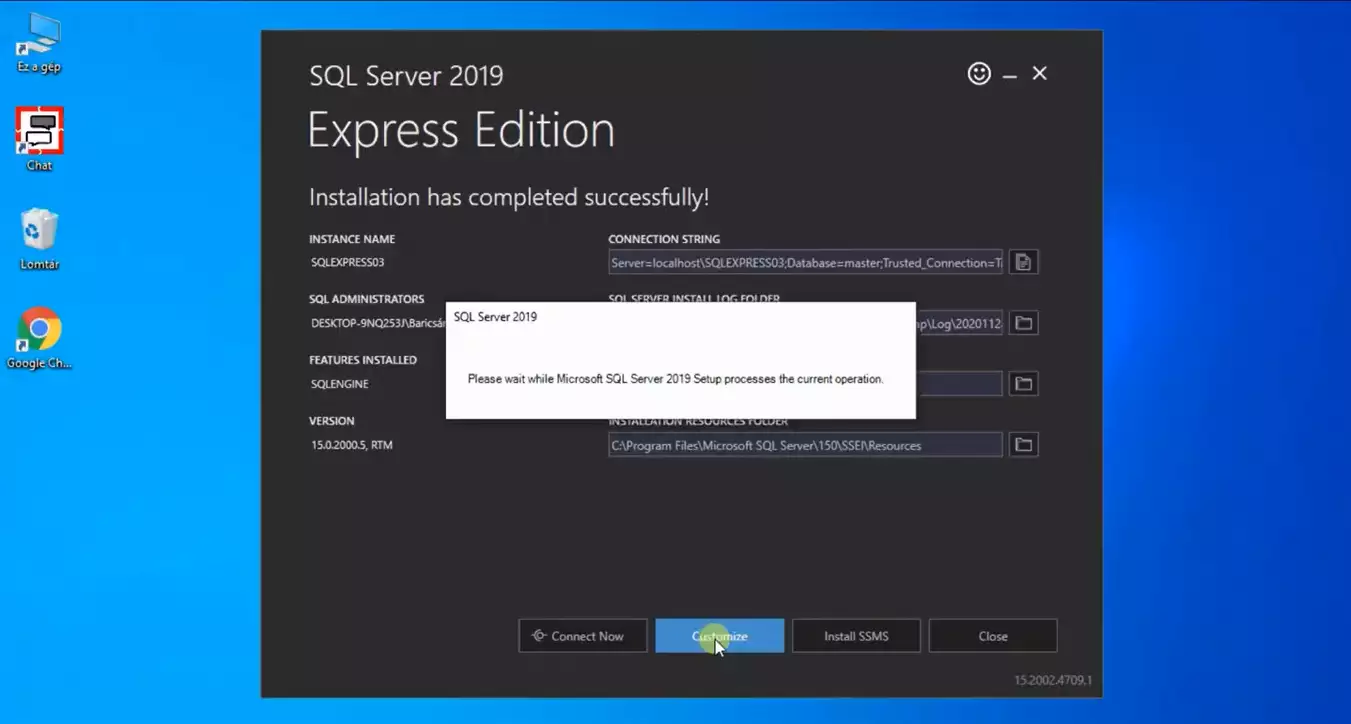
If you close the installer, you will be presented with the SQL Server Installer. Press the customize button to proceed to the next step, where you can search for an update and set the installation preferences. You can see the button on Figure 8.
Now the program will guide you through a setup guide. The first step is to check for updates and install them. If your program is up to date, it should not take long before you can proceed to the next setup step. You can see the scan result on Figure 9.
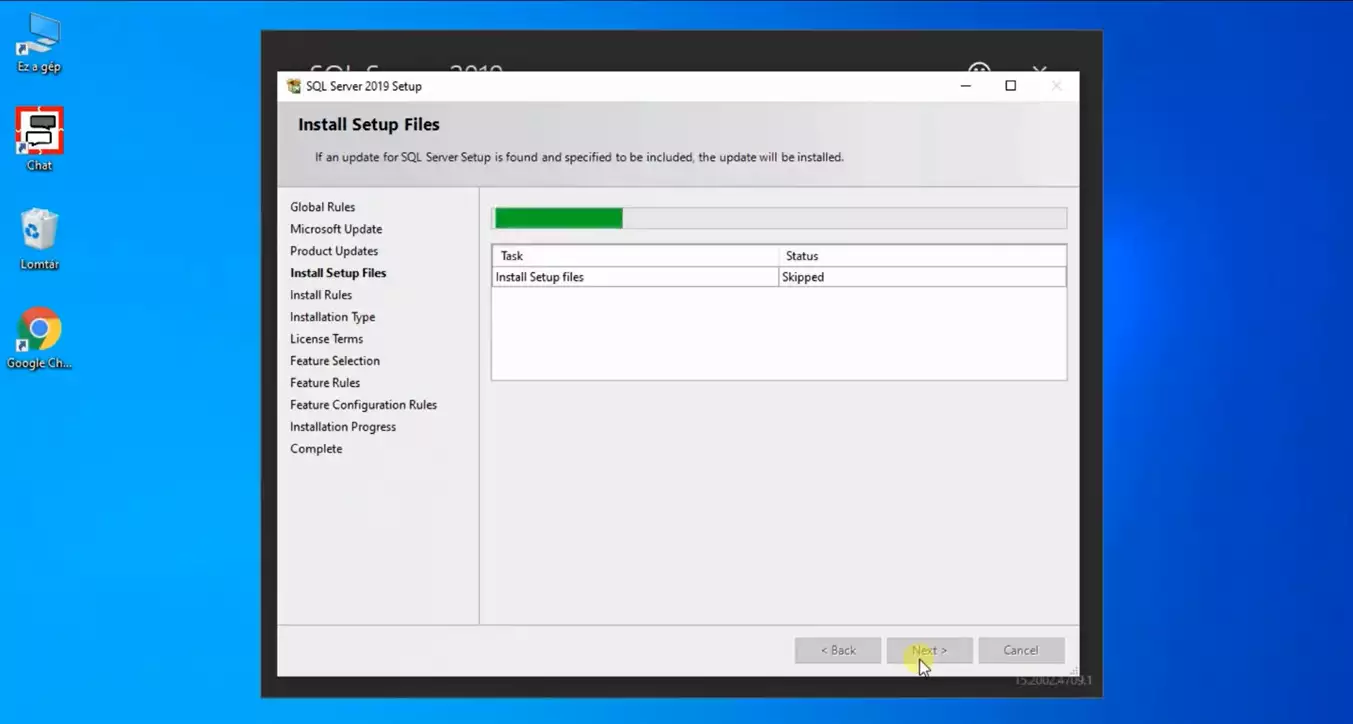
You have the opportunity to choose which type of installation you wish to do here. The first one is the new installation which installs every necessary instance with the program. The other option is suitable if you already have a working SQL Server on your computer but wishes to add some other features to it. Please choose the first option. You can get more information about both of the options on Figure 10.

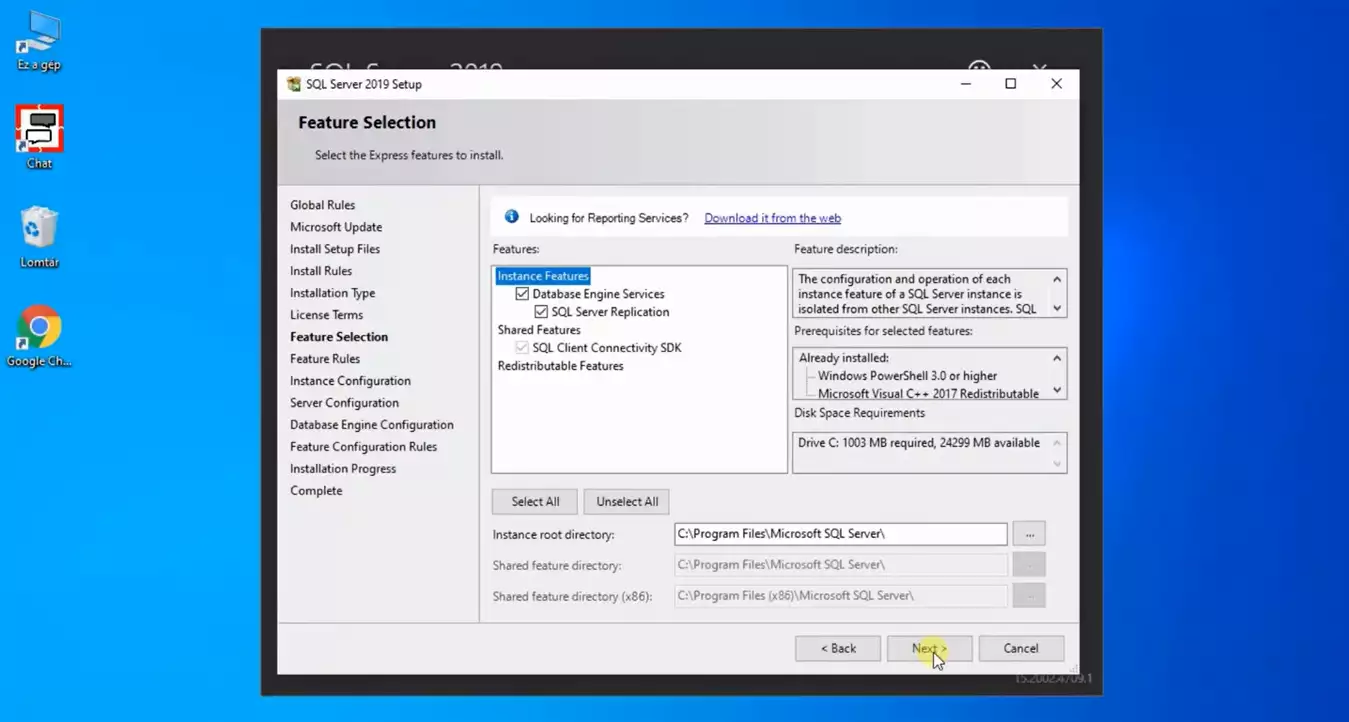
On the Feature Selection window, you can select which components should the program install. We advise you to install every possible feature, because that way your program will be more versatile. You can see all the options on Figure 11.
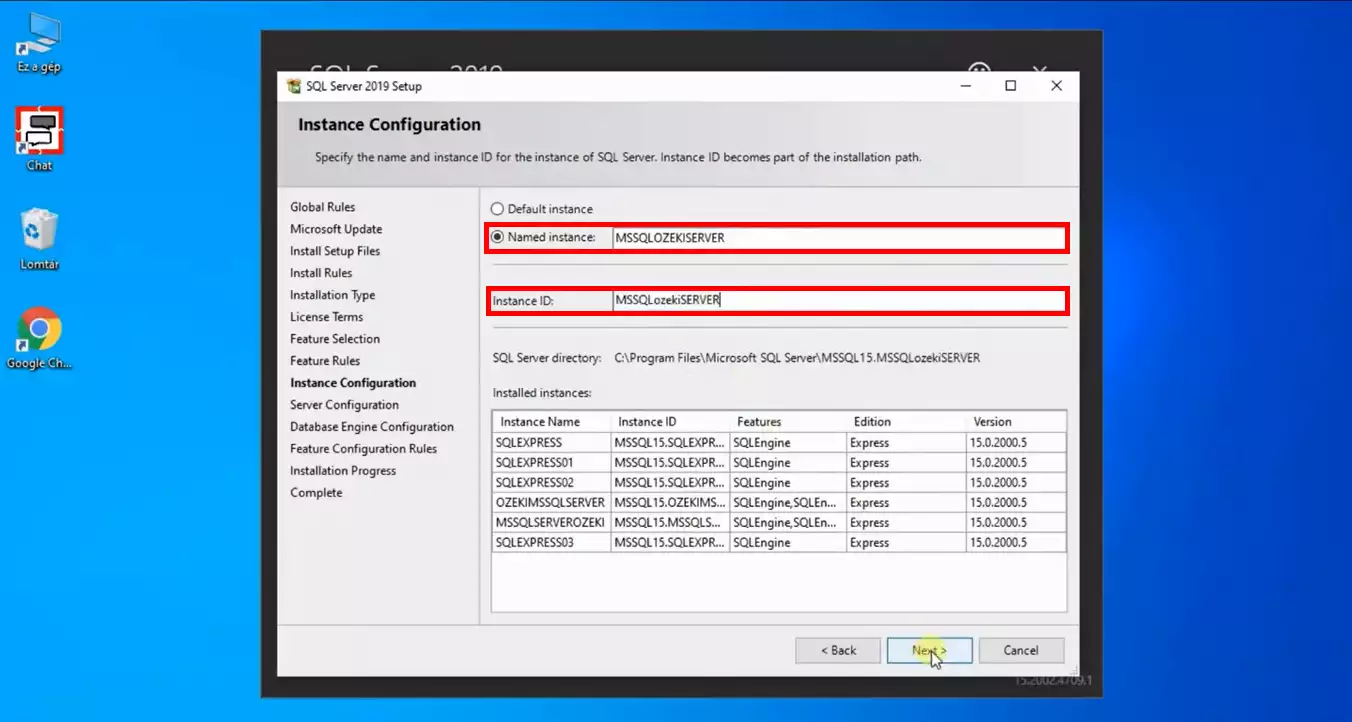
Here you can configure your Instance. You can name it and give it an ID. If you decided a good name for it, please click the Next button. You can see all the configuration possibility on Figure 12.
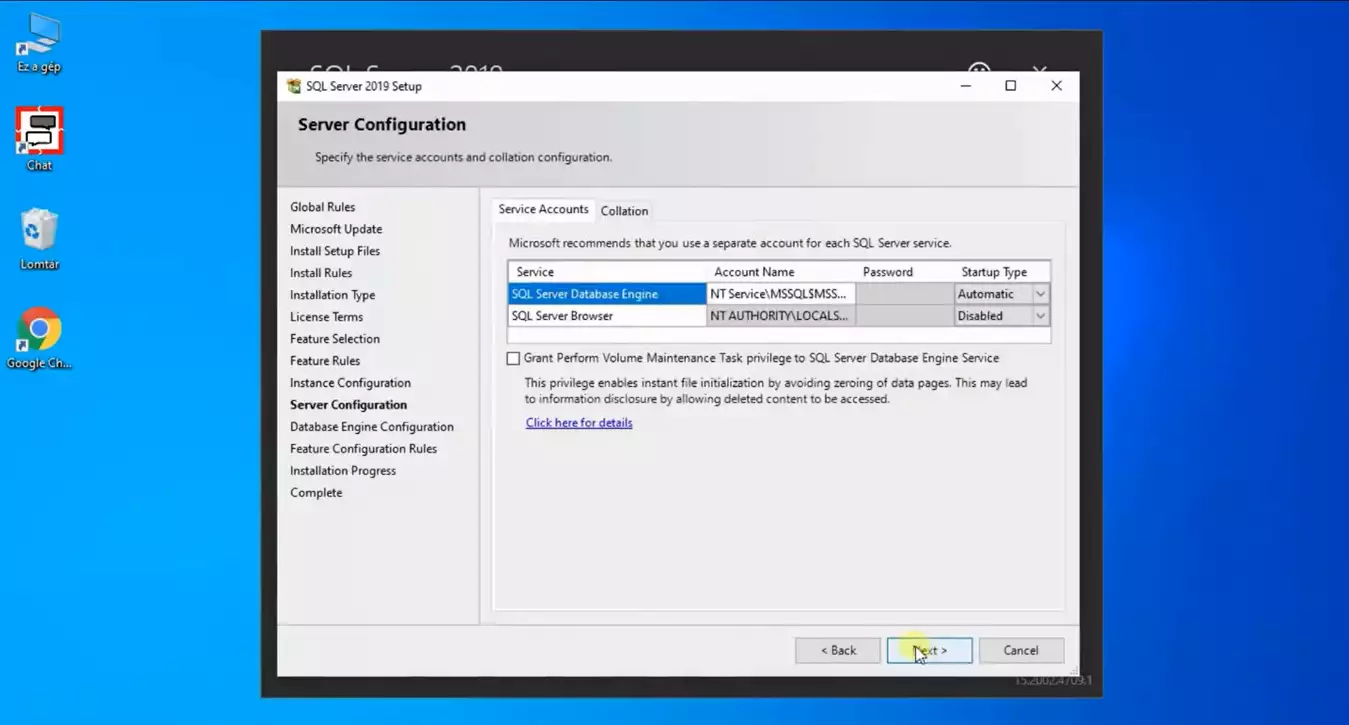
In this window, you could specify the service accounts for your SQL Server services. Service accounts are non-human accounts which has more access to server resources than a normal user account. We recommend selecting different service accounts for your different SQL services. (Figure 13)
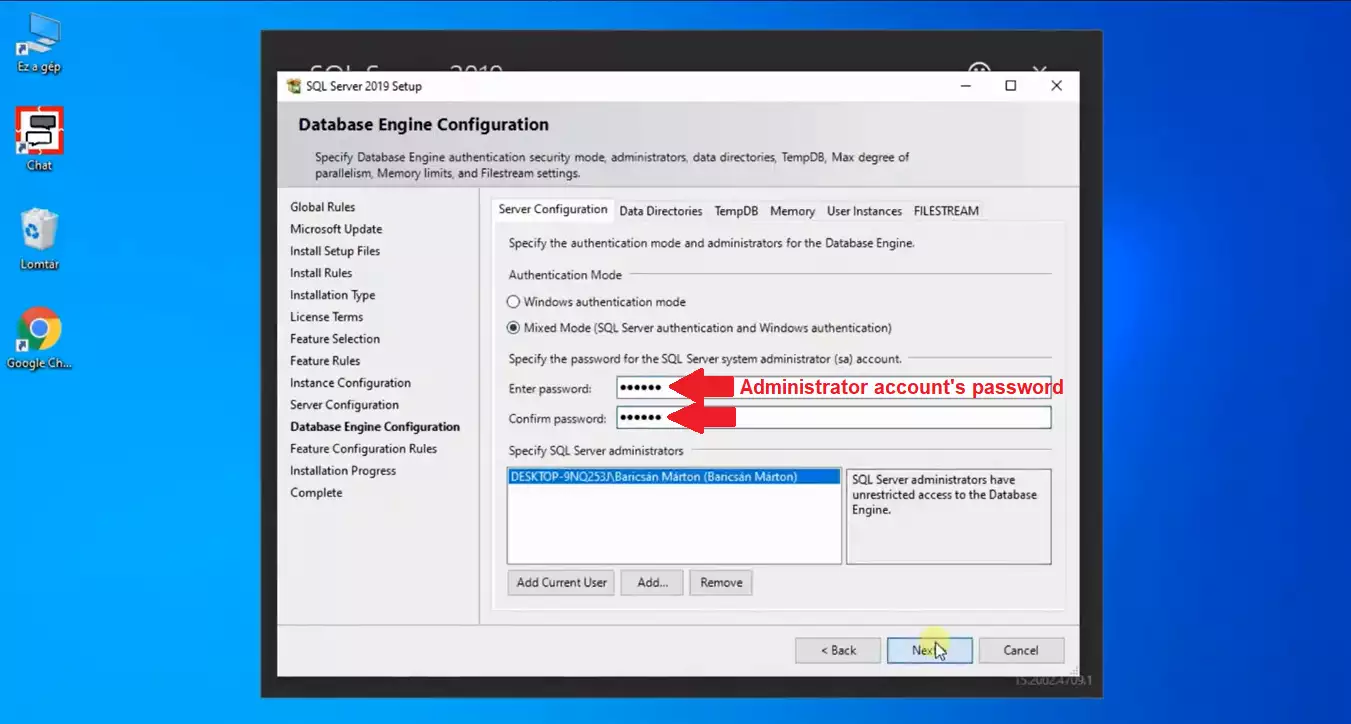
On Figure 14, you can see the Database Engine configuration panel. It provides the information for the server authentication. Please type in the Administrator account’s password for that computer. If you have it filled in, click the Next button.
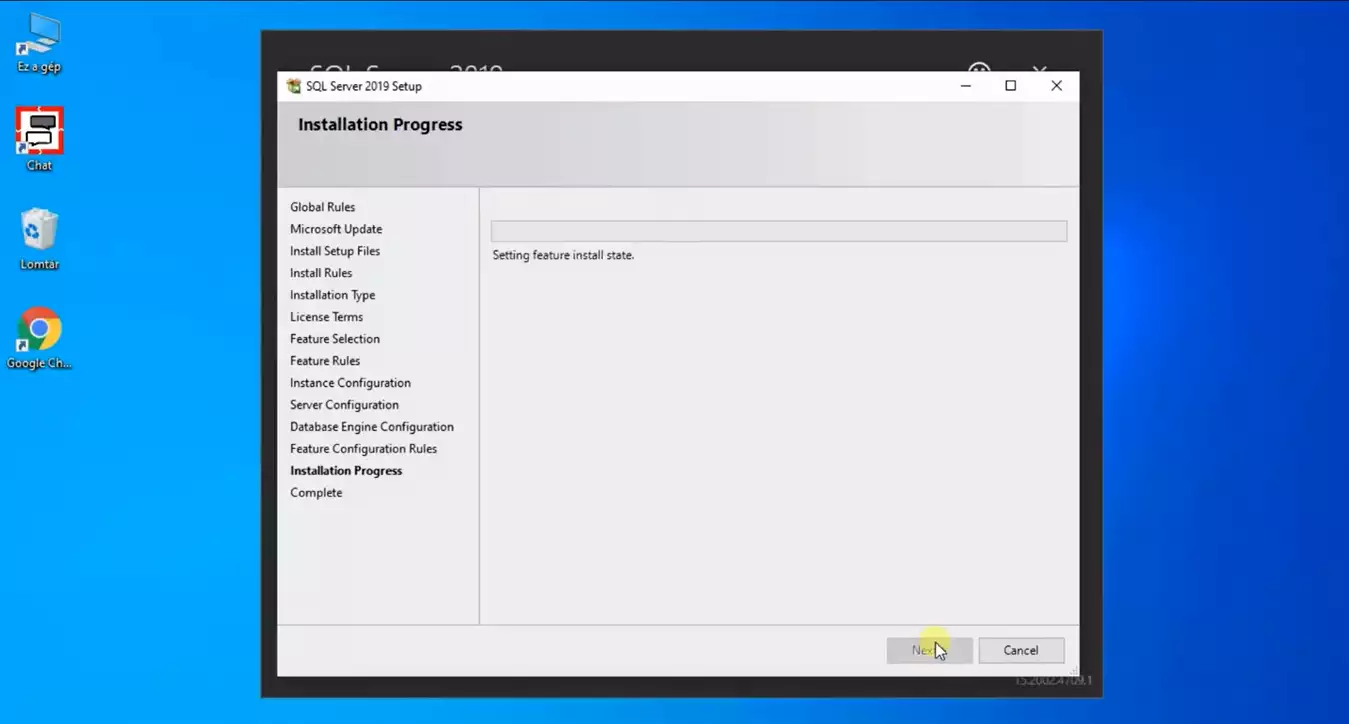
Now you have everything set up, you can start the installation procedure. The computer will do everything for you. You just need to wait out the installation. On Figure 15, you can see how the PC will inform you about the progress.
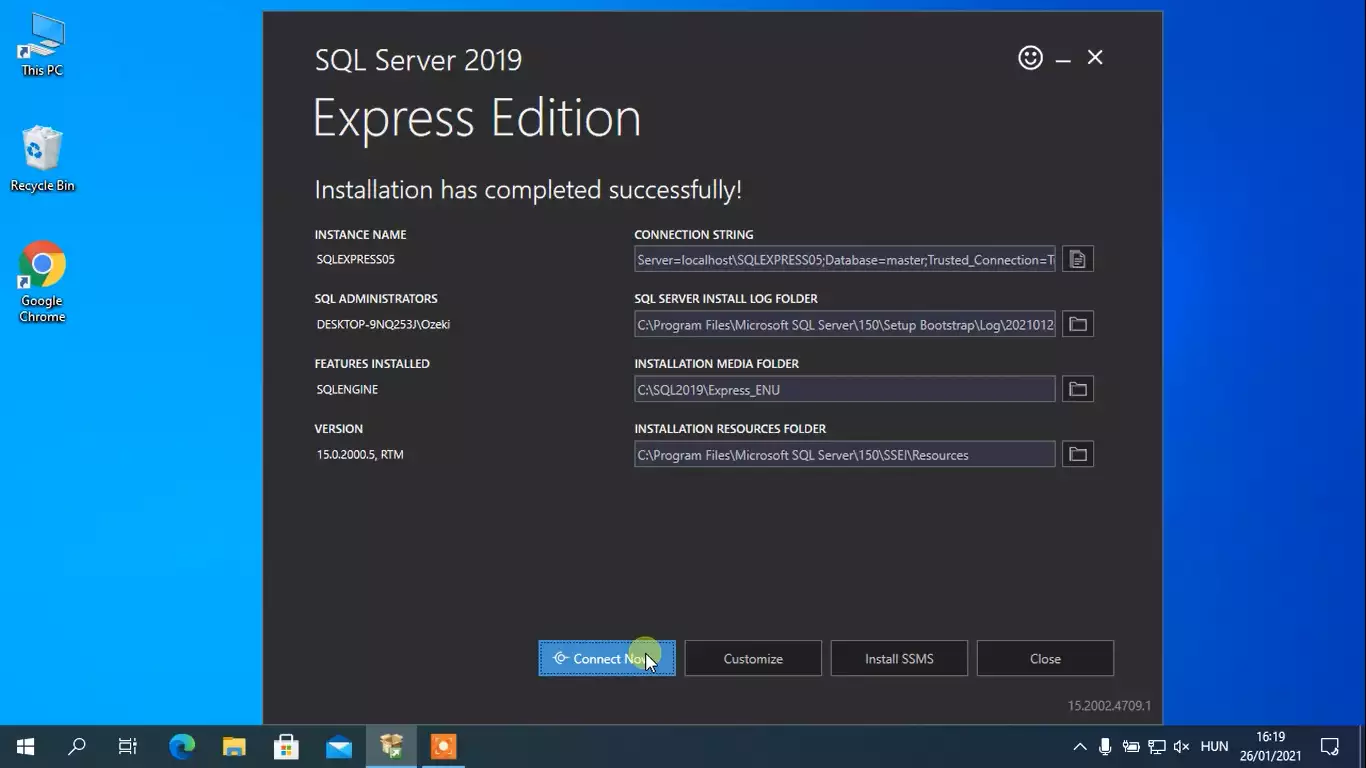
After the installation is finished, you will see the Complete window, as you can on Figure 16. As you can see, both the Database Engine Server and the SQL Server Replication is installed successfully. You are finished with the installation.

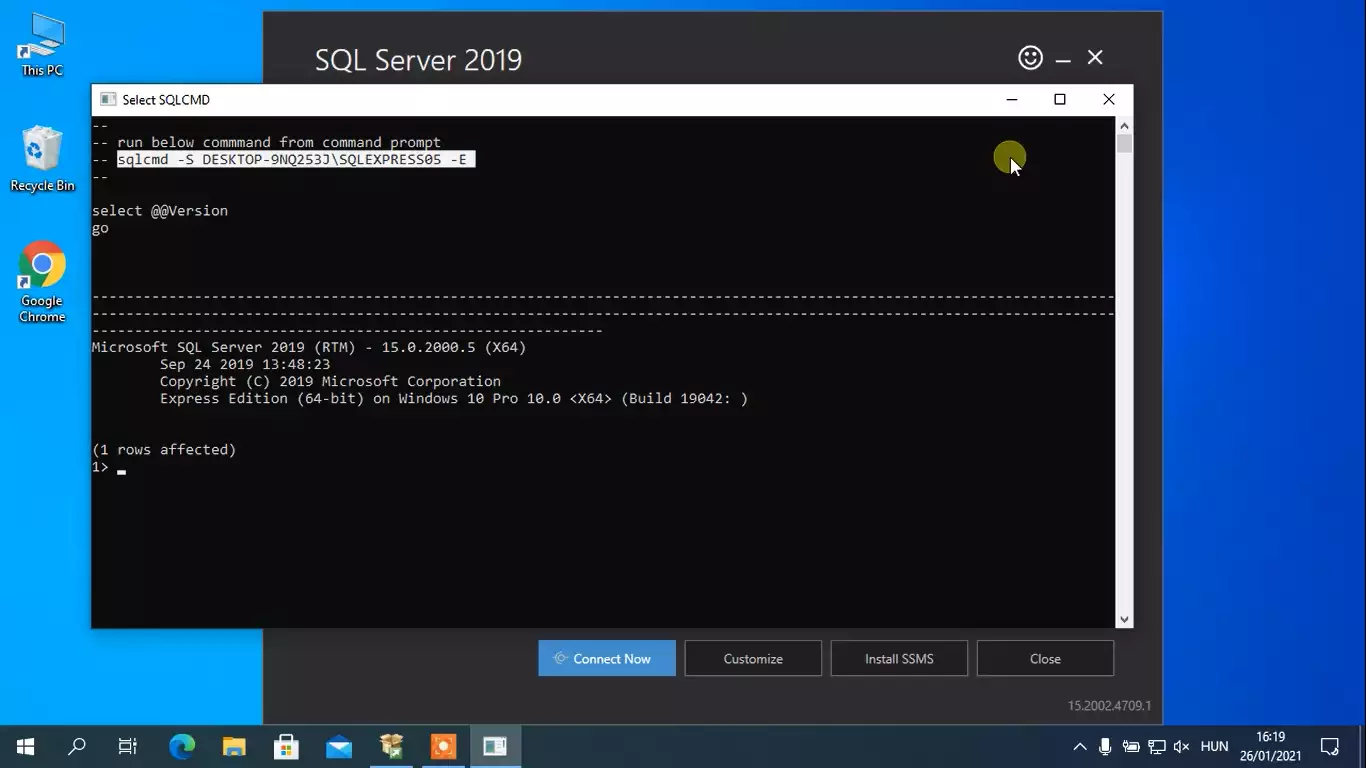
Now as the last step of the installation, Click the connect now button which will open you a command prompt, as you can see on Figure 17.
Now you should type in the code seen on Figure 18, but make sure to modify it with you own computers credentials after the DESKTOP part. Pres enter and it will do everything for you. Now you are finished with the installation and have a working MS SQL Server.
Create database layout
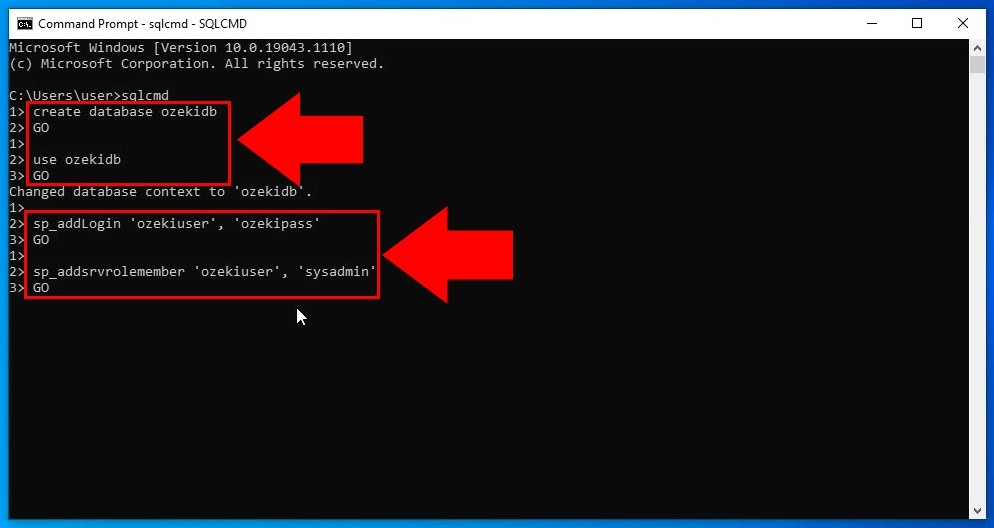
create database ozekidb
GO

use ozekidb
GO

sp_addLogin 'ozekiuser', 'ozekipass'
GO

sp_addsrvrolemember 'ozekiuser', 'sysadmin'
GO
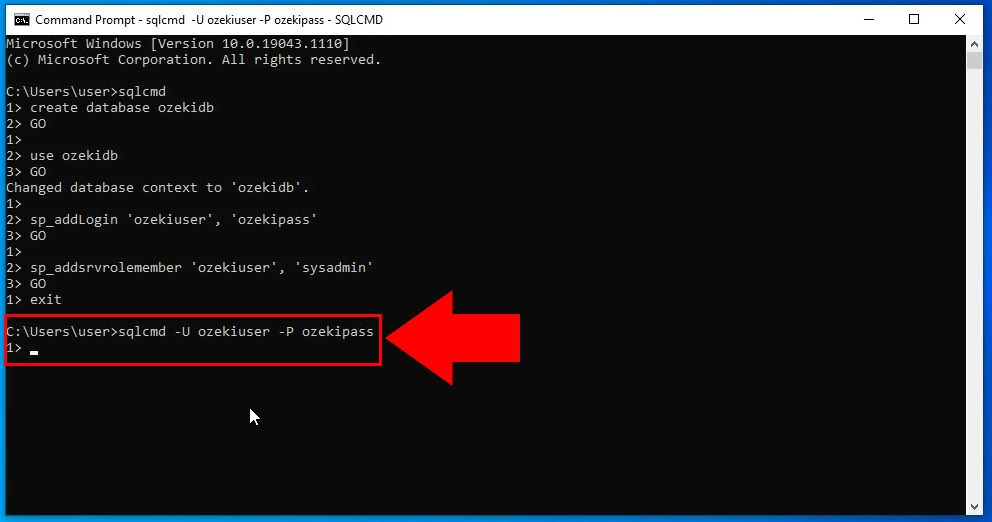
sqlcmd -U ozekiuser -P ozekipass
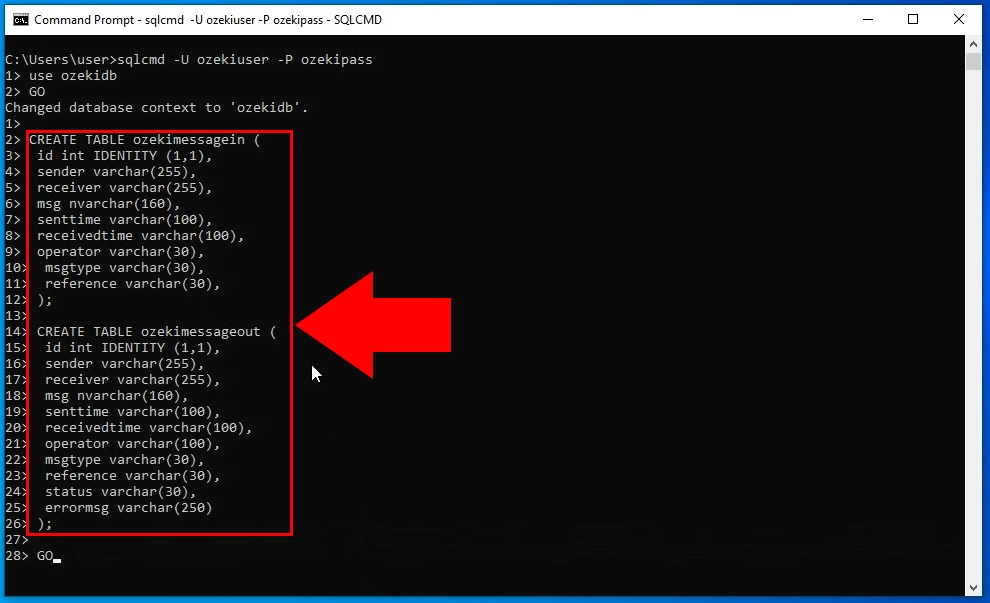
use ozekidb
GO

CREATE TABLE ozekimessagein (
 id int IDENTITY (1,1),
 sender varchar(255),
 receiver varchar(255),
 msg nvarchar(160),
 senttime varchar(100),
 receivedtime varchar(100),
 operator varchar(30),
 msgtype varchar(30),
 reference varchar(30),
);

CREATE TABLE ozekimessageout (
 id int IDENTITY (1,1),
 sender varchar(255),
 receiver varchar(255),
 msg nvarchar(160),
 senttime varchar(100),
 receivedtime varchar(100),
 operator varchar(100),
 msgtype varchar(30),
 reference varchar(30),
 status varchar(30),
 errormsg varchar(250)
);

GO
