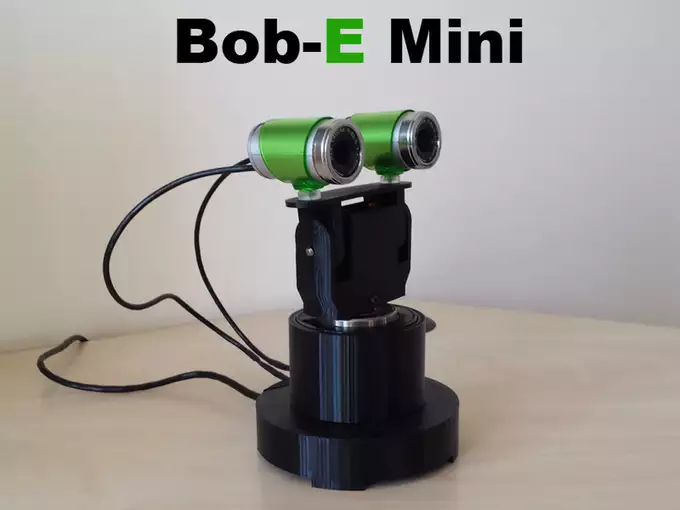
Bob-E Mini: Double Servo Camera tutorial
With the Bob-E Mini project see your hobby servos mimic your head movement. Two camera streams should sent back to your screen, so you can see the 3D environment in real time. If you are lucky, you saw the C-3PO Master Teacher project as a single servo example.

See how easy it is to build Bob-e Mini (Figure 1). ALL Ozeki 10's come with a Robot Controller app, which is a convenient solution for everyone. The best thing is that you can customize your C# codes and build your very own robots all by yourself. It is easy to connect sensors with actuators to add physical reaction to your machines. With the proper coding, you can build helpful gadgets. Bob-E Mini is only one of them.
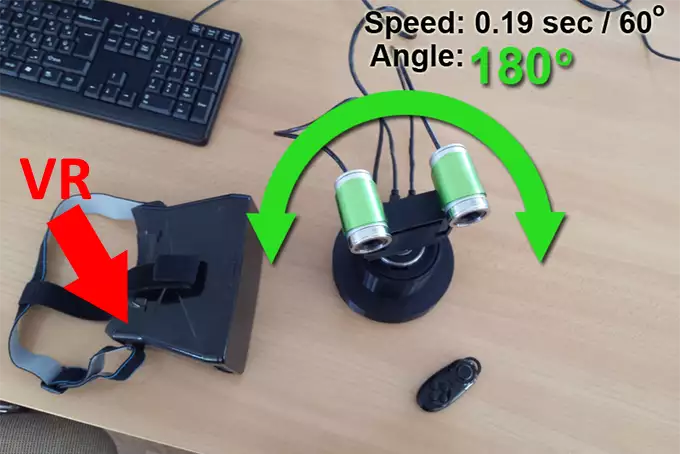
Both vertical and horizontal servos are capable to move the cameras 180°, so it can perfectly imitate the gyroscope movement of your smartphone. The phone can be placed in a VR case. You can see a VR telephone case on the left side of Figure 2. Both webcamera videostreams will be sent back simultaneously, so you can recognise the realtime 3D environment sorrounding the webcameras.
The required components
- Two Ozeki 10 compatible webcameras (USB, MJPEG, RTSP)
- Two MG996R servo motors
- One Arduino Nano (with mini USB plug)
- A machine running Ozeki 10
- A 5V power adapter
- A few wires (Figure 3 to 4)
- A VR headset compatible with your smartphone
To make it look exactly like you see it, you will also need a 3D printer using black PLA plastick filament and build the parts. After we are through the final tests, you will be able to download the parts.
How to connect the parts
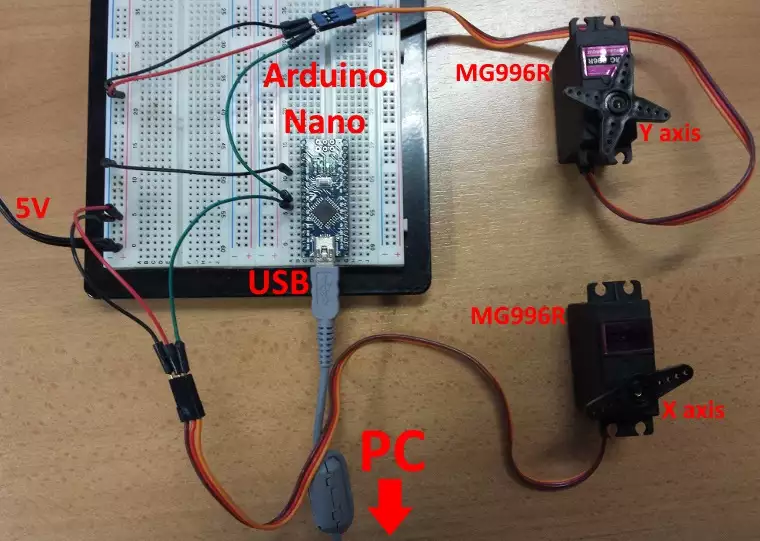
Keep in mind that in the current model two MG996R servo motors and two USB webcameras were used. You can run Ozeki 10 on either a desktop or laptop computer. The main device to control the servo motors will be an Arduino Nano as you can see on the following wiring diagram (Figure 3). The Arduino Nano must be connected to any computer with Ozeki 10.
By using the wiring diagram you can connect the motors to the Arduino and the Arduino to your computer like on the photo below (Figure 4). Later on you will see how to print the plastic components, which will give a housing for the MG996R servo motors. The printable files will be uploaded later after further testing.
How to upload codes to Arduino Nano
Please download and install the Arduino IDE on your machine, so you can upload the following code (Figure 5). Keep in mind to add the Ozeki 10 libraries which should be on your machine if you have already installed Ozeki 10. The following code demonstrates how to add both motors for X and Y axis. The X axis is controlled from pin 6 and the Y axis is controlled from pin 5, which is referred as D5 and D6 on the Arduino board.
#include <OzIDManager.h>
#include <OzServoController.h>

OzIDManager* manager;
OzServoController* servocontroller;

void setup()
{
  Serial.begin(115200);

  manager = new OzIDManager;
  manager->_sendACK = true;
  manager->_checksum = true;

  OzCommunication::setIDManager(manager);

  servocontroller = new OzServoController;
  //pin 5, MG996R servo (officially: min -60, max +60 degree)
  //although it can turn from -90 to +90
  servocontroller->AddMotorconfig(5, ServoMotors::SERVO_MG996R);
  //pin 6, MG996R servo (officially: min -60, max +60 degree)
  //although it can turn from -90 to +90
  servocontroller->AddMotorconfig(6, ServoMotors::SERVO_MG996R);

  manager->sendLinkSetup();

  int x=1;
  manager->sendLinkSetup();
  manager->PrintWelcomeLine(servocontroller, x++, "MyServoMotors");
  servocontroller->showMotorDetails();
}

void loop()
{
  OzCommunication::communicate();
}
Try both Servos at once
Plug it in and Ozeki 10 will automatically recognise the servo motor controller. You will see it added to the connection list. The connections in Ozeki 10 can be used by most of the applications you can find on the desktop. As well as you saw it in the Robot Controller app in the video on the top of the page. The most common place you can find the list of connections is on the Control Panel application (Figure 6).
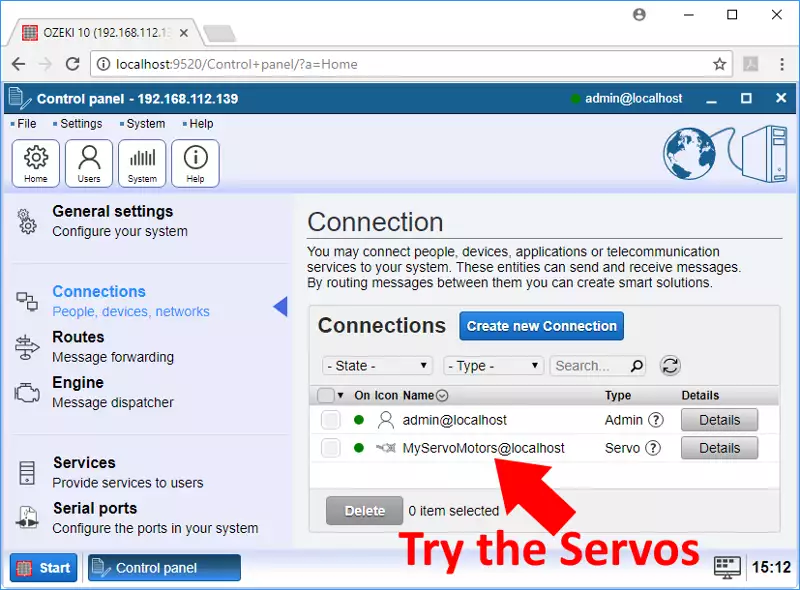
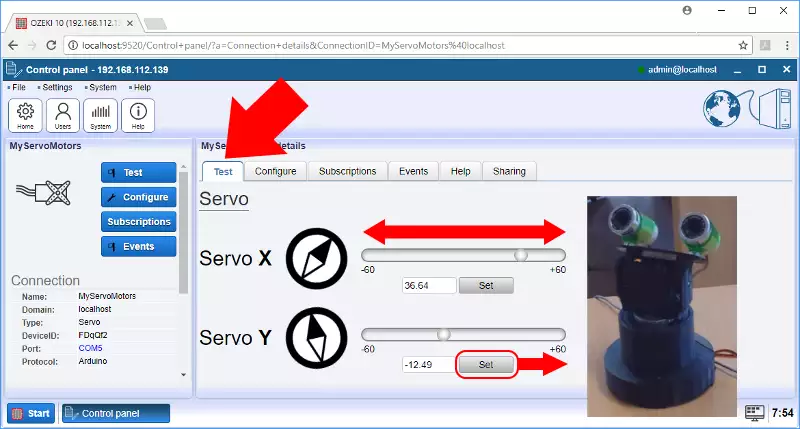
On the next screen click on the 'Test' tabpage to turn the X and Y motor axis by moving the slides or clicking the 'Set' button (Figure 7). You can test it with physically seperated motors, although on Figure 7 it is demonstrated on a fully built Bob-E mini. After setting the servos, you should add the cameras to Ozeki 10.
