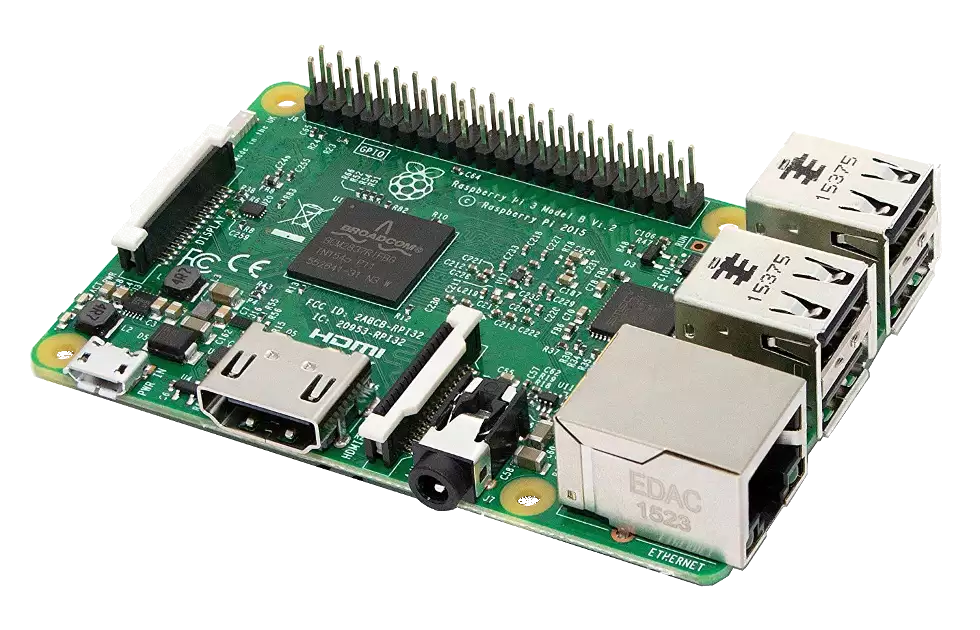
Setup Ozeki 10 on Raspberry Pi
All Raspberry Pi has a Raspbian Linux distribution installed. Setup Ozeki 10's debian package by using the same method used for Linux. The only difference is that it is a bit slower device then a Linux PC, although the company is continuously developing. You can access Ozeki 10's GUI with two options. The first is by using a HDMI monitor and logging in through your Raspberry Pi's Chromium browser. The second option is to access it remotely through a webbrowser. After installing, start Ozeki 10's service on your Raspbian to make it reachable. Follow this installation tutorial to see a detailed description of the installation procedure.
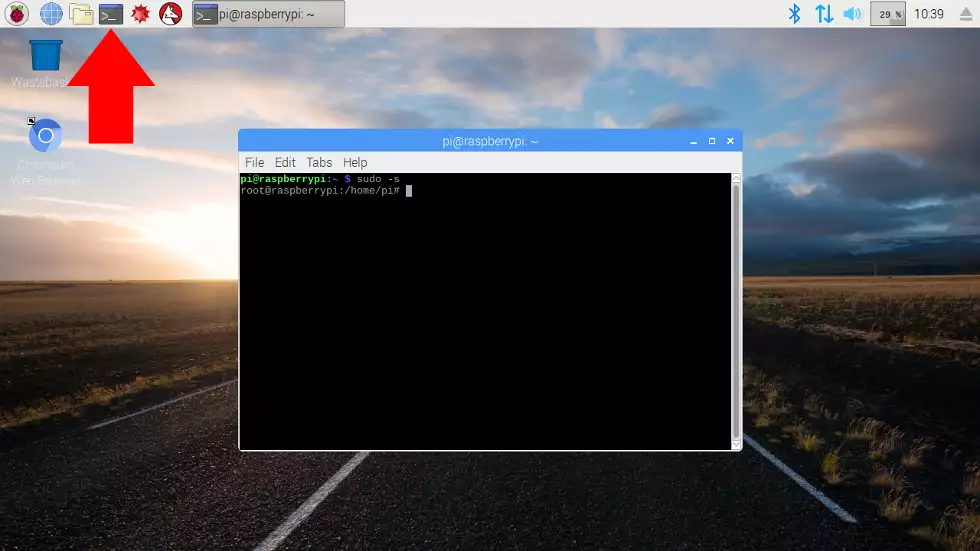
STEP 1Connect your Raspberry Pi to your monitor with a simple HDMI cable. Turn on the Pi and you will see the OS boot. On the user interface please start the terminal window by clicking the command prompt icon on the top menu. You will use it to install Ozeki 10. Then type sudo -s. It changes the user from 'pi' to 'root'. This gives you many advantages. For example a root has priveleges to use all commands without using the 'sudo' prefix before each command. This makes it easy to simply follow this tutorial and type the commands in the grey brackets. Now look at the screenshot and see that the root user is in the following directory: '/home/pi' This is the directory of the last terminal user. You will install the packages of STEP 2 and STEP 3 in this folder.
sudo -s
cd /etc/default
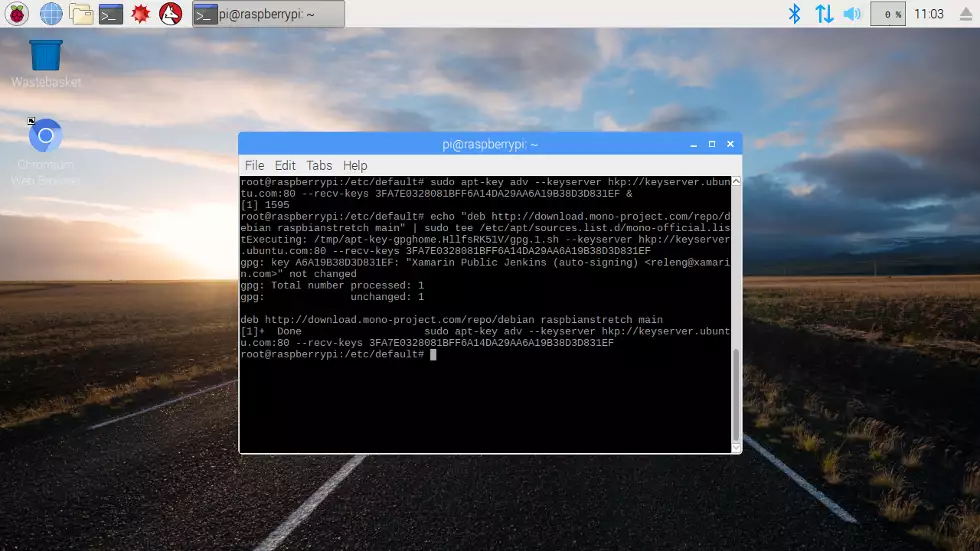
Mono is the framework that Ozeki 10 is based on. It is the alternative for Microsoft .NET framework made for the Linux distributions. Mono is a necessary requirement to run your Ozeki 10 server. You can install the Mono package from the following repository. With these two commands below, you can add the Mono project to your source list. You can finally install the Mono packages with the following commands:
sudo apt-key adv --keyserver hkp://keyserver.ubuntu.com:80 --recv-keys
3FA7E0328081BFF6A14DA29AA6A19B38D3D831EF &
echo "deb http://download.mono-project.com/repo/debian raspbianstretch main" |
sudo tee /etc/apt/sources.list.d/mono-official.list
apt-get update
apt-get install mono-complete
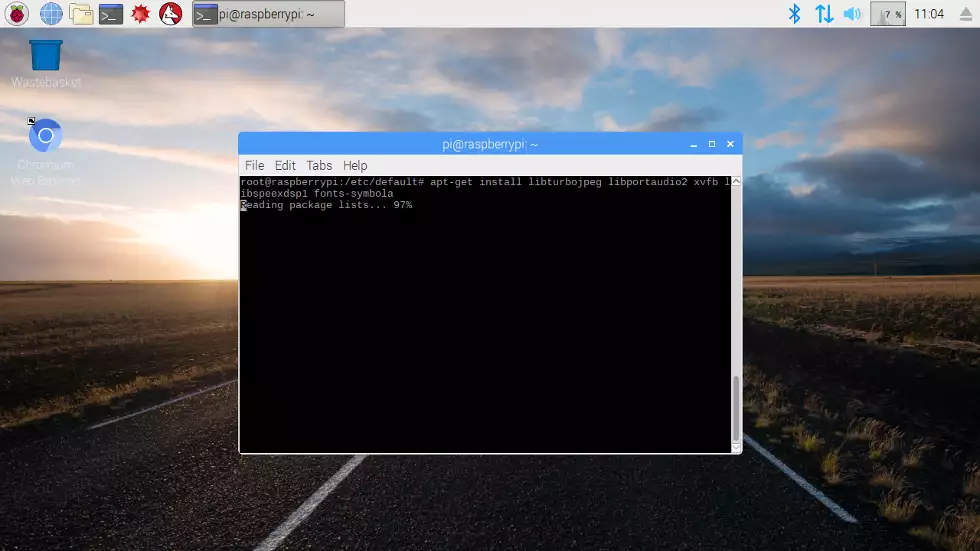
You must install a few packages before installing Ozeki 10. For example the audio codec and the symbola font library: libturbojpeg, libspeexdsp1, libportaudio2, fonts-symbola, xvfb The command in this grey bracket can install all required libraries.
apt-get install libturbojpeg libportaudio2 xvfb libspeexdsp1 fonts-symbola
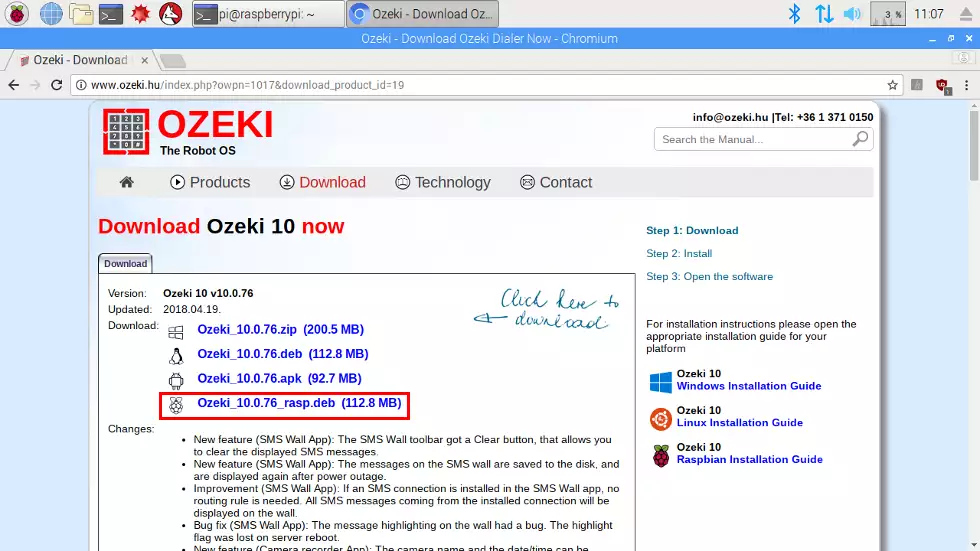
The newest Ozeki 10 version can be downloaded from www.ozeki.hu by using the following link. Click on the Raspbian version: http://www.ozeki.hu/index.php?owpn=231. Please provide your full name and e-mail address, so you can download the debian package to /home/pi/Downloads which is the same command you can use to jump to the 'Downloads' folder.
cd /home/pi/Downloads
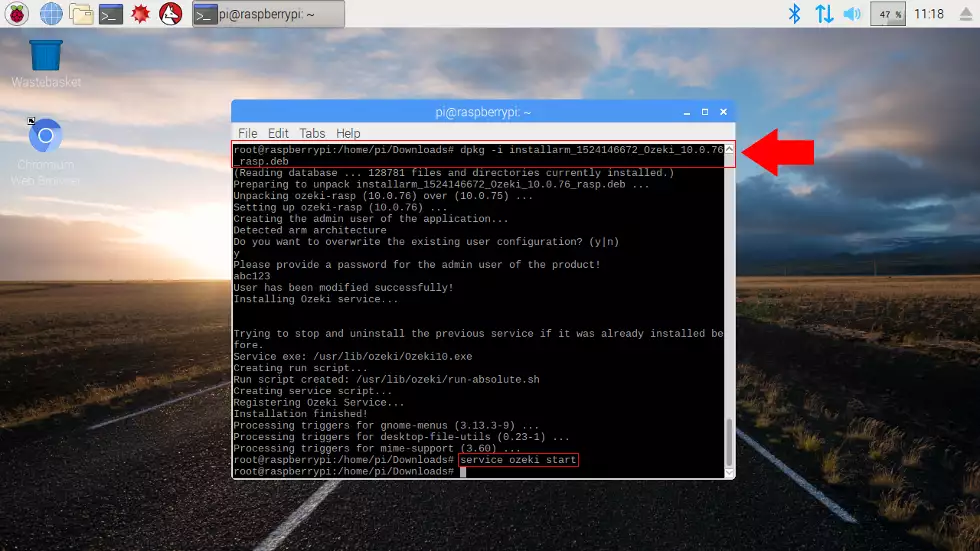
Navigate to the 'Downloads' folder where Ozeki 10 debian package was downloaded and use the following command below to install Ozeki 10 to your Raspbian OS (package name may differ). Now that the service has been installed. You can easily start it with service ozeki start. After it is started, it can be reached with a link from any location if you have allowed Ozeki 10 through your firewall. It doesn't matter which webbrowser you use. The Ozeki 10 client GUI can be used from any webbrowser. Leave the service active for a while, so you can see how it works.
dpkg -i installarm_1524146672_Ozeki_10.0.76_rasp.debservice ozeki start
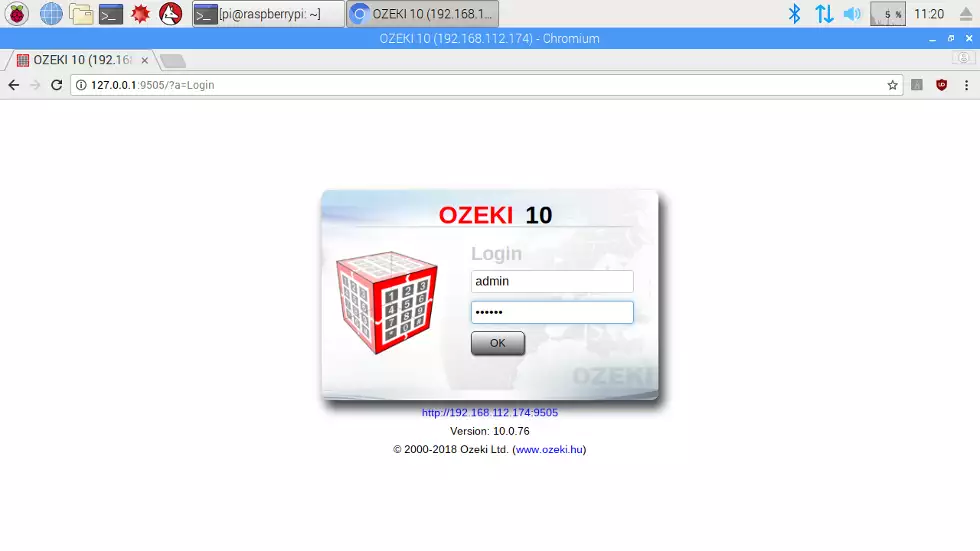
Shall your journey start? Open any webbrowser and type http://127.0.0.1:9505 to your search bar, where 127.0.0.1 is the localhost IP address of your network adapter. Hit enter, which will make the Ozeki 10 client GUI open in your browser. This can be done from any other machine as well. Type 'ifconfig' on the Ozeki 10 server machine to check the IP address, so you can remotely reach the GUI. Please allow the Ozeki 10 service through your firewall. Back at your remote webbrowser, you can see the login screen. The port number to reach this screen is 9505 as default. Change it later from the GUI if you wish. Type username 'admin' with the password you have provided during installation. Click 'OK' and welcome to Ozeki 10! At your first login you have only the admin user, although you can create new users later on. They can be created with Ozeki 10's Control Panel. For this tutorial the admin user should be enough. In the following steps you can look around the GUI and check some folders.
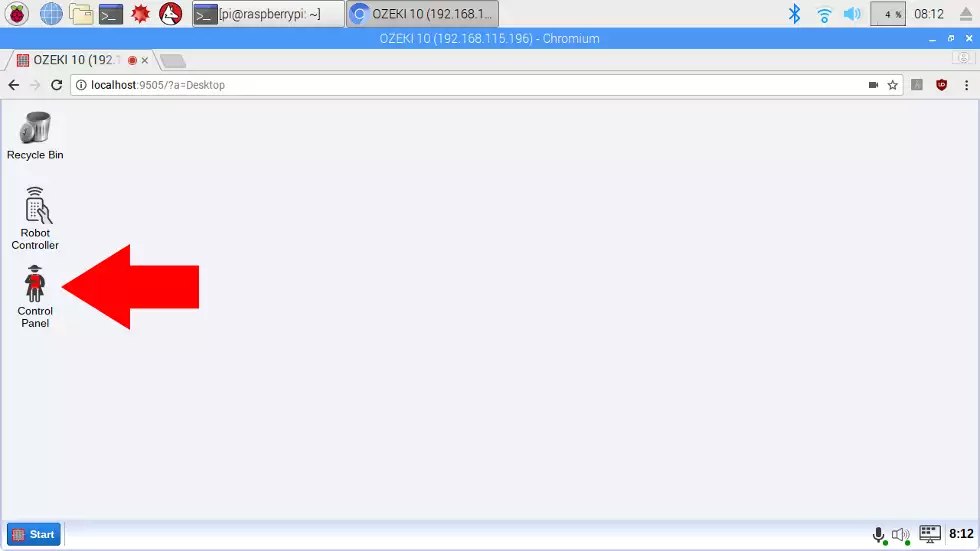
Discover how easy it is to navigate on Ozeki 10's browser integrated desktop GUI. Although in style it looks familiar to Windows, but the functionalities are way beyond your imagination. In front of me I instantly saw the red Napoleon icon, which leads to the Control Panel. You can discover that this is where to add your connections and route the message flow from one connection to another. Discover the wide variety of connections to create a smart solution to your problem.
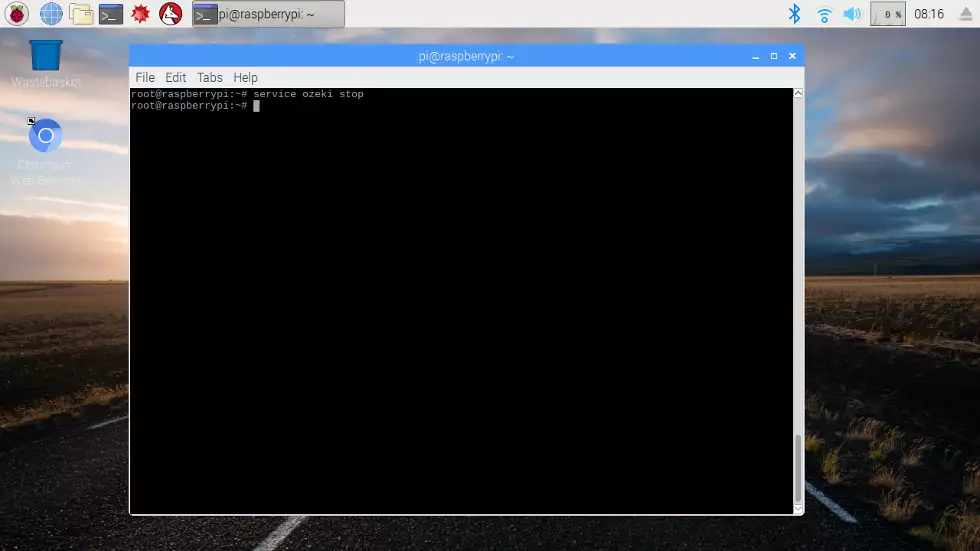
Stop Ozeki 10 in a similar way you have started it. Use sudo if you are not using the terminal in root (admin) mode: sudo service ozeki stop If the service is stopped, Ozeki 10 server goes offline. It becomes unreachable through all local or network entities.
sudo service ozeki stop
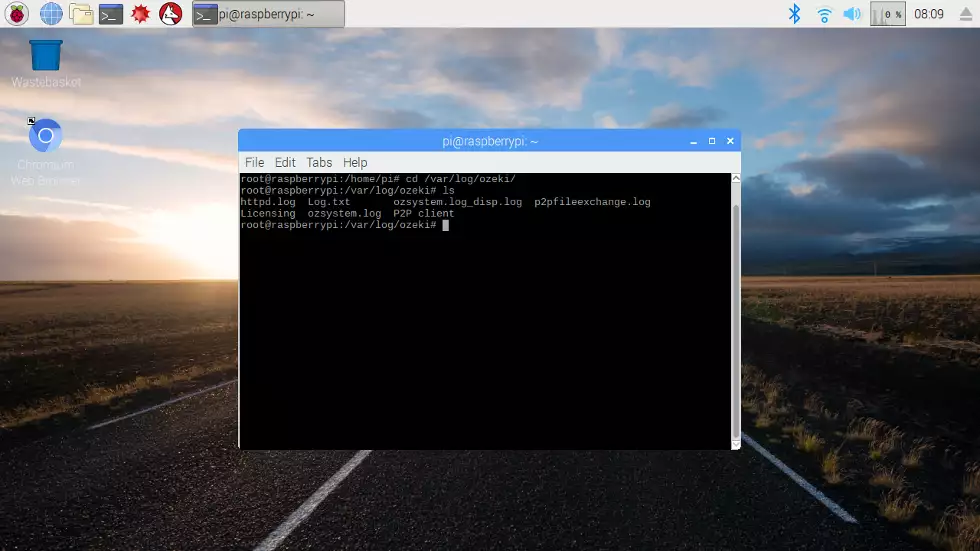
In the last few steps, you can look at the Ozeki 10 folder structure. Jump to the following directory to find the log files: cd /var/log/ozeki List the folder content with 'ls' and find the log which interests you the most. Here you can find all Ozeki 10 logs starting from the HTTP server upto the P2P client. In STEP 7, you have read about the Control Panel. It has a toolbar icon that leads you to the connection logs, which I found very useful.
cd /var/log/ozeki
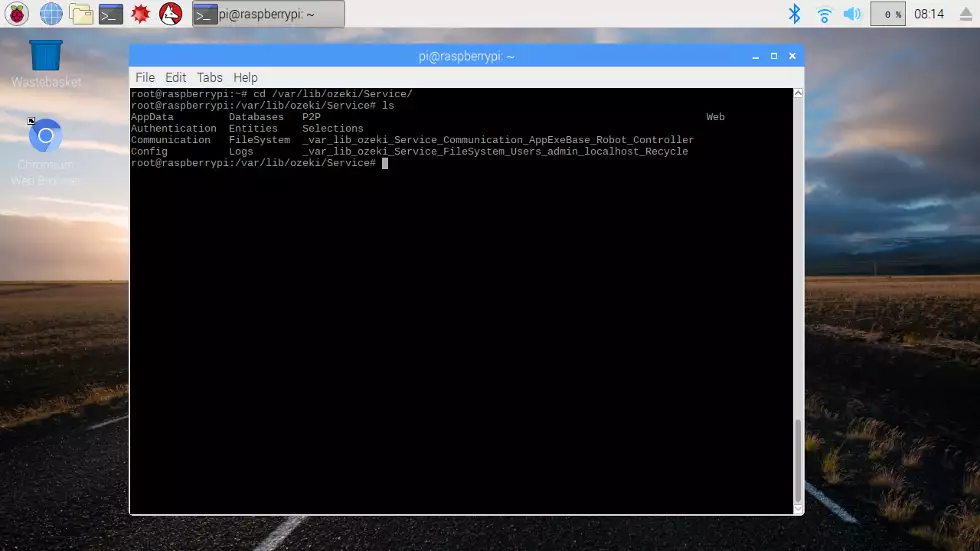
Ozeki 10 service is installed as default to the following folder. You can reach it with the following command: cd /var/lib/ozeki/Service The 'Service' folder contains all contents generated by Ozeki 10. Including configurations, user authentication, database connections, data of Ozeki applications and logs. All applications store important files in 'AppData'. For example video recordings. Read more about the configuration folder next.
cd /var/lib/ozeki/Service
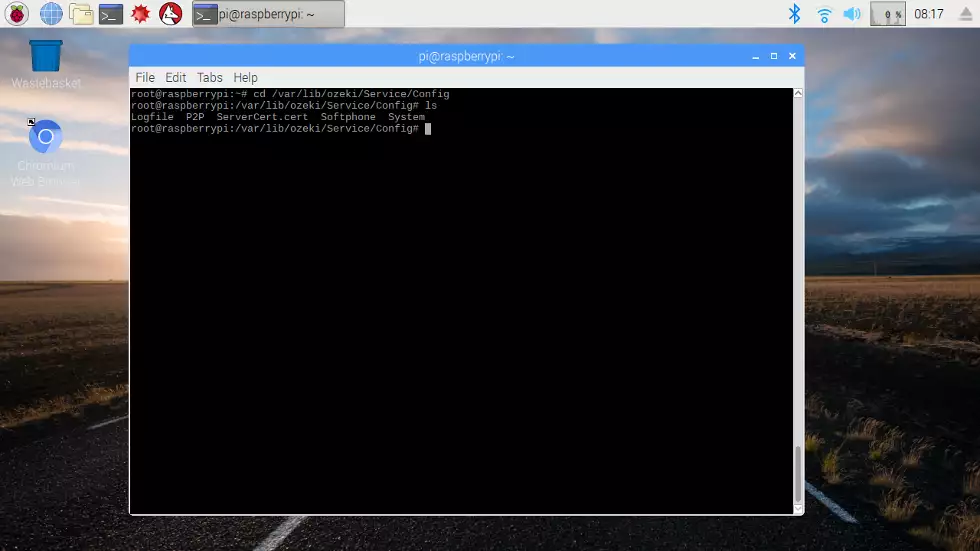
You can find a 'Config' folder beneath the 'Service' folder you are currently in. Simply enter the folder with 'cd Config' and look at the content of the directory with 'ls'. The following screenshot shows that each app has a separate file. The code below shows the path to find the 'Config' folder.
/var/lib/ozeki/Service/Config
The Raspberry Pi is a series of small single-board computers developed in the United Kingdom by the Raspberry Pi Foundation to promote the teaching of basic computer science in schools and in developing countries. The original model became far more popular than anticipated, selling outside its target market for uses such as robotics.
