Setup Ozeki 10 on Asus TinkerOS
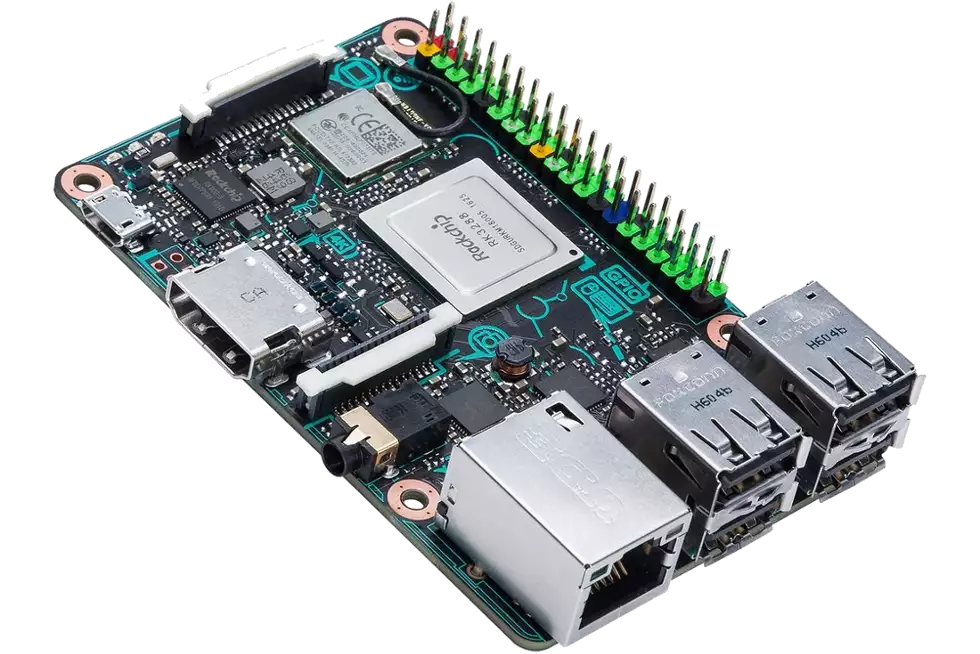
See how to install Ozeki 10 step-by-step on your Asus Tinker Board. The architecture of this board is similar to a Raspberry Pi architecture, although the Asus board is twice as fast and has bigger RAM. The board has a factory installed Linux distribution called Asus TinkerOS and since it is a Linux variant, it has a similar intallation process.
STEP 1
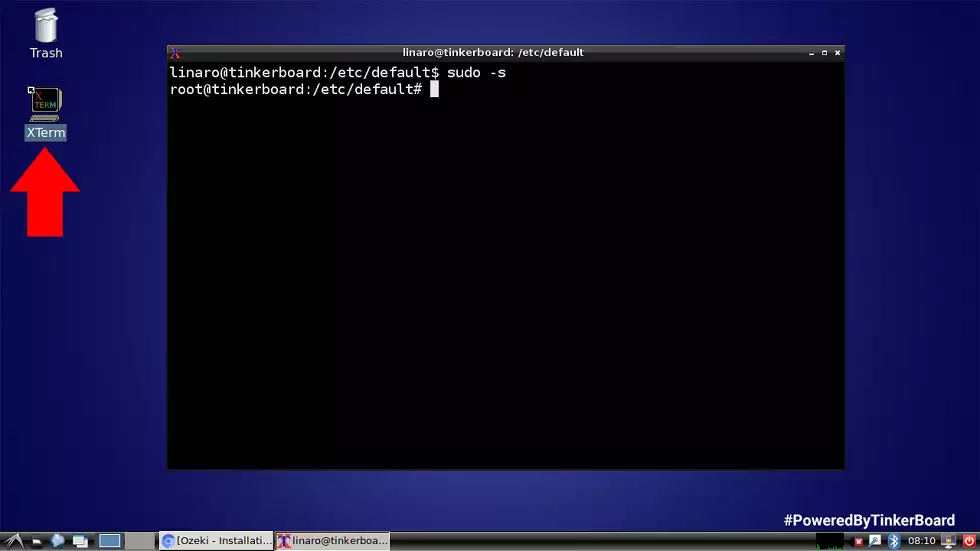
Connect your monitor to the Asus board with a simple HDMI cable. Check if your screen is HDMI compatible. Turn on the Asus tinker board and you will see the TinkerOS boot up with a wonderful, user friendly GUI. Start the terminal as you can see it below. Gain root (admin) privileges to install Ozeki software on your OS. You have two choices. You can either write sudo before every command or you can use sudo -s By doing so, you will not have to use the 'sudo' prefix before the upcoming commands copied from the grey brackets of this guide. If you are reading this tutorial on a computer. Look at the screenshot. See that the terminal user has changed from 'linaro' to 'root'. Follow this guide in root mode.
sudo -s
STEP 2
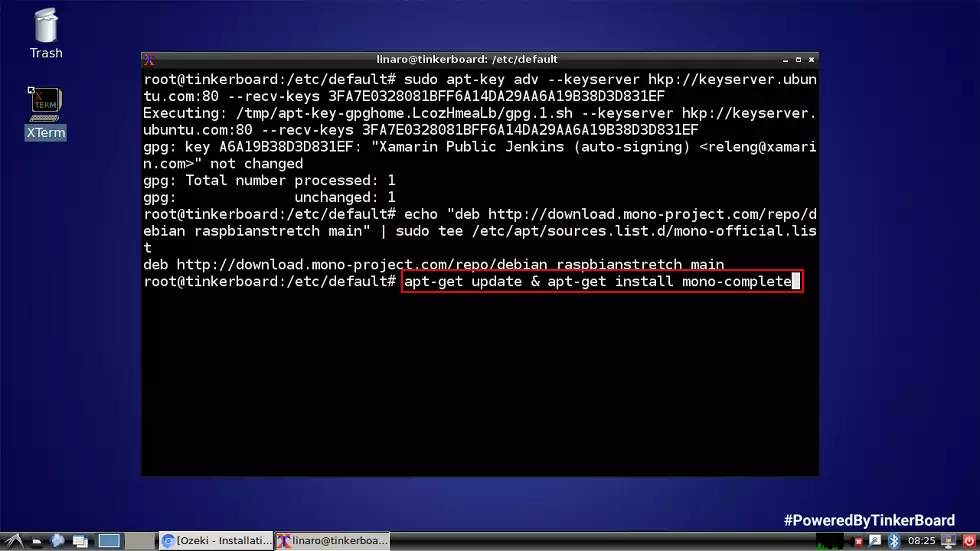
In this step, you will see how to install the Mono package from the following repository. Make sure you have internet access. These two commands will add the required repository to your source list. After this, you can finally install the Mono packages with the 'apt-get update' and 'apt-get install mono-complete' commands. Mono is an alternative for the Microsoft .NET framework. It is an engine for Ozeki 10.
apt-key adv --keyserver hkp://keyserver.ubuntu.com:80 --recv-keys
3FA7E0328081BFF6A14DA29AA6A19B38D3D831EF &
echo "deb http://download.mono-project.com/repo/debian raspbianstretch main" |
sudo tee /etc/apt/sources.list.d/mono-official.list
STEP 3
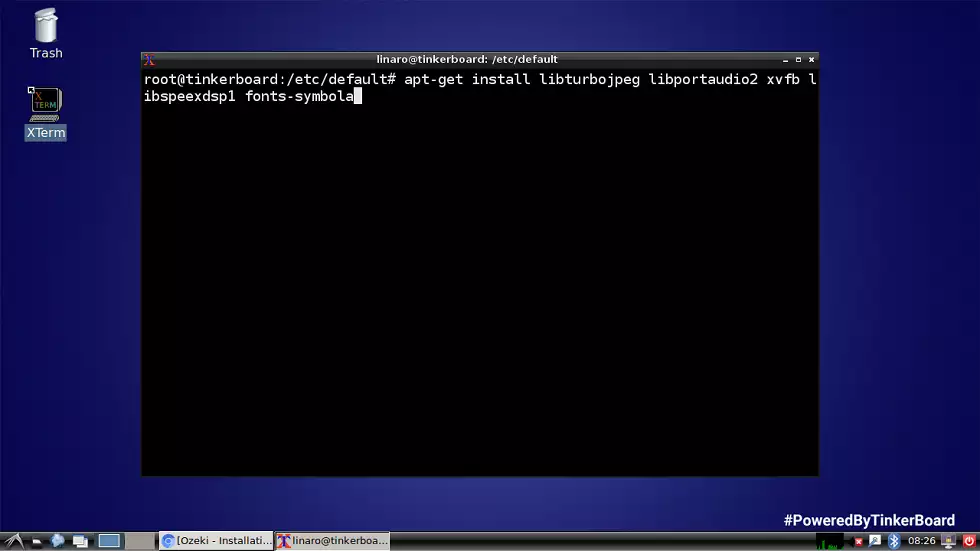
Before installing Ozeki 10, you also need to install the following packages to support the most important functionalities: libturbojpeg, libspeexdsp1, libportaudio2, fonts-symbola, xvfb With the command below, you can easily install these packages, so Ozeki 10 can fully function.
apt-get install libturbojpeg libportaudio2 xvfb libspeexdsp1 fonts-symbola
STEP 4
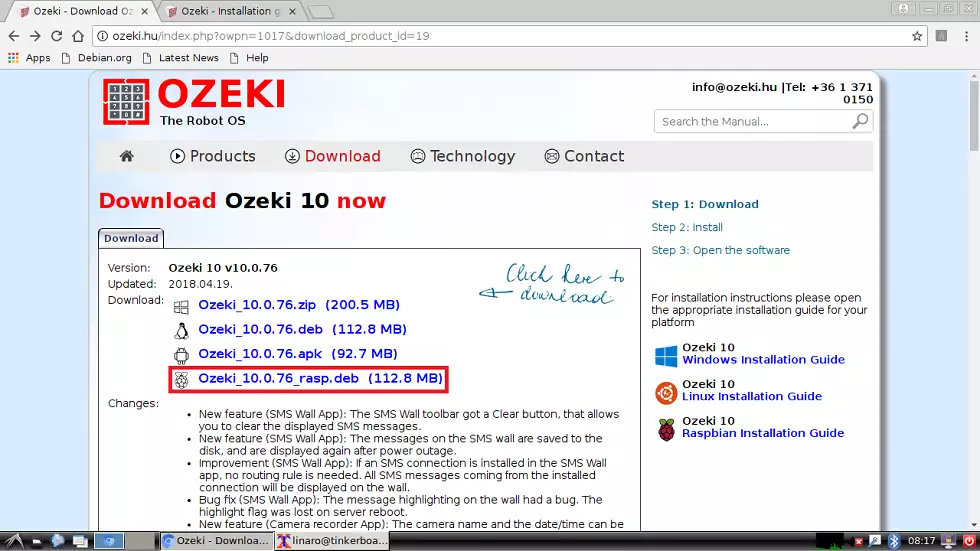
Acquire Ozeki 10 and take it on a 14 day free trial. Download the latest version, which you can find at the following address: http://www.ozeki.hu/index.php?owpn=231. Select the Raspberry Pi debian package as you can see it on the screenshot below. Before downloading, please provide your full name and e-mail address. Ozeki Informatics Ltd will not spam you with advertisements and will not share your address with 3rd parties. Your webbrowser will download it to the 'Downloads' folder by default. If not then please search for the folder in your browser settings.
STEP 5
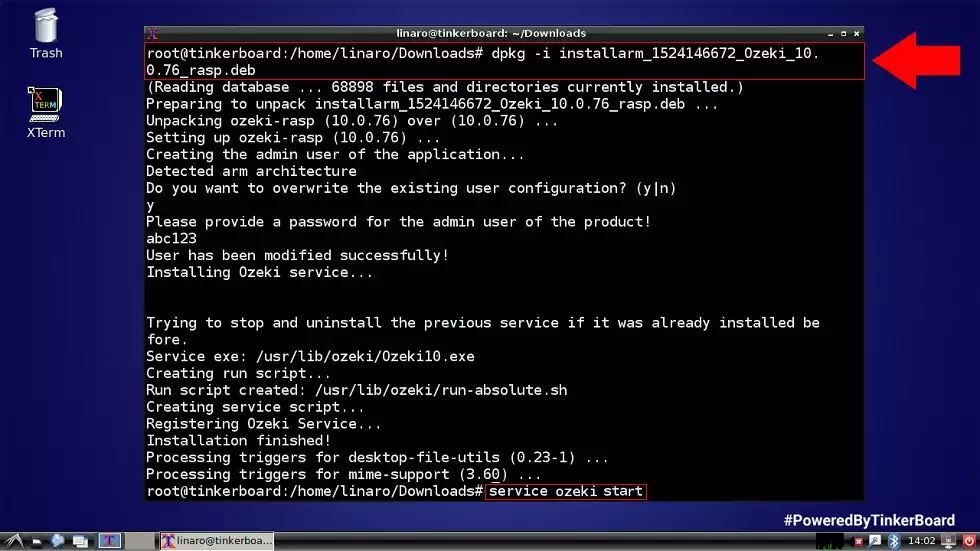
Please navigate to the folder where the Ozeki 10 installer was downloaded to. Typically at /home/linaro/Downloads. Here you can use the first command shown below to install Ozeki 10 on your TinkerOS. After installation, you can start the service with the following command: service ozeki start The service can be reached from any remote webbrowser by using the server's IP and port 9505. Make sure to let Ozeki 10 out the firewall.
dpkg -i installarm_1524146672_Ozeki_10.0.76_rasp.deb
service ozeki start
STEP 6
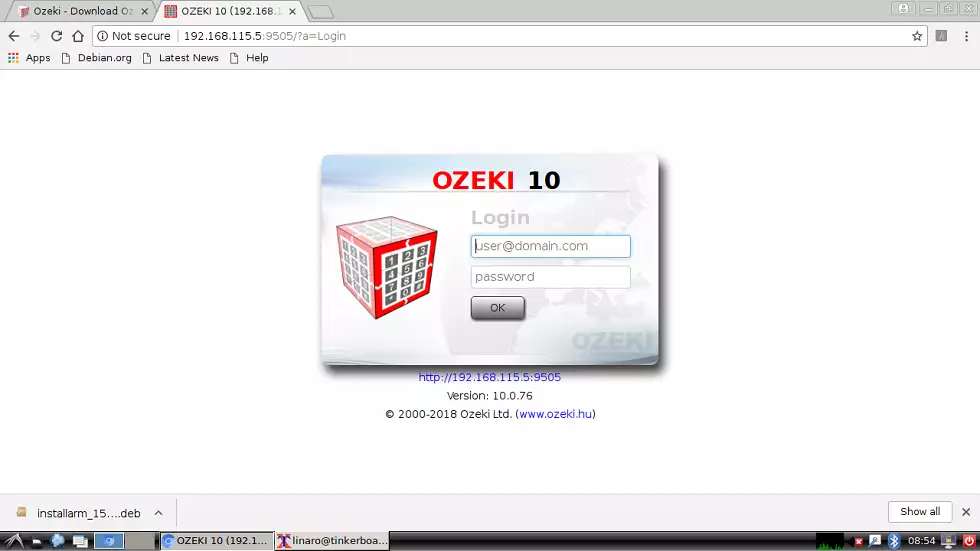
See how Ozeki 10 works. Type http://127.0.0.1:9505 into your local webbrowser to reach the login screen, although 127.0.0.1 can be changed to 'localhost'. They are both used for reaching your local machine. In case you would like to remotely reach the Ozeki GUI, find the IP address of your Ozeki 10 server by typing 'ifconfig' in the TinkerOS linux terminal. The default Ozeki 10 port number is 9505 in all cases, although it can be changed with the Security application if you would like to use or already using 9505. Now hit enter and wait for the webpage to load. Login to the GUI as you can see it on the screenshot. Currently only the admin user is available with it's corresponding password. You have provided it during Ozeki 10's installation. Click 'OK' and welcome to Ozeki 10! Keep in mind that you can always add new users later on from the Control Panel.
STEP 7
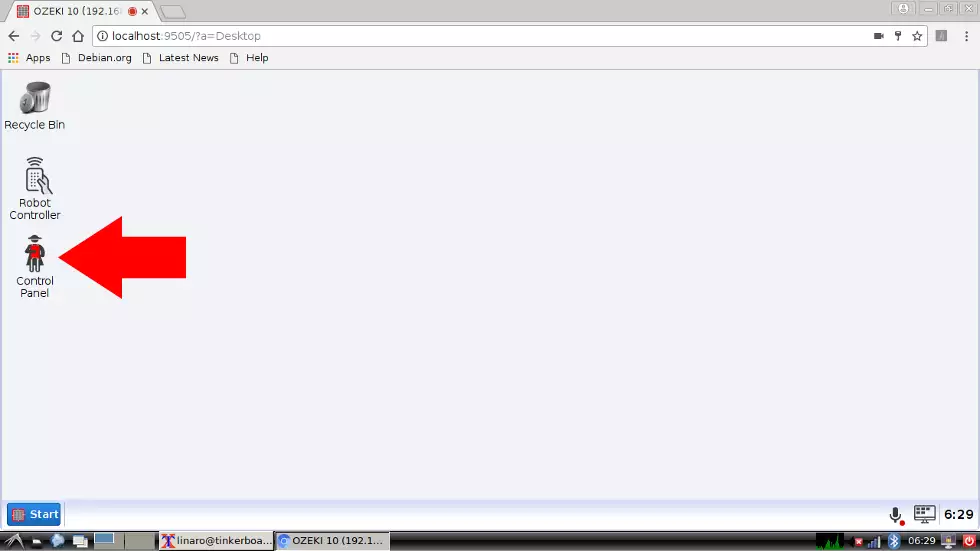
You can find the 'Control Panel' on the desktop. I started here as well. The Control Panel can be used to add and route connections together. You can find plenty of hardware and software connections that you might already have in your home. For example you can start by adding your microphone and speakers. A lot of devices detected by your operating system can be seen by Ozeki 10 applications. With the 'Events' button on the top toolbar you can see all Ozeki events.
STEP 8
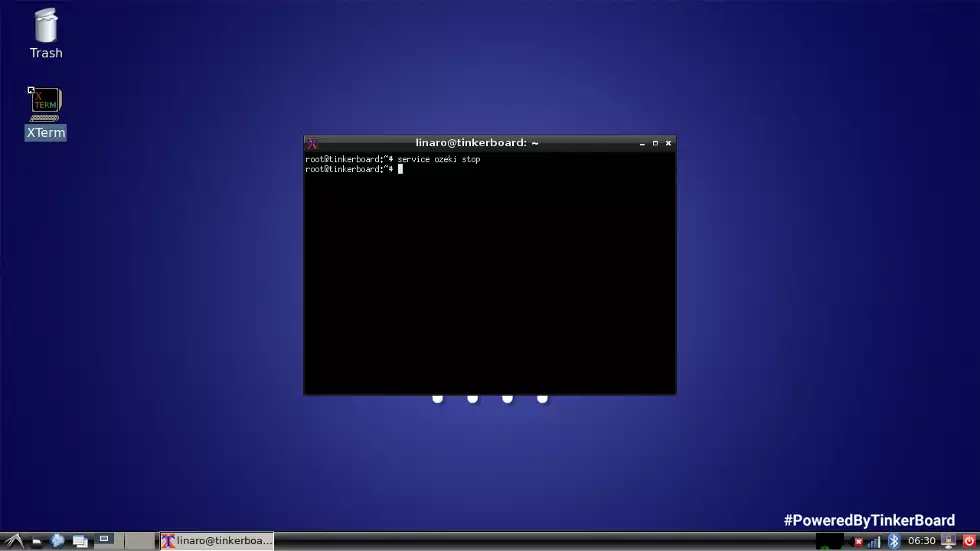
In a similar way you have started Ozeki 10, you can stop the server as well by typing the following command in the shell: sudo service ozeki stop You can type it without the 'sudo' prefix if you are in root mode. In the next few steps see where are the Ozeki 10 service files stored.
sudo service ozeki stop
STEP 9
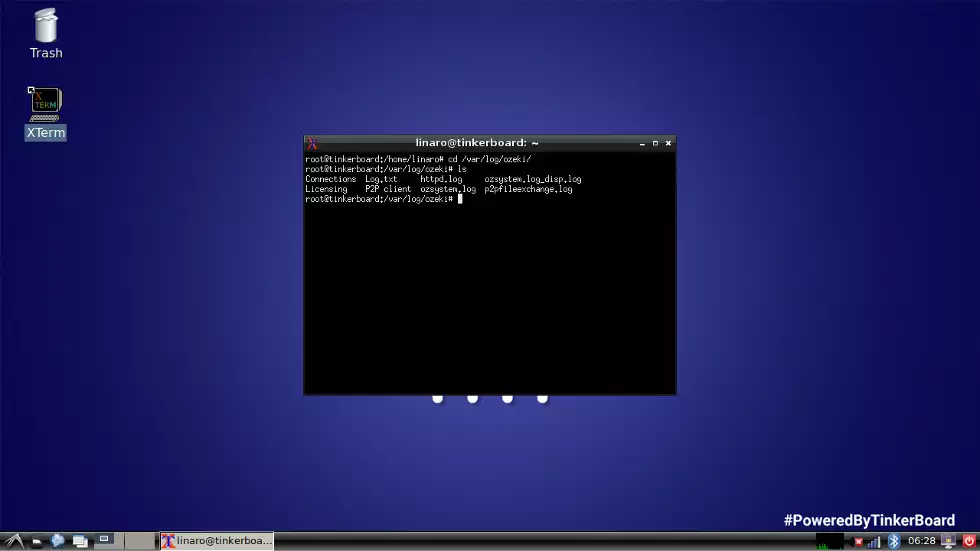
All Ozeki 10 server logs are stored in the '/var/log', where each TinkerOS application can create logfiles in separate directories. Please jump to the folder which stores the Ozeki logfiles: /var/log/ozeki is the proper way to reach the files with the system event logs then press 'ls' to list these files as seen on the picture. You can find the system, licensing logs and the Ozeki 10 HTTP server logs as well by reading httpd.log
cd /var/log/ozeki
STEP 10
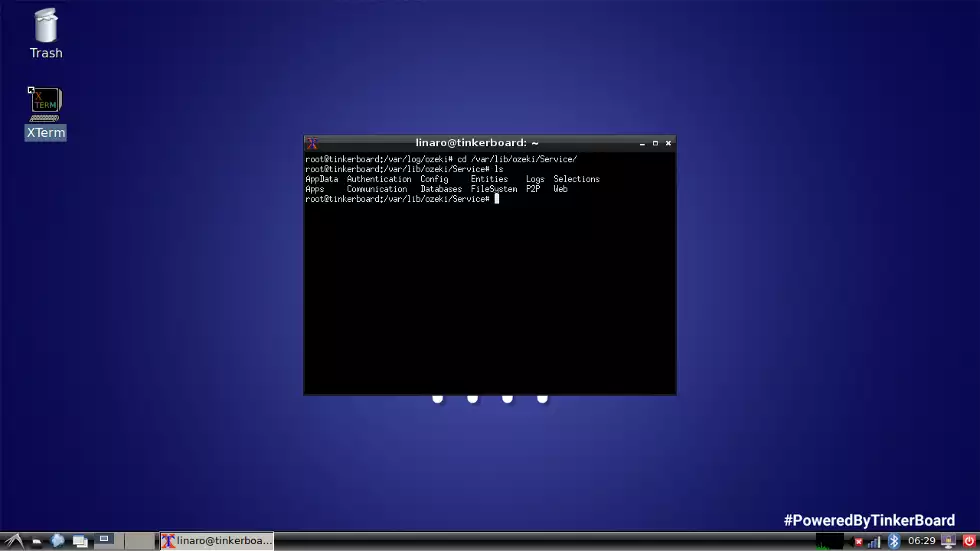
The 'Service' folder stores all of the routes and connections you have added to Ozeki 10. It also stores the original installation files of Ozeki 10. Jump to the 'Service' folder with the following command: cd /var/lib/ozeki/Service For example the connections and routes are stored in 'AppData'. It is a folder useful and easily reached by all Ozeki 10 applications. Every available application can be found in the Ozeki Start Menu.
cd /var/lib/ozeki/Service
STEP 11
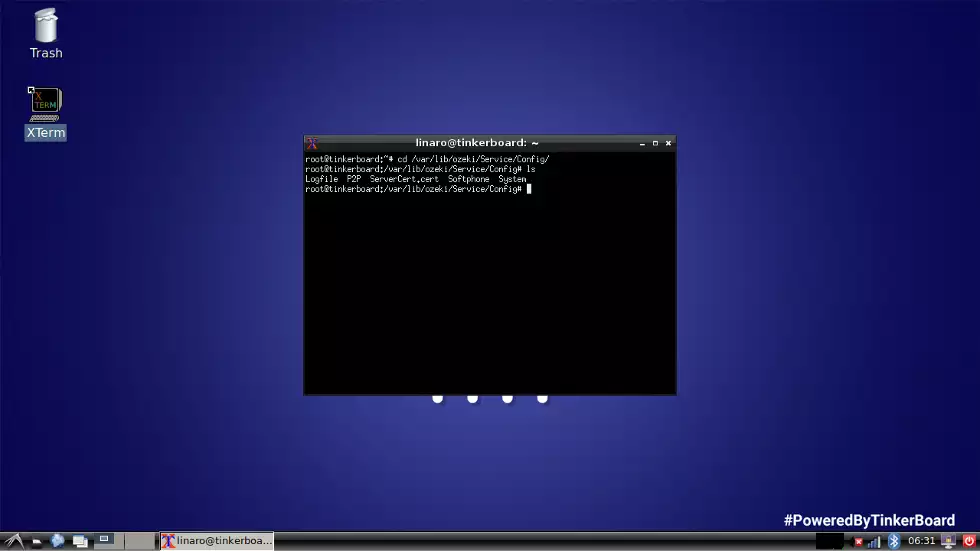
'Config' is a child of the 'Service' folder you are at the moment. Check it out with the 'cd Config' command. For those, who just hopped in: This is the required folder to check all device and Ozeki settings: /var/lib/ozeki/Service/Config The 'Config' folder stores the settings for all Ozeki application you own. For example the PBX connection details are saved for your Softphone app.
Product
The ASUS Tinker Board is a single board computer launched in early 2017. It's physical size and GPIO pinout was designed to be compatible with the second-generation and later Raspberry Pi models. The first released board features 4K video, 2GB of onboard RAM, gigabit Ethernet and a Rockchip RK3288 processor running at 1.8 GHz.
