OpenSIPS, how to create a SIP account
This guide shows you how to create 2 users with 1-1 extension each on OpenSIPS PBX. One of the extensions can be connected to Ozeki 10. Before you start to configure this solution, it is assumed that you have already installed your OpenSIPS PBX on your Linux server.
Configure OpenSIPS
I have already installed OpenSIPS PBX in a Linux distribution which IP address is
192.168.91.227. Open a browser and navigate to OpenSIPS web interface.
In this example it will be:
http://192.168.91.227/opensips-cp/web/index.php
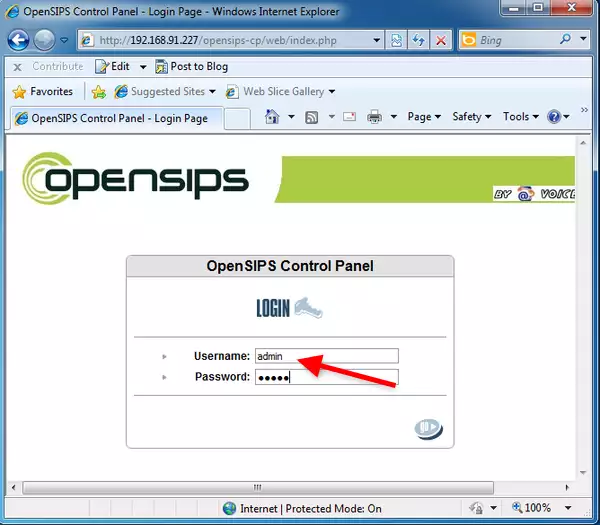
Once you are at the login page, login as administrator (Figure 1).
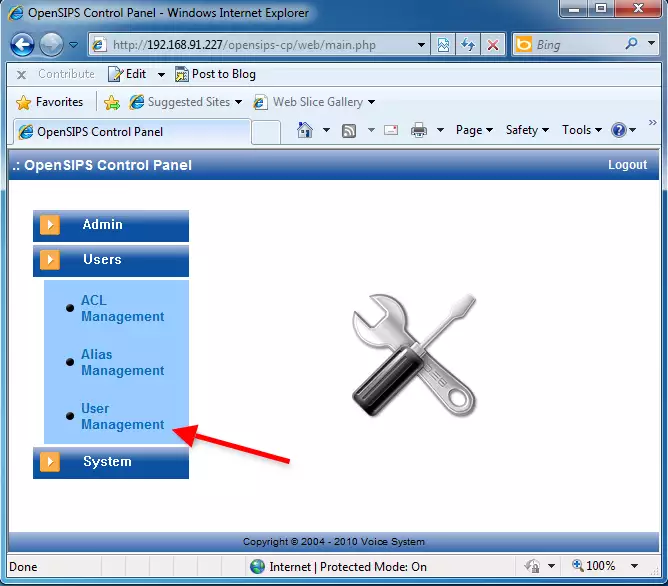
After you logged in, open the 'Users' dropdown menu and click on 'User Management' (Figure 2).
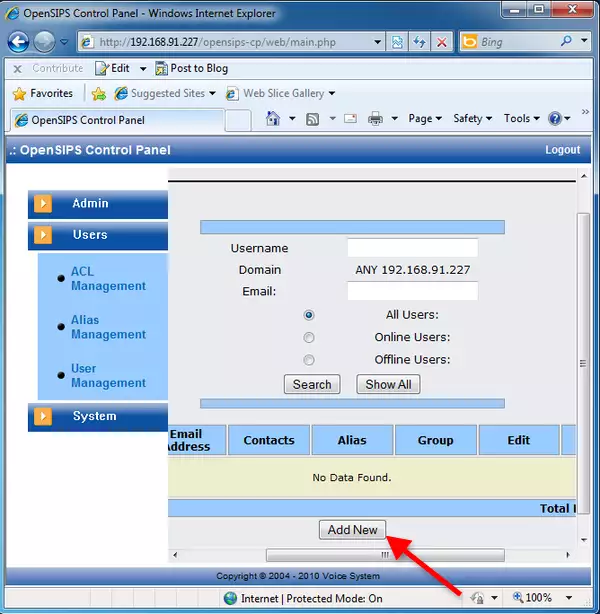
This will lead you to the Users page. Click on 'Add New' to add a new user to your OpenSIPS PBX (Figure 3).
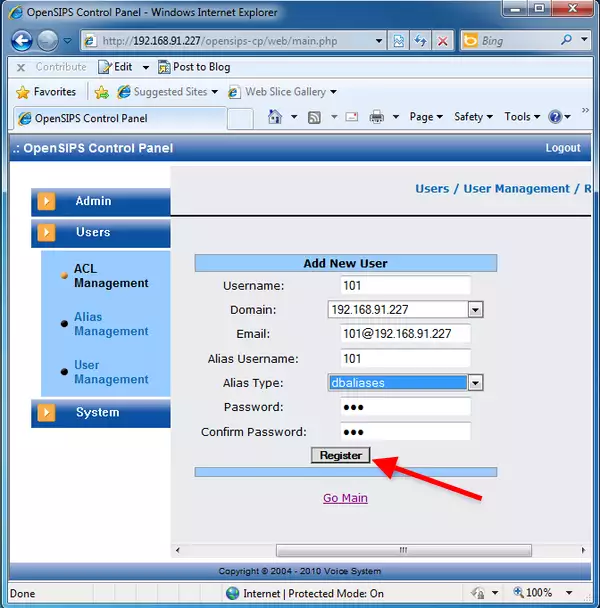
Provide the username, the e-mail address and a password in the respective fields, and click on 'Register' (Figure 4).
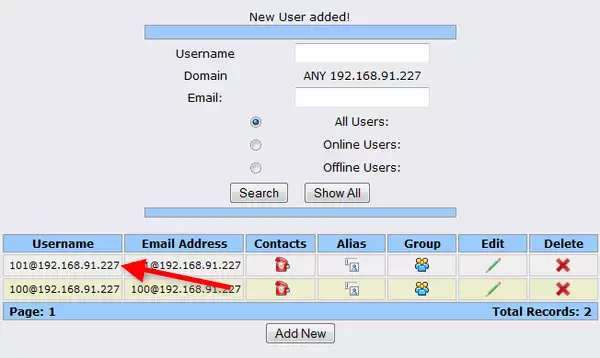
I have created two users in OpenSIPS PBX: user 100 and user 101. Ozeki 10 will register as user 101, and a VoIP phone will be registered as user 100. You can see the created users in Figure 5.
Now the configuration is complete so you can start your phone lines and connect them with Ozeki 10.
More information
- Ozeki Phone System
- How to create a SIP account in Asterisk
- How to create a SIP account in AsteriskNow
- How to create a SIP account in Elastix
- How to create a SIP account in FreePBX
- How to create a SIP account in Kamailio
- How to create a SIP account in OpenSIPS
- How to create a SIP account in PBXnSIP
- How to create a SIP account in PBXpress
- How to create a SIP account in SipX ECS
- How to create a SIP account in 3CX
